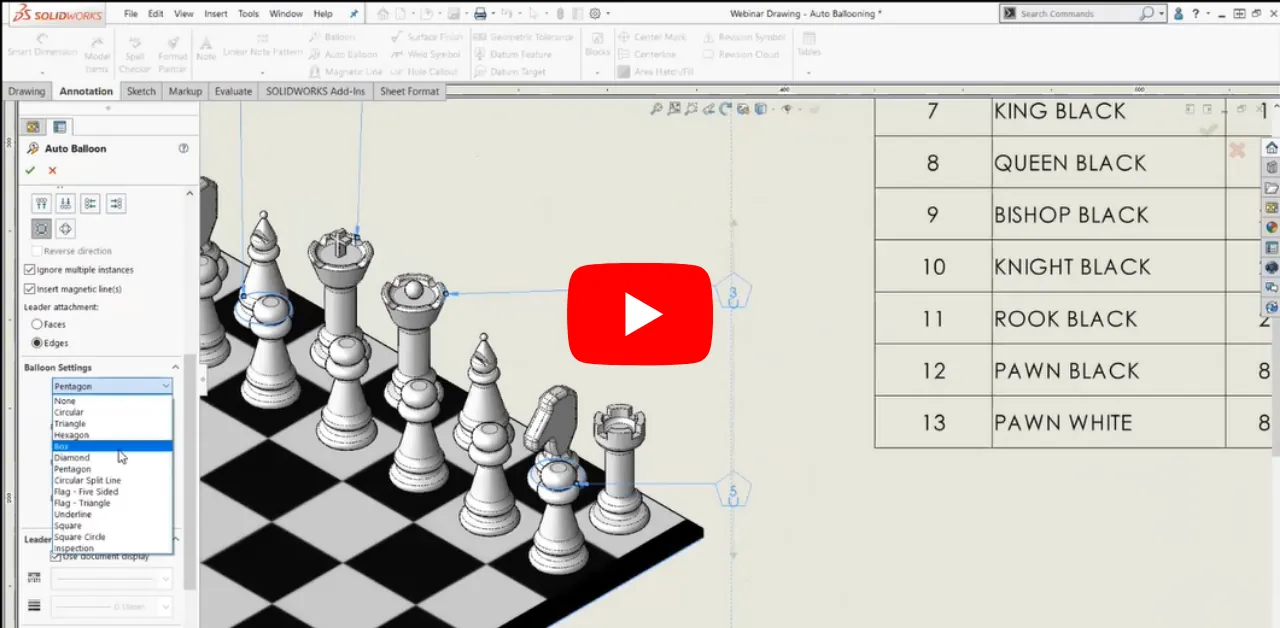
Inserting Model Dimensions into a SOLIDWORKS Drawing
Inserting Model Items
When dimensioning a part in a SOLIDWORKS Drawing, the standard method is to select the Annotations tab and use the Smart Dimension tool. This method gives us the gray dimension we are commonly used to. However, if we used fully defined sketches creating the part, these dimensions already exist. The Insert Model Items tool allows us to bring those existing dimensions into our SOLIDWORKS Drawings. This guide will go over how to use this tool and the options available to bring in your desired dimensions.
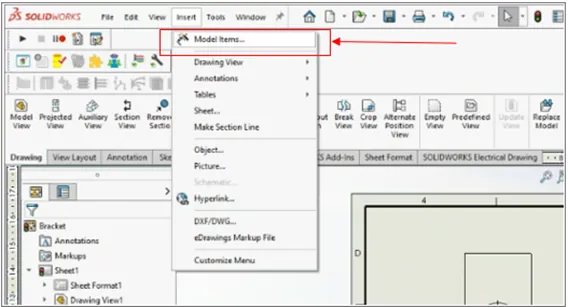
Figure 1. Insert Model Items
Selected Features
Using Insert Model Items, you can choose between two different sources of dimensions: Entire Model or Selected Feature.
If you choose Selected Feature, you can click a feature (from the Feature Manager Design Tree) or a face/edge of the model in a Drawing View, and SOLIDWORKS will populate the dimensions associated with the selected item.
You can tell the difference between a Smart Dimensions and an inserted Model Item, as the former is grey and the latter black. Further, the black dimensions are fully parametric; you can double click the Model Item dimension and change it to directly modify the part (a rebuild may be required).
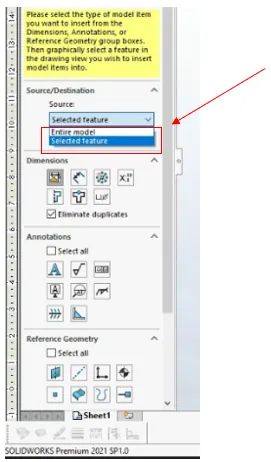
Figure 2. Selected Items
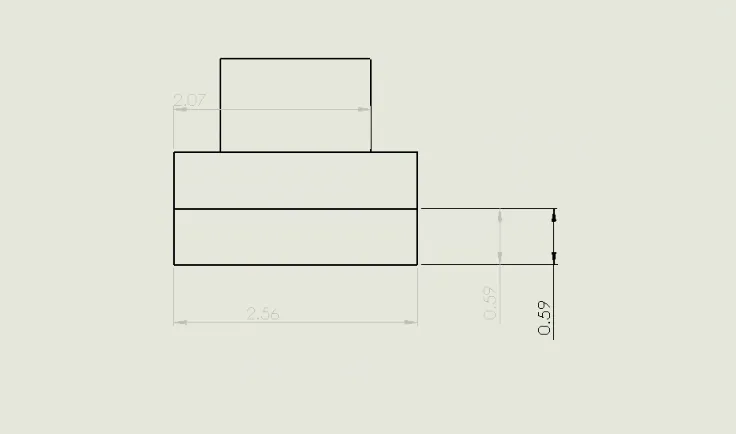
Figure 3. Dimension colors. Dimensions (gray) and Model Items (black).
When you insert dimensions using Insert Model Items, you might notice that they come in at odd locations and are not aligned with one another. This is because of a setting at the very bottom of the Model Items FeatureManager, in the Options sections. The Use Dimension Placement in Sketch option will bring in the dimensions as they are shown in the Sketch they are pulled from. If you deselect this option and insert the dimensions, you may find they come in with a cleaner and more defined format.
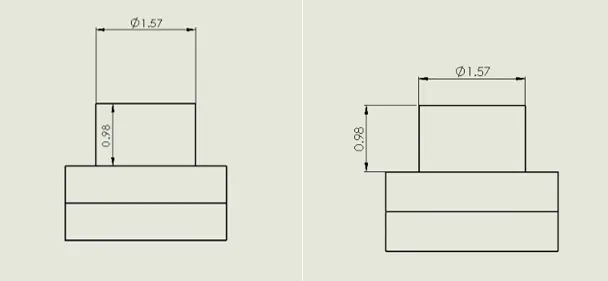
Figure 4. Setting turned on (Left) and turned off (Right)
Entire Model
The second option to bring in Model Items is for the Entire Model. This will add all the dimensions of the part from all Features and Sketches into the Drawing. One of the first options you can choose is whether to Import Items into all views. This will spread the new dimensions out across all the Drawing Views.
To further refine what items you are bringing in are three sections, with several categories of "marks". The first section is the Dimensions Section, with the following category filters:
- Marked for Drawing
- Not Marked for Drawing
- Instance/Revolution Counts
- Toleranced Dimensions
- Hole Wizard Profiles
- Hole wizard Locations
- Hole Callout
You can also select to 'remove duplicates'.
The next section lists categories for the various Annotation types:
- Notes
- Surface Finish
- Geometric Tolerances
- Datums
- Datum Targets
- Weld Symbols
- Caterpillar
- End Treatment

Finally, with your selections in place, you can click the green arrow and SOLIDWORKS will bring in the Model Items. When they come in, some cleanup may be needed to get the Dimensions where they need to be (though SOLIDWORKS typically does a decent job at positioning them).
To help format your Drawing to meet drafting standards, it may be necessary to move dimensions between Drawing Views. Hold SHIFT while selecting the dimension to drag and drop it onto the desired view. To copy the dimension, hold CTRL instead to drag a duplicate dimension into another Drawing View.
For more Drawing tips check out the video below.
More SOLIDWORKS Tutorials
Scaling a Part in SOLIDWORKS 2 Different Ways
SOLIDWORKS Path Mate Explained
How to Mirror Parts in SOLIDWORKS Two Different Ways
Using Cosmetic Threads: SOLIDWORKS Best Practices
About Nathen Blas
Nathen Blas is a SOLIDWORKS Technical Support Engineer based out of our Headquarters in Salt Lake City, Utah. He earned his Bachelor’s degree in Mechanical Engineering at the University of Utah in 2018 and joined the GoEngineer family that same year.
Get our wide array of technical resources delivered right to your inbox.
Unsubscribe at any time.
