Why Choose 3D Scanning for Inspection
Quality Control (QC) careers are on the rise. Advancements in manufacturing technology are pushing the limits of design capabilities and in turn, are driving the need for better inspection methods. First Article Inspections (FAI) are some of the most common forms of quality control. An FAI ensures an entire production process can create products and assemblies that meet the company/consumer requirements. Let’s face it, if a company churns out a batch of bad products due to inadequate, or worse, no QC, then not only will they lose customers, but they will be hemorrhaging money.
So, how can we prevent this?
Whether you’re manufacturing your 5 millionth widget or your very first, your QC system is only as good as its operators and those operators are only as good as their tools. But in order to find the correct tool for the job, consider these first:
Complexity of Parts
The evolution of designs inevitably leads to increased complexity. As a result, in order to keep up with our competition, there is also a growing complexity in the parts we use. The questions you need to be asking yourself are; are my parts simple or complex? Will I be changing the designs to be more complex down the road? Do I have the right tools to inspect them now? Will I have the right tools to inspect them in the future?

Cost
The cost of quality refers to the expenses associated with a rejected part, which is often described using the 1:10:100 rule. This rule suggests that fixing a problem in production will cost 10 times more than if the problem was caught in the development stage. If the problem is only identified when the part is rejected, the cost can be as much as 100 times higher. In evaluating the cost of quality, it's important to consider the expenses for inspecting each part as well as the costs associated with part rejection during development, production, and returns from the customer.
Market trends
Consider the impact of market trends on your operations. For instance, are the inspection tools you currently use cutting-edge or outdated? This matters because using obsolete tools could leave your company unsupported when issues arise. Furthermore, your customers are likely influenced by market trends. If they hear that your competition is using more efficient technology, they may be inclined to switch distributors.
Functionality
As previously mentioned, an operator is only as good as his tools. There are many inspection tools available, each with its own pros and cons. However, selecting the right tool can be a bit overwhelming. To avoid getting too deep into details, it's important to focus on a few key criteria:
- Ease-of-Use: Does the tool you currently use require a higher level of education? For example, if you were to hire an operator would you be looking for someone with extensive use of the device or would it be easy to train them internally?
- Versatility: Can the device you currently use be operated in different environments? What if you need to inspect a part on the line or in the field?
- Human error: There will always exist some form of uncertainty created by the tool, but certain inspection tools can create higher amounts of error due to operator error. For example, tools that require contact with a part such as calipers or CMM may result in significant error due to factors such as slippage when extracting, physical pressure applied, flexibility of the part, targeting the wrong area, and making incorrect assumptions.
- Accuracy: For most companies, accuracy is the most important feature of an inspection tool. Opting for a device that offers good accuracy ensures reliable measurements and usable data. The objective is often to achieve a perfect design fit, without the need for iterations. Therefore, having accurate measurements on the first draft saves time and money. Consider the cost of accuracy and repeatability. Many companies aim for higher accuracy, typically 1:5 or 1:10, to account for low repeatability and user error. However, high accuracy comes with a cost. It's important to assess whether a high level of accuracy is necessary. Opting for a device with a higher repeatability factor may provide better value for the money.
- Speed: Most would agree that the less time spent on a task the better, and this statement holds true for inspection as well. Faster turnaround times mean quicker problem identification which in turn means less money lost throughout the process, especially if caught in development or first-run production.

Choosing the Right 3D Scanner for Inspection
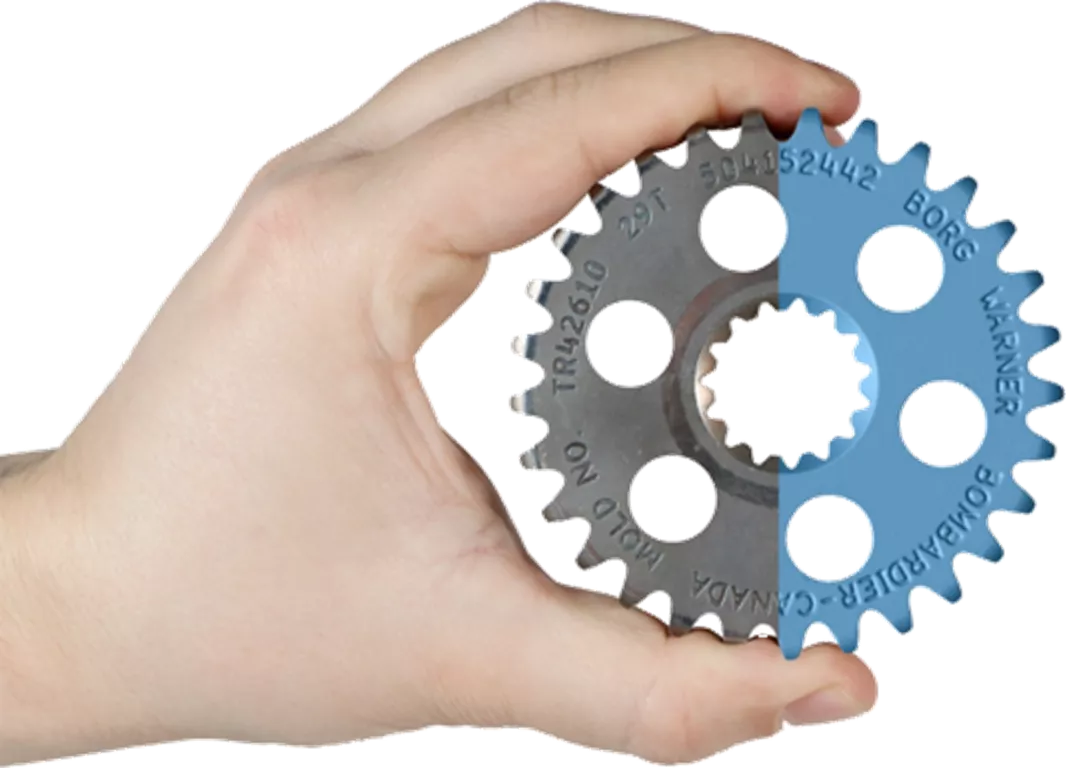
3D scanning technology has evolved over the years into hand-held, easy-to-use devices for scan-to-print, reverse engineering, and inspection. While there are numerous scanners available on the market, ranging from hobbyist level to military-grade, for applications such as PPAP and first article inspection, it is advisable to start the search with metrology type of scanners.
A metrology-grade 3D scanner is regulated by a set standard for inspection tools, usually by a NIST college (National Institute of Standards and Technology). This ensures that the data extracted by the scanner is accurate and highly repeatable. As a result, you have a reliable tool that provides precise measurements, independent of the operator.
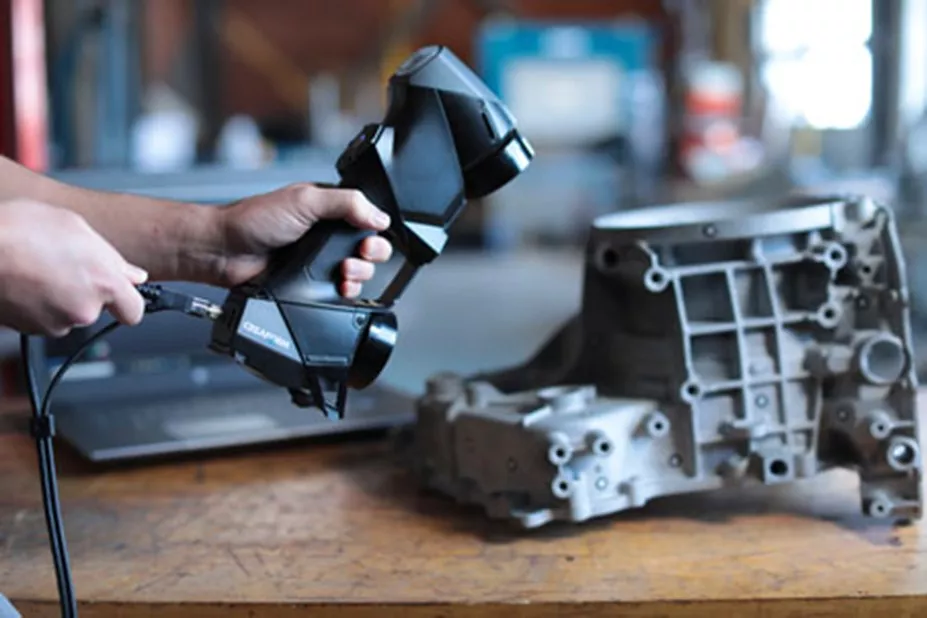
3D scanners can collect data at an astonishing speed. For example, Creaform’s HandySCAN Black Elite can collect 1.3 million measurements per second. To put this in perspective, if you have ever used a traditional CMM or a depth gauge to collect data for flatness, then you know that it takes a significant amount of points and time to measure accurately. With a 3D scanner, you can confidently and accurately measure flatness within a second.

Creaform 3D scanners are also designed to operate in a wide range of environments, thanks in part to their hand-held portability and positioning targets. An operator is no longer tied to the QC lab, but can instead walk onto the shop floor and inspect a part right off the production line.
Most 3D scanners on the market today are designed to be plug-in-play with minimal training required. The HandySCAN Black Elite is USB 3.0 compatible, allowing operators to start scanning within minutes of connection.
A simple search on 3D scanner accuracies will show that there is a wide range, but remember, for inspection purposes a metrology-grade scanner is best. Metrology-grade, portable 3D scanners provide an average range between 0.050mm and 0.005mm, which is less than the thickness of a human hair.
It's important to recognize where your inspection tool stands in the current industrial market. You might be losing more money than you realize. Considering the manufacturing industry will continually grow and the demand for more complexity is ever prevalent. Overall as we strive to improve our capabilities in the QC world, 3D scanning for inspection has elevated the process by offering more dependable measurements, plug-and-play functionality, and unmatched speed.
If you'd like to learn more about the 3D scanning solutions offered by GoEngineer, contact us.
Related Articles
Understanding the Cost of Poor Quality Control in Manufacturing
Choosing a 3D Scanner: Light vs Lasers, Applications, & Considerations
Scan-to-Print Workflow: Tips to Optimize 3D Printed Food Models
Choosing Analysis & Inspection Software: Creaform, Geomagic, & PolyWorks Considerations
About Bob Renella
Bob is a Manufacturing Solutions Application Engineer Manager at GoEngineer
Get our wide array of technical resources delivered right to your inbox.
Unsubscribe at any time.
