SOLIDWORKS Sheet Metal: Export Flat Pattern to DXF File
Did you know that generating a DXF file from the flat pattern of your SOLIDWORKS Sheet Metal part can be achieved in just a few seconds? Let’s walk through it using an example of a battery tray designed for a radio-controlled car.
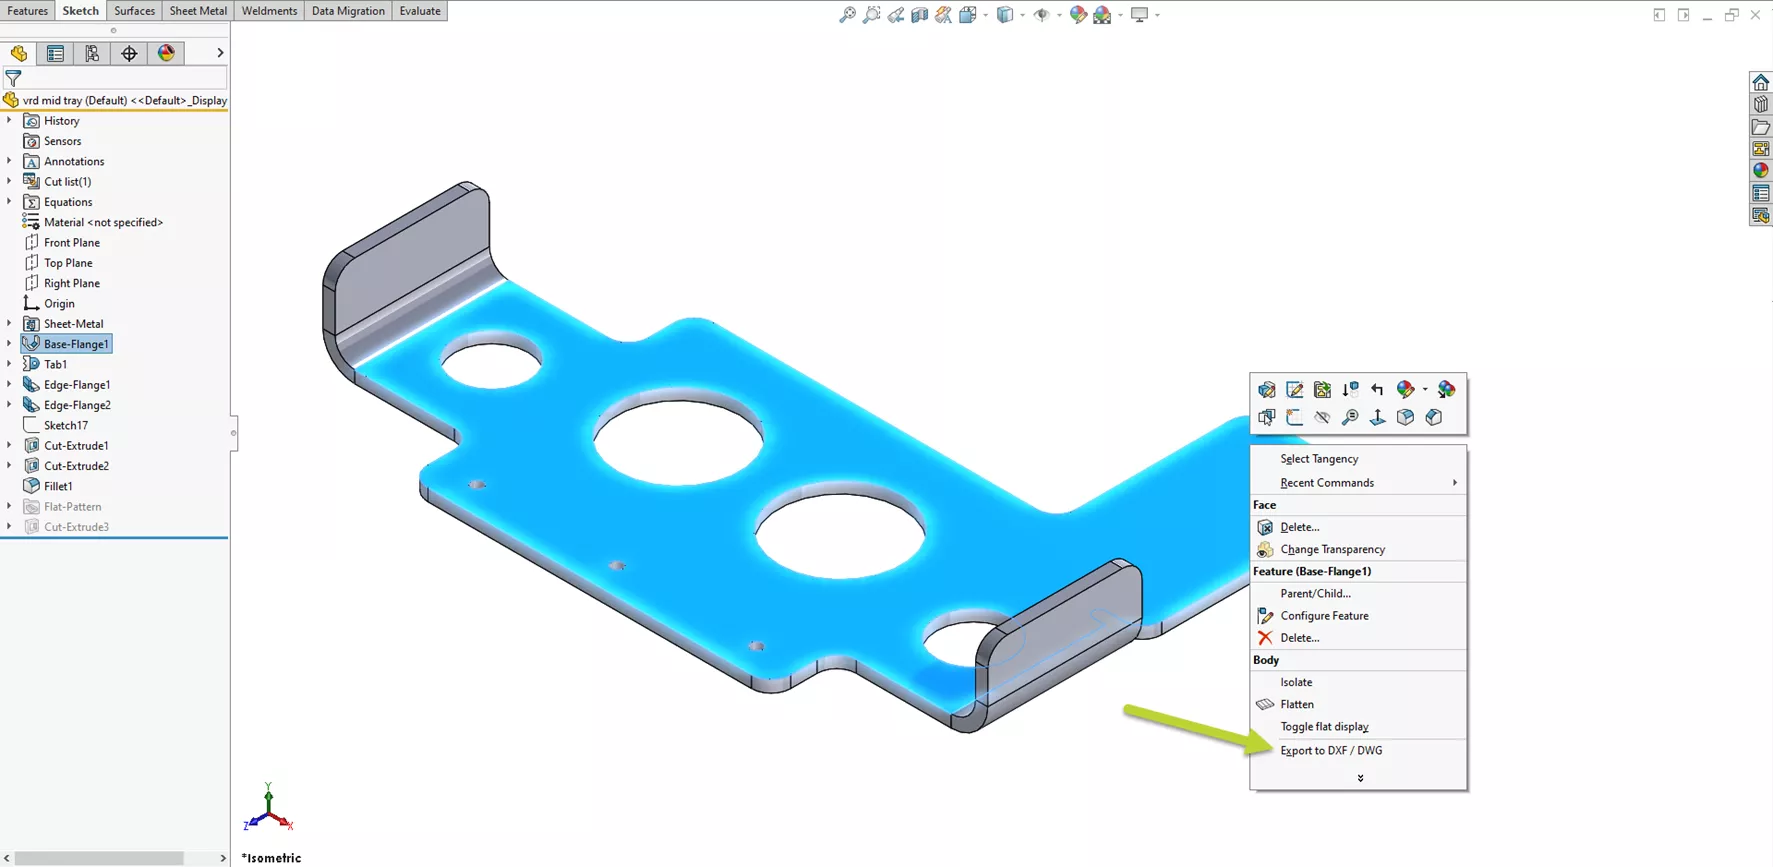
First, right-click on the main face of your SOLIDWORKS Sheet Metal part and select Export to DXF / DWG.
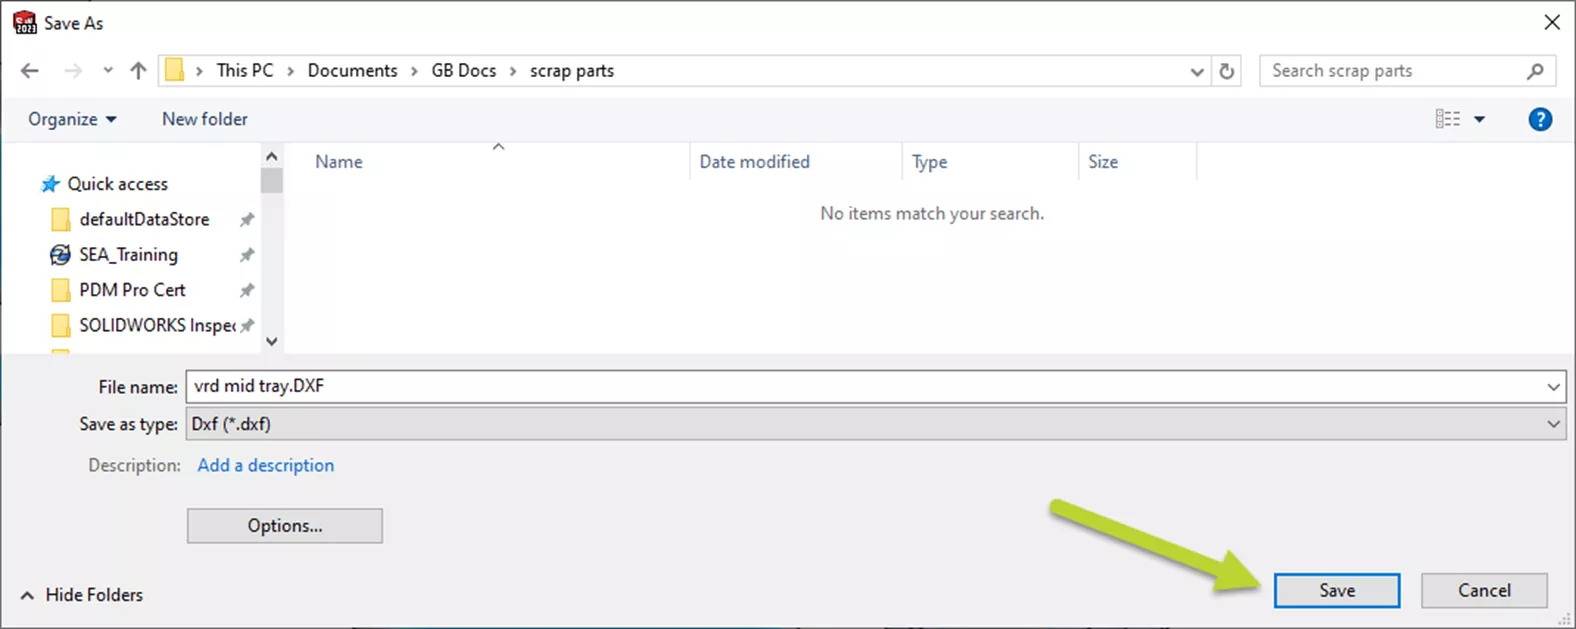
Next, save the DXF file with your desired file name and location.
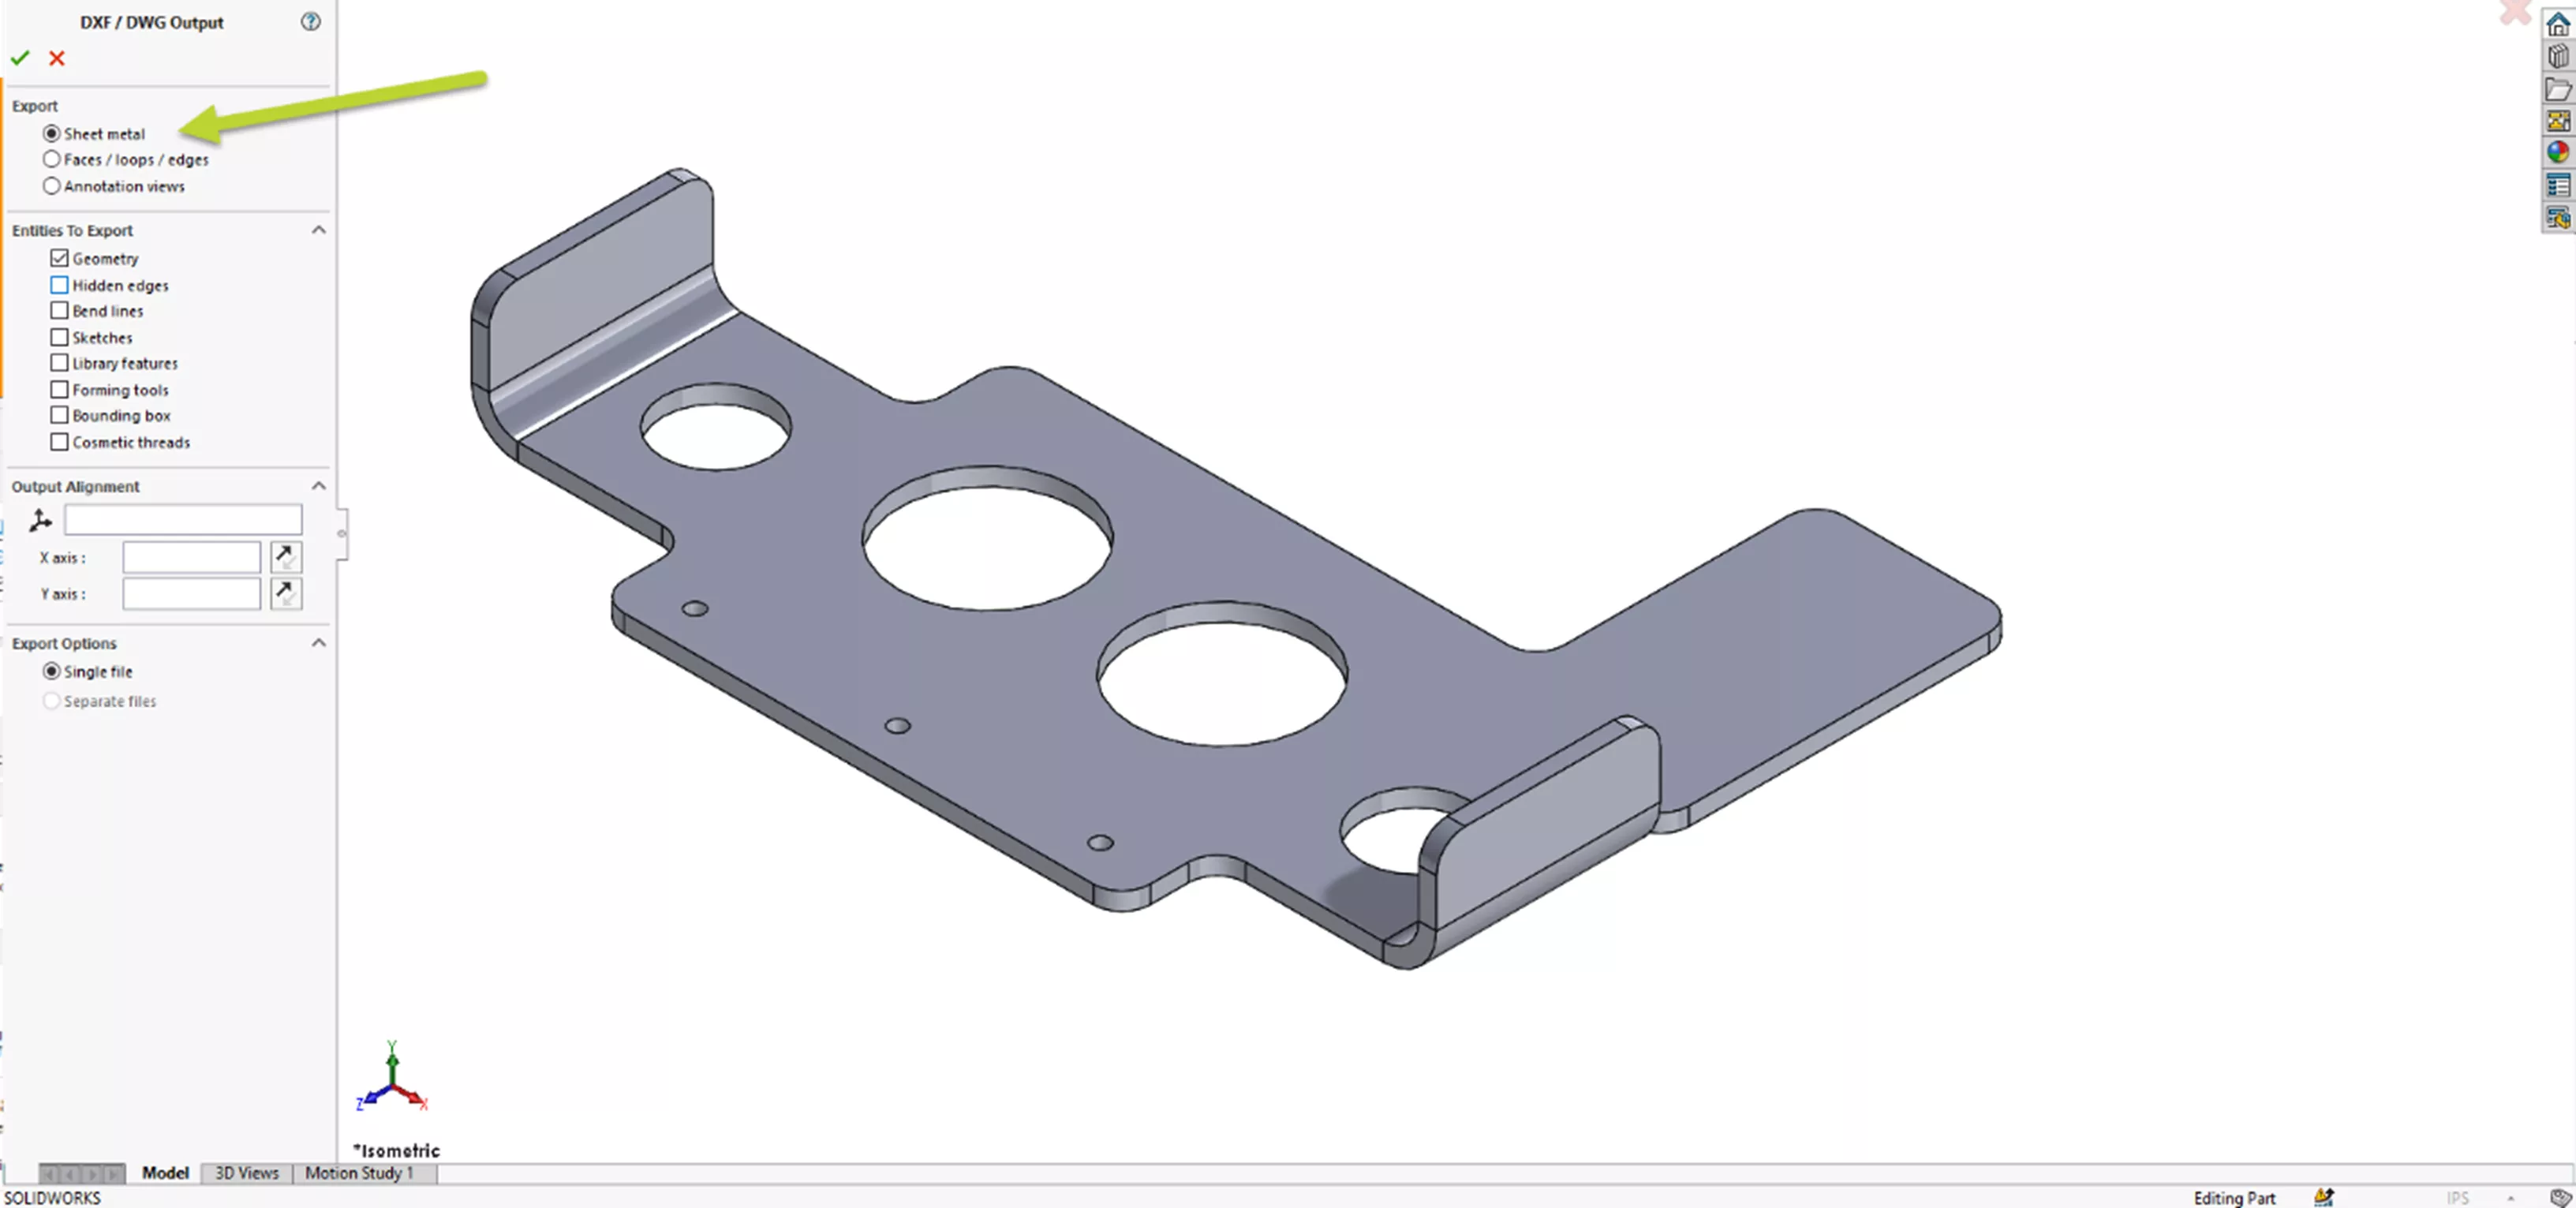
In the options, select Sheet Metal.
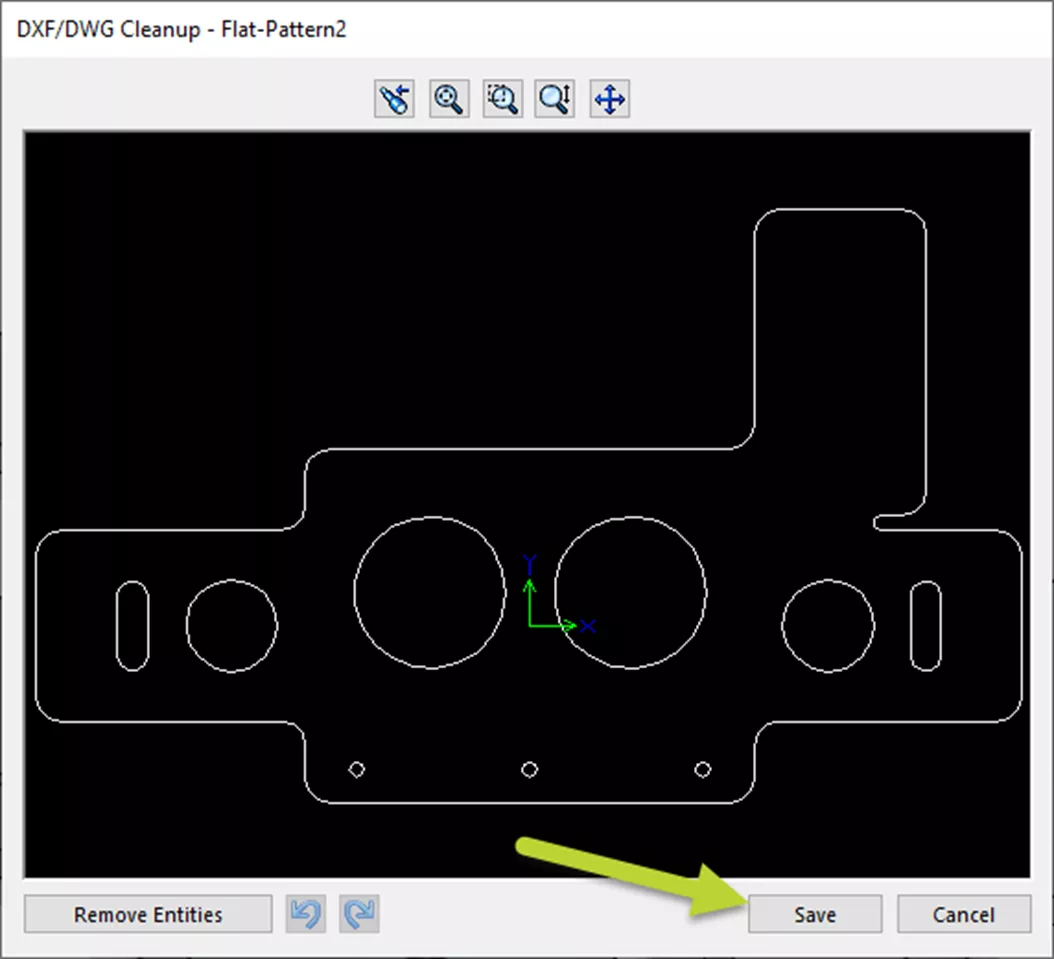
Finally, a cleanup tool will pop up. This shows a preview and gives you a chance to remove any entities before the DXF is generated. If your model had countersink geometry or engravings, you might decide to remove them from the DXF file before it goes to laser cutting. Clicking on Save will complete the process.
The newly created DXF file is easily imported into CNC software to cut out the flat pattern.
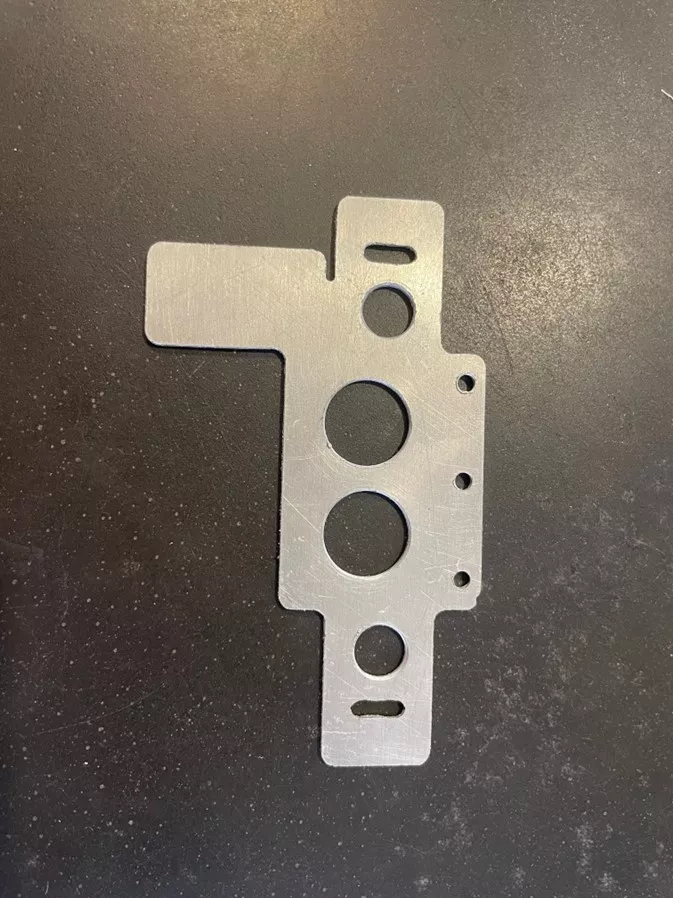
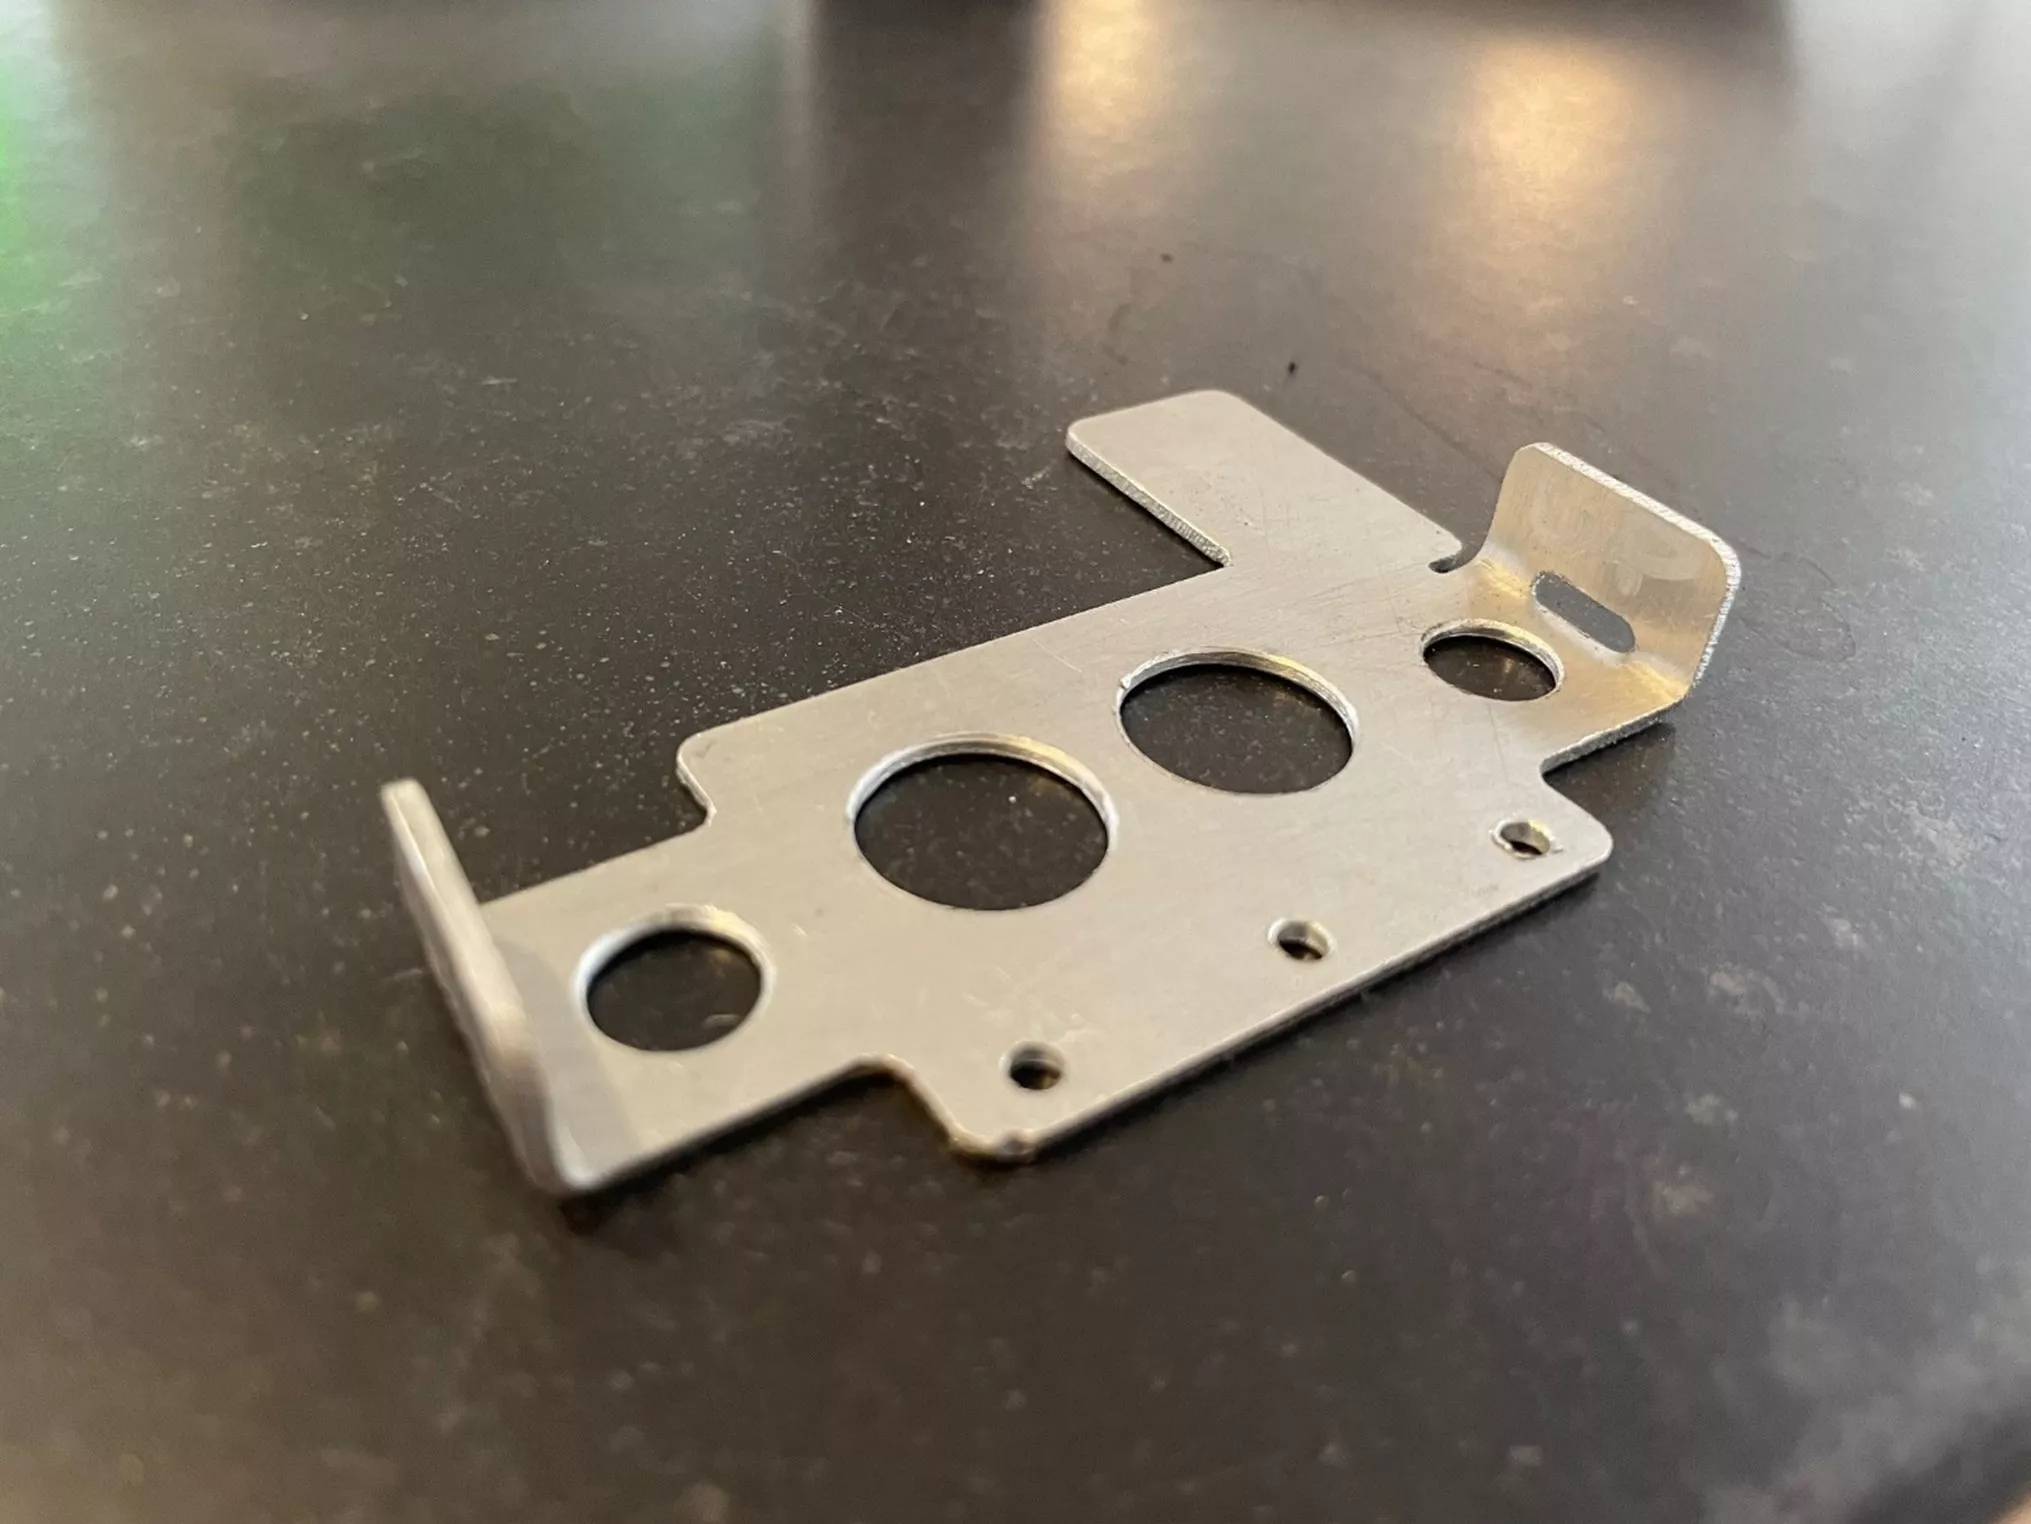
Using the SOLIDWORKS bend lines, adding the bends to the sheet metal blank is easy.
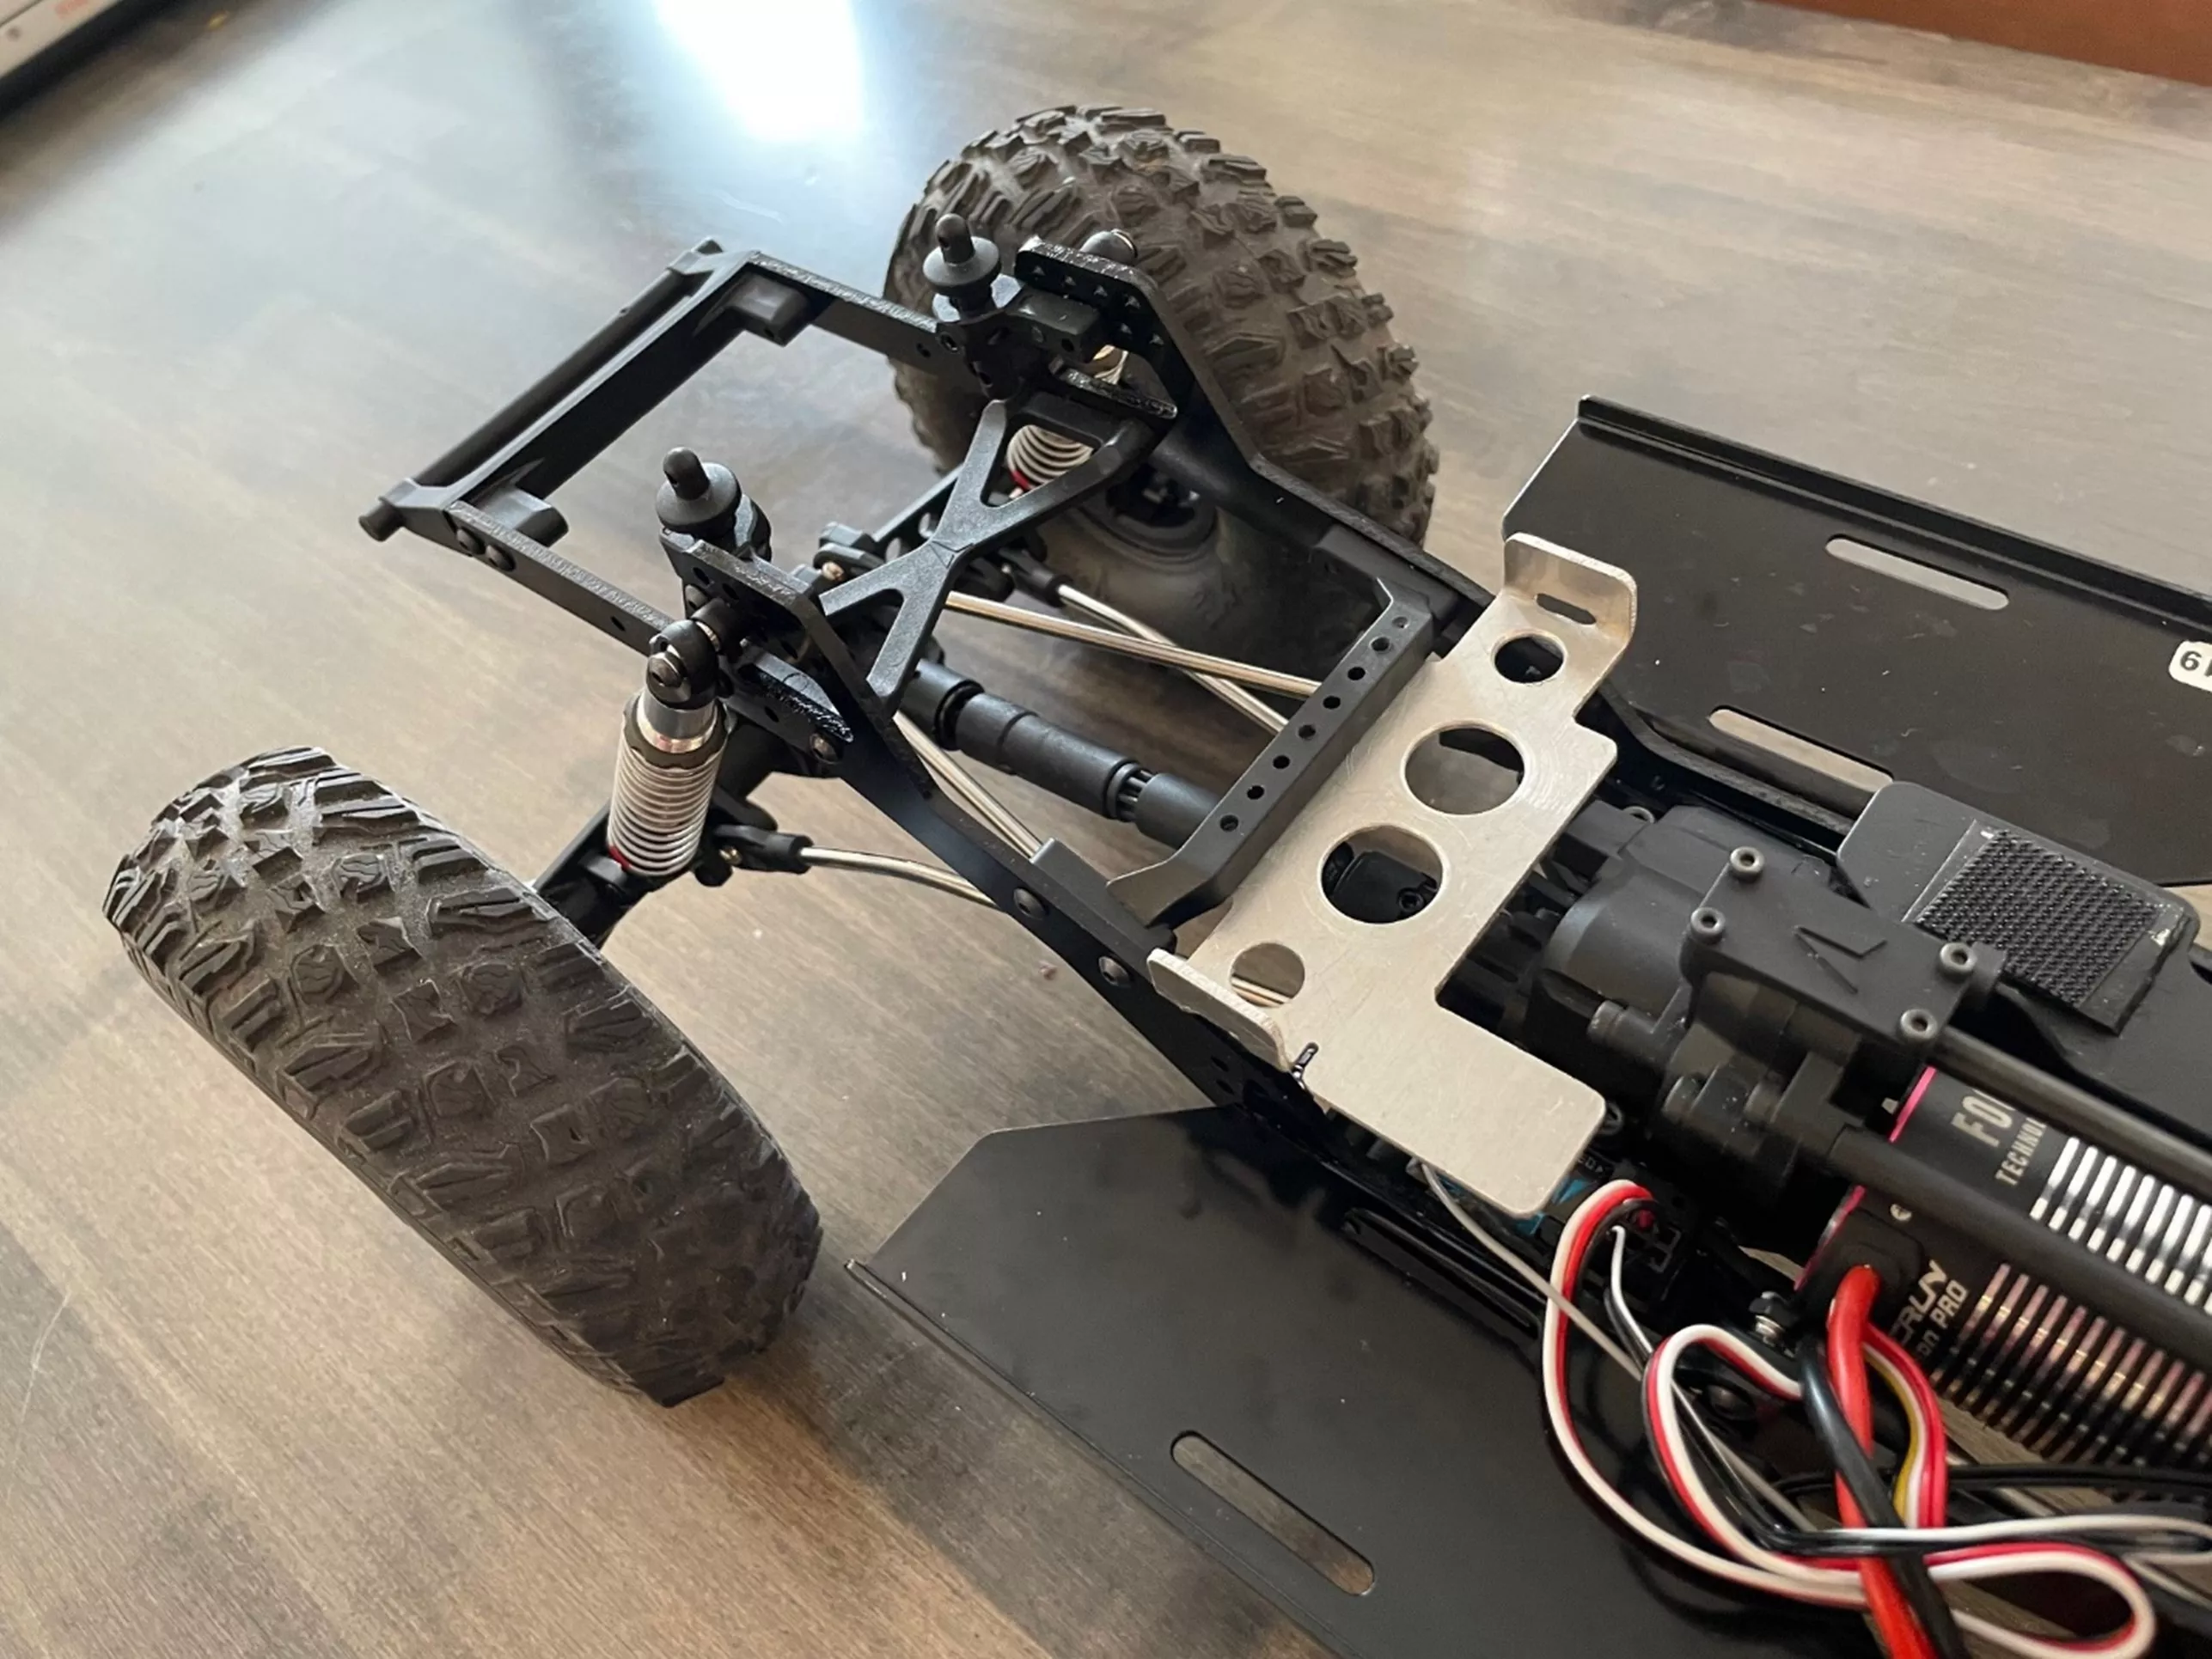
Now, we have our completed battery tray installed on our toy car.
Exporting our flat pattern to a DXF file directly from the SOLIDWORKS part file is incredibly simple. This process makes quick work of getting our SOLIDWORKS Sheet Metal parts to production.
I hope you found this SOLIDWORKS Sheet Metal quick tip helpful. Check out more tips and tricks listed below. Additionally, join the GoEngineer Community to participate in the conversation, create forum posts, and answer questions from other SOLIDWORKS users.
Want to take your SOLIDWORKS skills to the next level? Enroll in the official SOLIDWORKS Sheet Metal training course. Both online and in-person classes are available.
More SOLIDWORKS Sheet Metal Tutorials
SOLIDWORKS Sheet Metal Sketched Bend Tutorial
Show Sheet Metal Bend Lines in a SOLIDWORKS Drawing
[VIDEO] Creating a Round-to-Square Sheet Metal Transition in SOLIDWORKS
About Greg Buter
Greg Buter is a SOLIDWORKS Engineering Manager at GoEngineer.
Get our wide array of technical resources delivered right to your inbox.
Unsubscribe at any time.
