SOLIDWORKS Hatch Tool: Functions and Uses
In this article, we'll discuss the functions and uses of the SOLIDWORKS Hatch tool as well as how to use it.
The SOLIDWORKS Hatch tool can be used in sketches and drawing views.
Sketches
It can sometimes be useful, depending on your design intent, to have a sketch show a hatch. To do this, follow these steps:
- Create a sketch.
- Go to Insert > Annotations > Hatch
- Here, you can change the color or hatch type, etc.
- When you extrude the sketch, the hatch disappears.
- If you want the hatch to show up, you will need to ‘Show’ the sketch on which the hatch is located.
- Also, when making a drawing, if the sketch is set to show, it will display in the drawing.
The images below show hatching with a sketch.
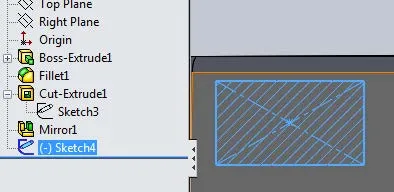
Hatch within the sketch
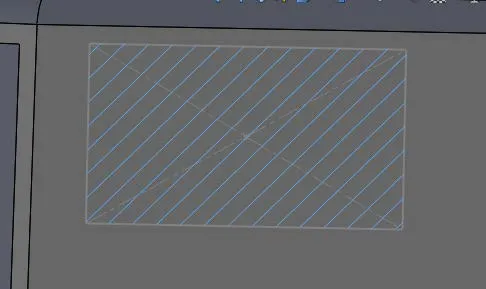
Hatch after exiting the sketch before extruding
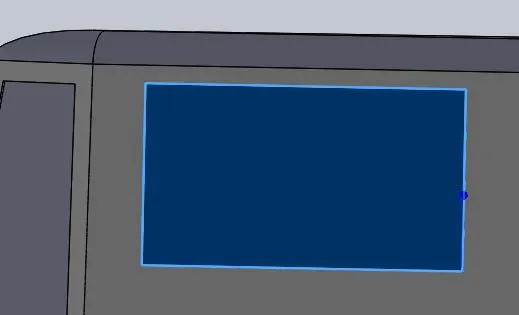
Extrude completed but sketch not shown

Showing the sketch with the hatch in the model view
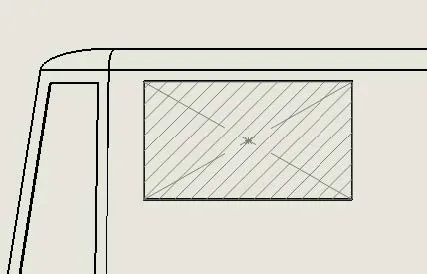
Showing the hatch that was created in the sketch in a drawing view
Drawing Views
Hatching can be applied using the Standard 3 Views (Top, Front, and Right) or to any view.
If you do not want to use the default hatch pattern, you can modify the hatch within the section view. (This is discussed in the next section.)
Below are some examples of hatches in a drawing.
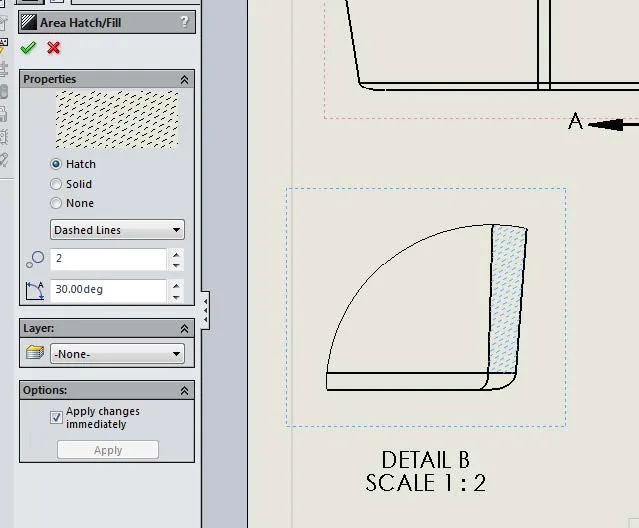
Different types of hatches
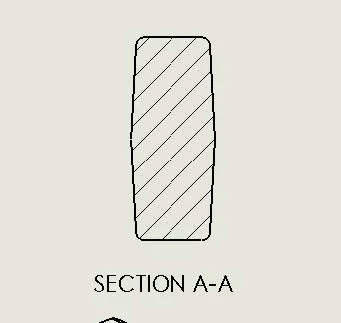
This is a section view hatch that is placed automatically. (This can be adjusted and will be shown in the next section.)
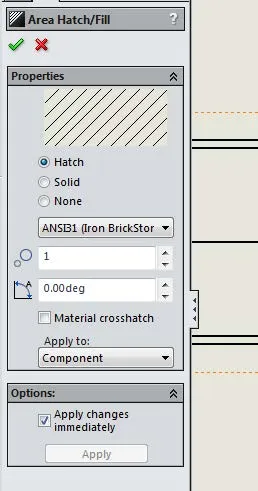
The Hatch dialog box with the options available
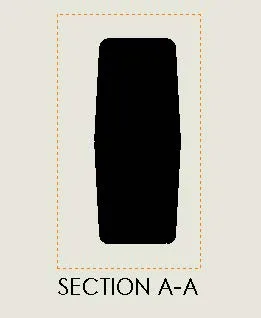
Creating a solid hatch
How to use the SOLIDWORKS Hatch Tool
The Hatch tool is modified by clicking on the hatch itself, or by going to Options > System Options > Area Hatch/Fill.
If you need to create a hatch for a view, do the following:
- Go to Insert > Annotations > Area Hatch/Fill
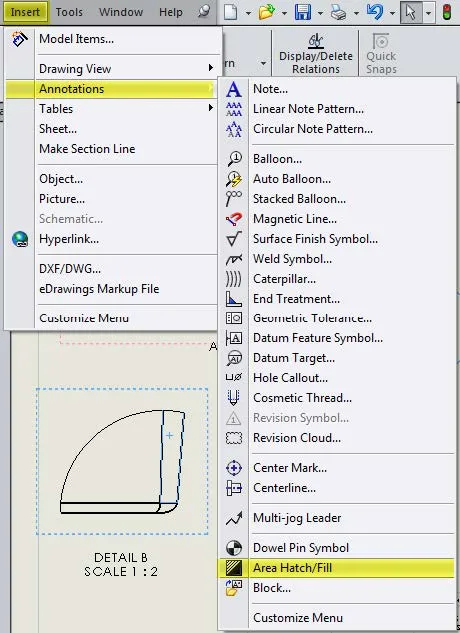
- The Hatch/Fill dialog box appears. You must select an area on the drawing for hatch insertion.
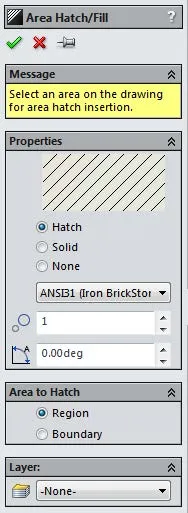
- You can select the Toggle Hatch and use the drop-down menu to pick the specific hatch you want as shown below:

- Specify the density and the angle of the hatch in the Hatch Pattern Scale and Hatch Pattern Angle fields, respectively.
- Define the area to hatch by selecting Region or Boundary in the Area to Hatch section.
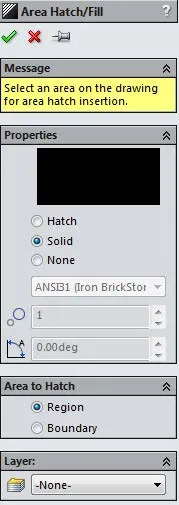
- If you wish not to show a hatch but a solid, select the Solid toggle in the dialog box. (Notice when selecting the Solid option, the Type, Density and Angle are grayed out. You also have the option to select None which displays no hatch.) Click Ok to accept the options you’ve input.
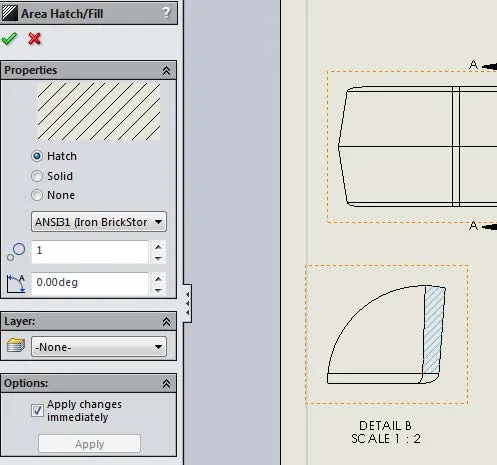
If you have an existing hatch that you want to modify, click on the hatch in the drawing and the dialog box will open. You can now make the necessary changes as shown below.
Related Articles
What's New SOLIDWORKS 2022: Assemblies & Drawings
Why and How to Use Display States in Drawings: SOLIDWORKS Tutorials
Displaying Expanded Metal in SOLIDWORKS Without Designing It

About GoEngineer
GoEngineer delivers software, technology, and expertise that enable companies to unlock design innovation and deliver better products faster. With more than 40 years of experience and tens of thousands of customers in high tech, medical, machine design, energy and other industries, GoEngineer provides best-in-class design solutions from SOLIDWORKS CAD, Stratasys 3D printing, Creaform & Artec 3D scanning, CAMWorks, PLM, and more
Get our wide array of technical resources delivered right to your inbox.
Unsubscribe at any time.