How to make a SOLIDWORKS RX Problem Capture
With SOLIDWORKS closed and exited, follow these instructions to run a SOLIDWORKS Rx to capture the problem.
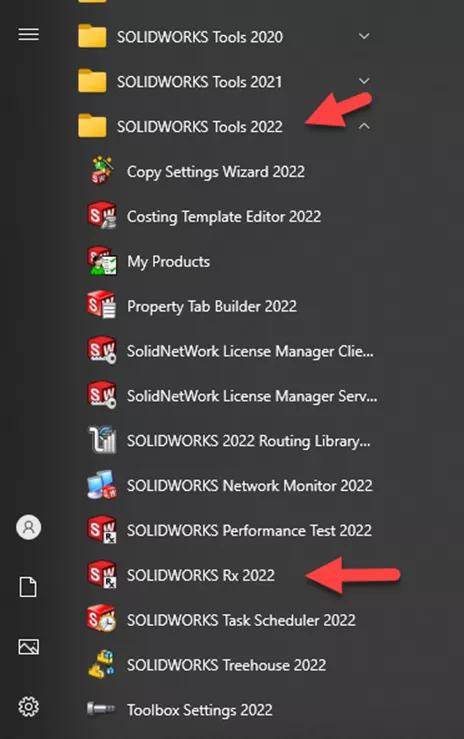
Go to Start > All Programs > SOLIDWORKS 20xx > SOLIDWORKS Tools > SOLIDWORKS Rx 20xx.
This will open the SOLIDWORKS Rx dialog.
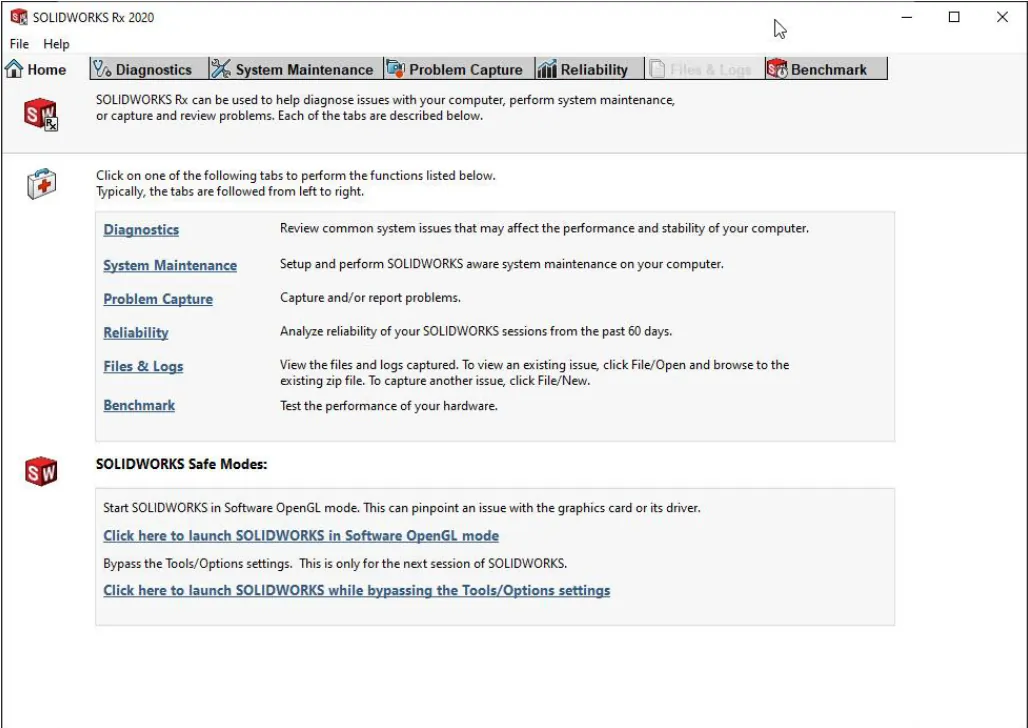
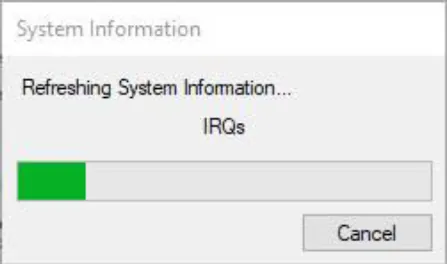
Once you click on the “Problem Capture” tab, another dialog will show. Do not cancel it.
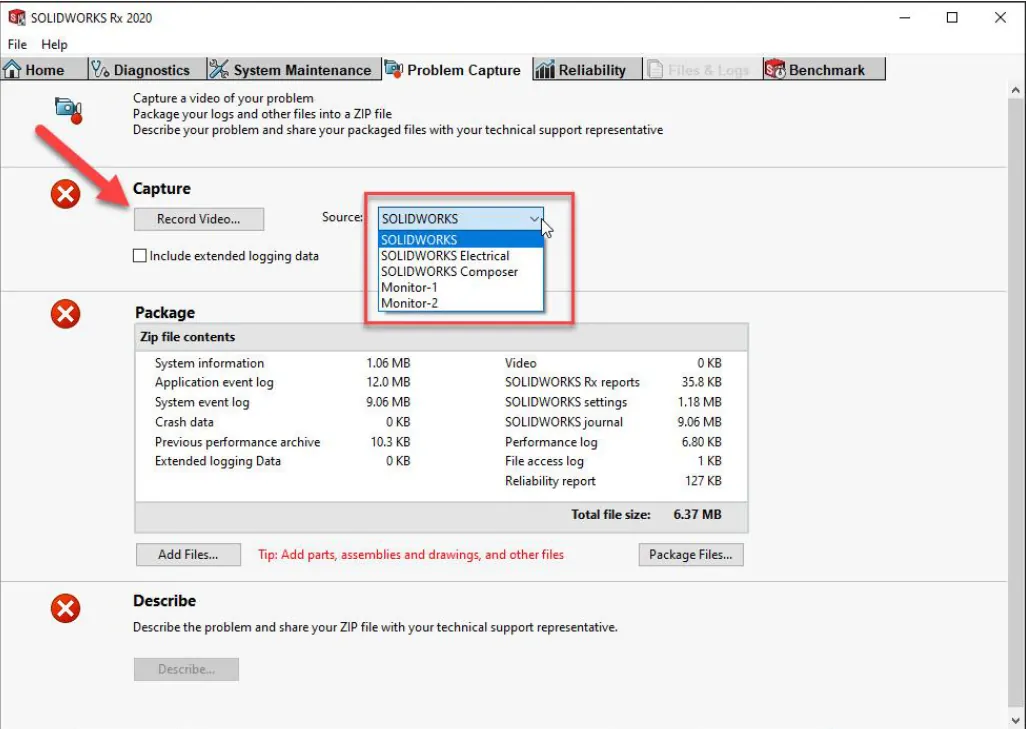
Now on the “Problem Capture” tab, there have been some changes. You will now need to note where you are capturing the video. Are we capturing Electrical issues? Are we capturing information like something in Visualize and need to focus on a certain monitor screen? The RX, now has various options to choose from SOLIDWORKS, SOLIDWORKS Electrical, SOLIDWORKS Composer, Secondary or beyond Monitors. Once decided click on the “Record Video” button. *MAKE SURE TO PICK THE CORRECT SOURCE OPTION PRIOR TO RECORDING*
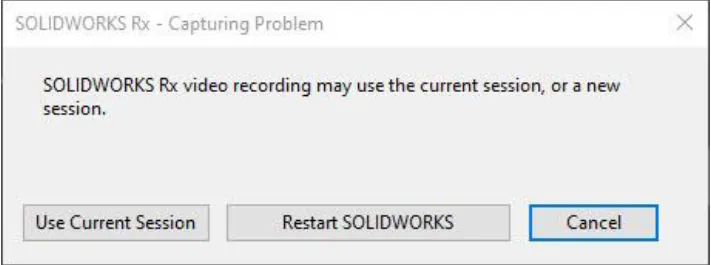
If you already have a session of SOLIDWORKS running, you will see this dialog. If you are capturing something that you cannot readily replicate, then select “Use Current Session”. If you can reproduce the issue, then select “Restart SOLIDWORKS Now”. Please note, that if you choose to not restart SOLIDWORKS, all previously worked on files in the session will be included in the RX when it goes through the gathering files process.
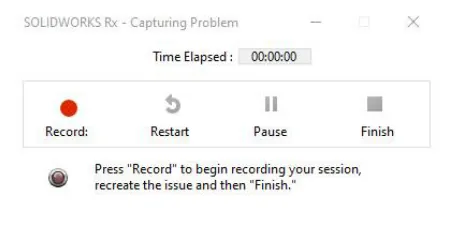
Either option will show the following dialog. Move the dialog to a location that will not obstruct the screen where you are showing the issue and click on “Record”.
Once you are done capturing the issue, click on “Finish”.
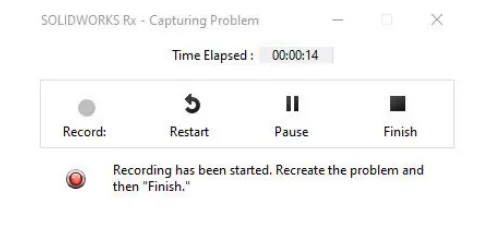
Previously, you had to close the software to finish the RX, this step is no longer required.
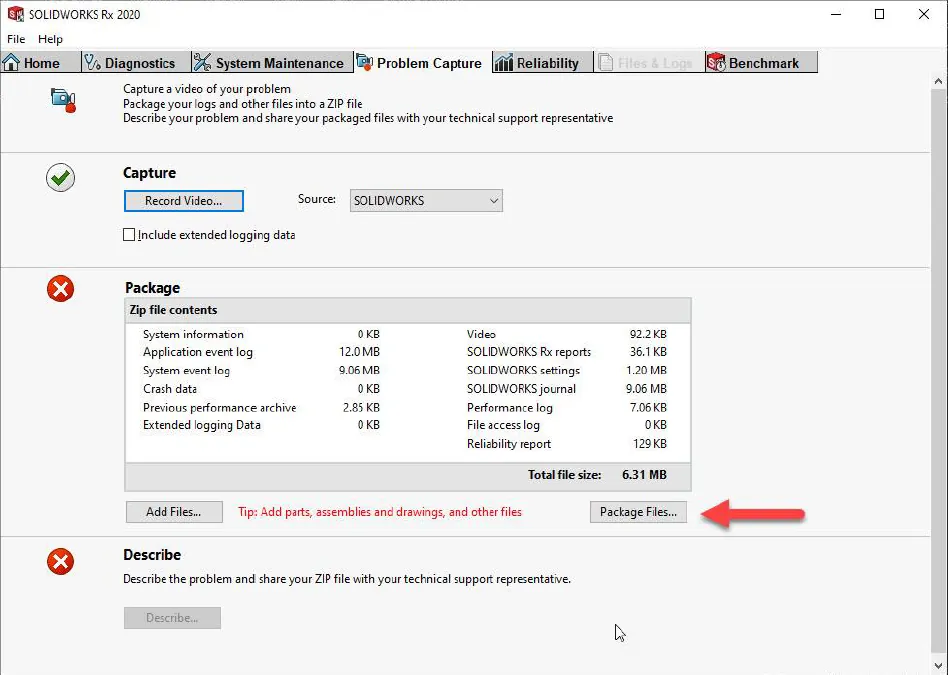
After clicking “Finish” you will once again, be taken to the screen below, were you can package your files.
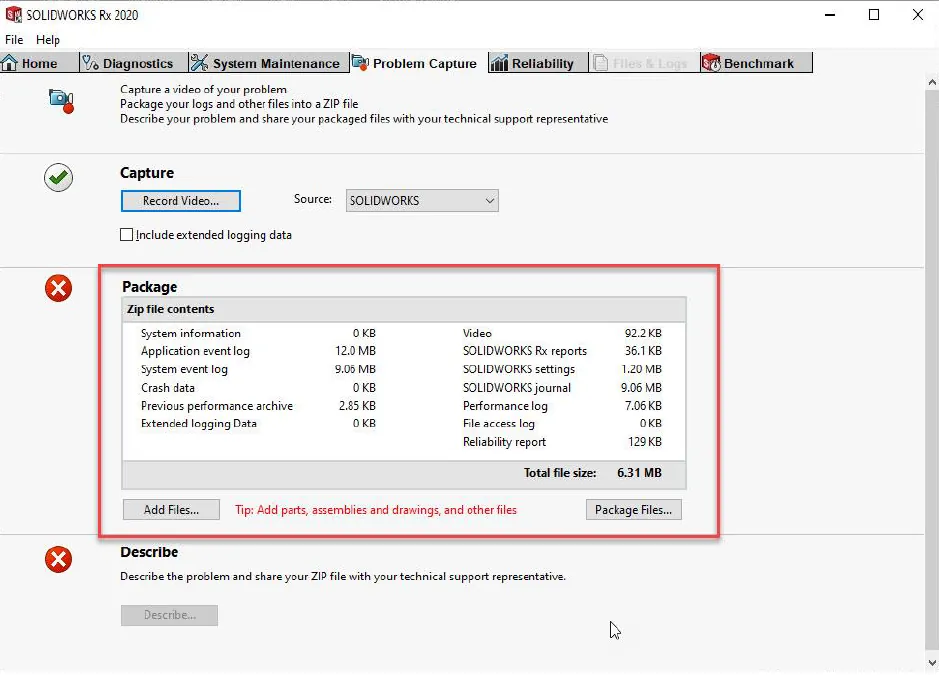
You can now click on “Add Files…” to view the files that will be attached and include more as needed. Once you have verified the files to be added, click on “Add Files to Package”.
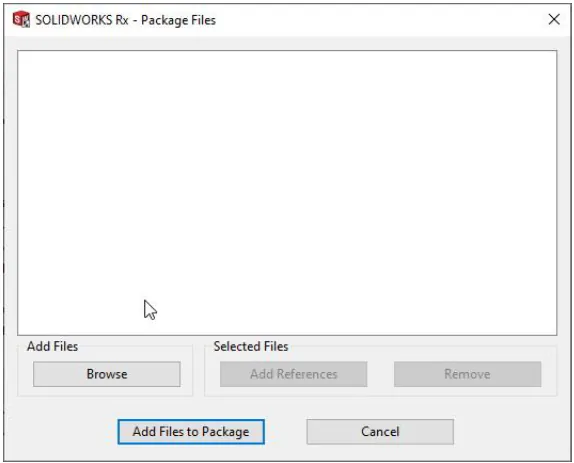
Now click on “Package Files…”.
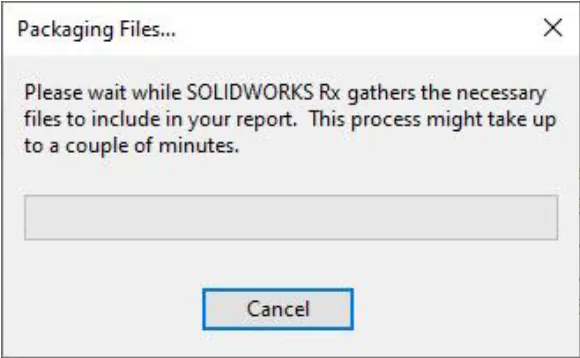
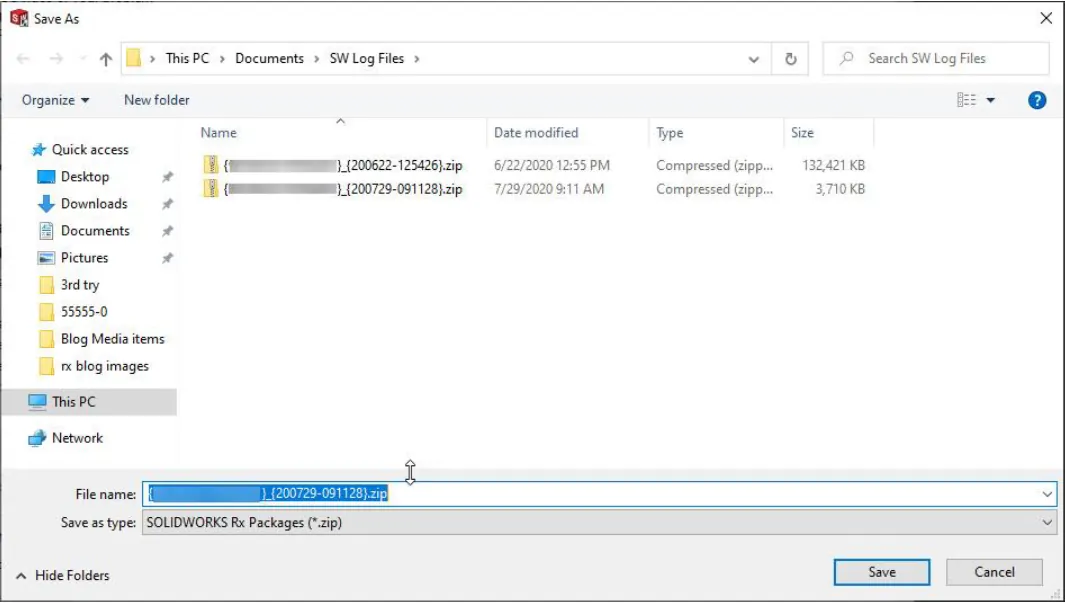
You will see the following dialog and then a “Save As” dialog.
Leave the file name as is and click “Save”.
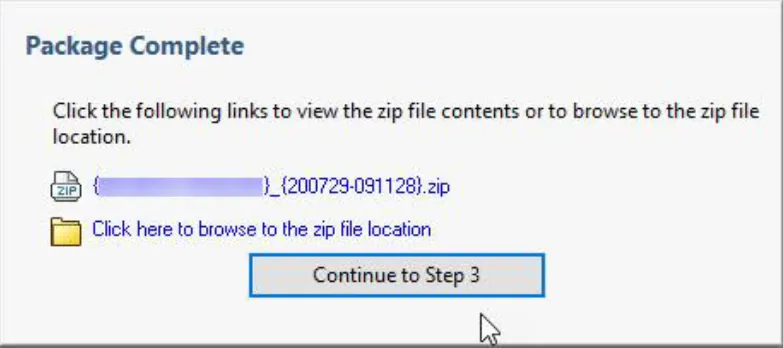
Now you will see the “Package Complete” dialog, click on “Continue to Step 3”.
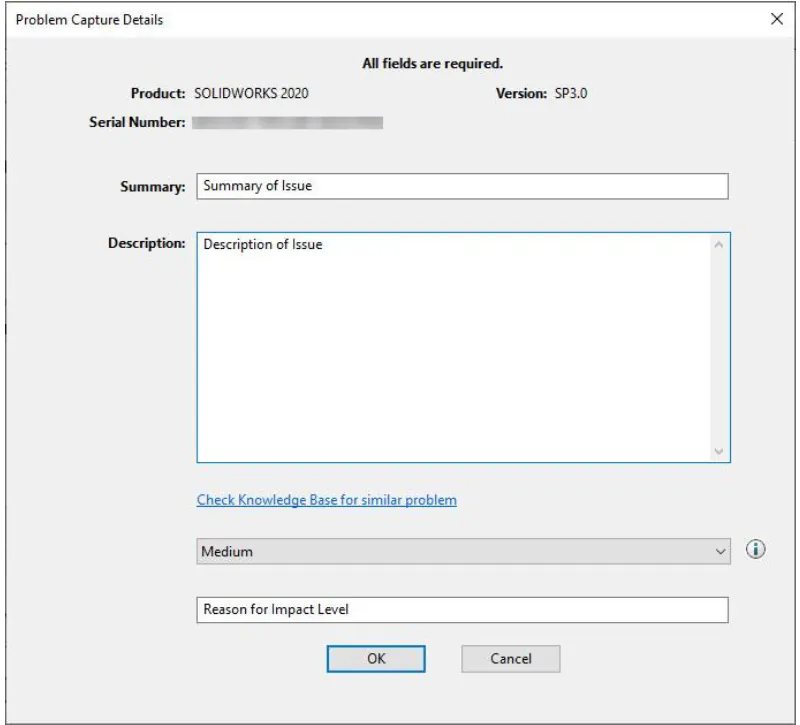
In the “Program Capture Details” dialog, fill out all fields making sure to pay special attention to the Summary, Description, Impact, and Reason fields. Then click OK.
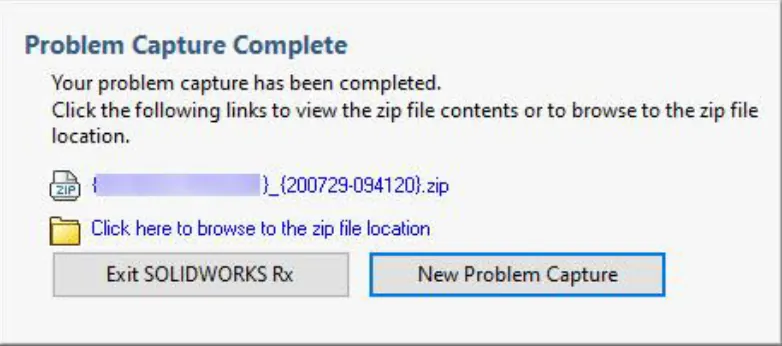
Finally you will see the “Problem Capture Complete” dialog. There are a couple options from this dialog, but typically you will just select “Exit SOLIDWORKS Rx”.
Creating an Rx using 3DEXPERIENCE SOLIDWORKS
For creating an Rx using your 3DEXPERIENCE Platform, with the software open, click on the Help icon in the upper right corner of the software. ![]()
Within the drop-down menu, you will see the SOLIDWORKS Rx option.
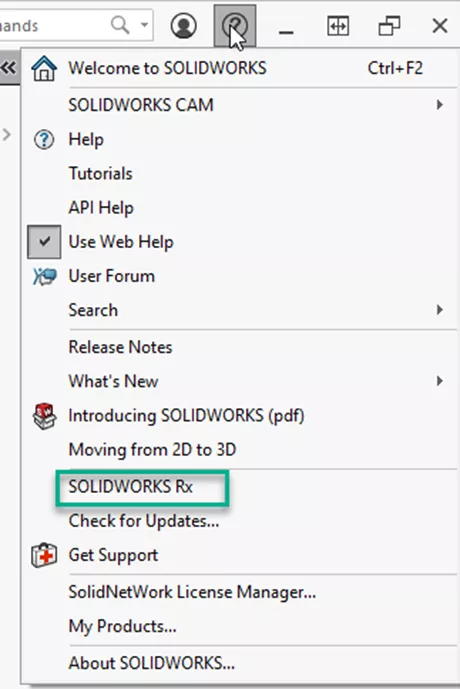
Once the Rx launches, follow the capture steps above, which will guide you through the capture portion.
For failure to launch issues, try accessing SOLIDWORKS Rx without starting SOLIDWORKS Connected C:\Program Files\Common Files\SOLIDWORKS Shared\20XX\sldrx.
I hope you found this tutorial helpful. Expand your knowledge of SOLIDWORKS with more of our tips and tricks by subscribing to our blog.
Editor's Note: This article was originally published in July 2014 and has been updated for accuracy and comprehensiveness.
Related Articles
Checking Your Graphics Card with SOLIDWORKS Rx
What Do You Mean My SOLIDWORKS Activation Count is Exceeded?!

About GoEngineer
GoEngineer delivers software, technology, and expertise that enable companies to unlock design innovation and deliver better products faster. With more than 40 years of experience and tens of thousands of customers in high tech, medical, machine design, energy and other industries, GoEngineer provides best-in-class design solutions from SOLIDWORKS CAD, Stratasys 3D printing, Creaform & Artec 3D scanning, CAMWorks, PLM, and more
Get our wide array of technical resources delivered right to your inbox.
Unsubscribe at any time.