Product Specific Admin Image Creation in SOLIDWORKS
This tutorial demonstrates how to create a product-specific admin image in SOLIDWORKS that needs to be added to a SOLIDWORKS installation. This can also be used to install a product for a user that only needs the specific product, and not the entire installation.
Where to Find It
Insert your SOLIDWORKS DVD or Downloaded Installation Media. Right Mouse Button on ‘setup’ and select ‘Run as Administrator’.
On the Welcome page, select ‘Administrative Image’ as the type of installation. Also, make sure that ‘Create a new image using default settings’ is selected.
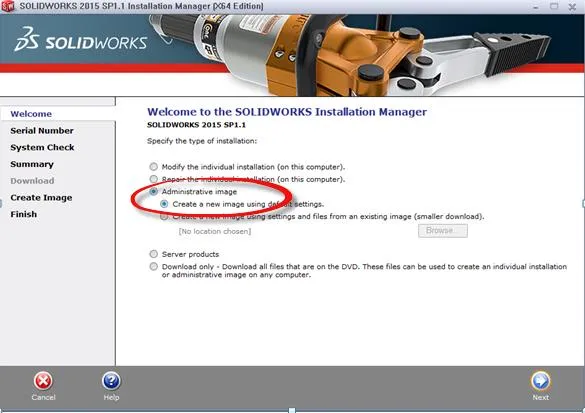
After selecting ‘Administrative Image’ as your type of installation, click Next.
On the serial number page, enter the serial number for the appropriate product selection, and then select ‘Next’.
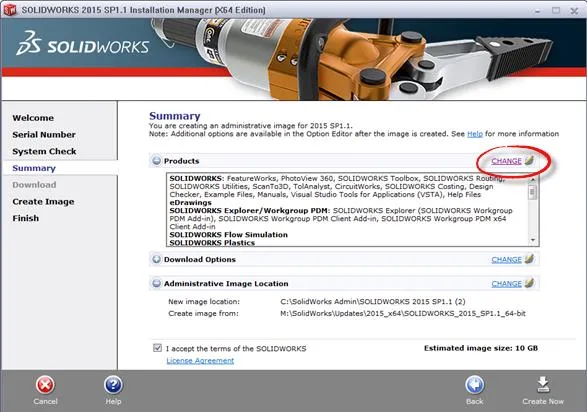
You will now be taken to the Summary page, where you will need to select ‘Change’.
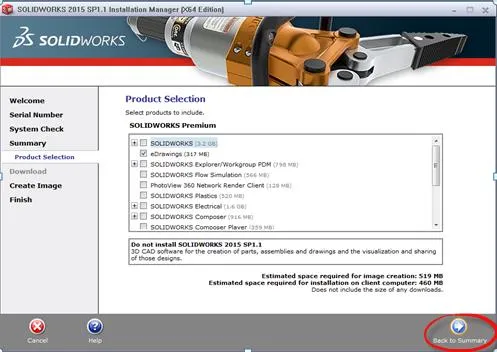
Select the product(s) to be included in the Administrative Image, and then click ‘Back to Summary’.
Back on the Summary page, you will see the products that were selected on the previous screen. Verify that everything you have selected is showing in the ‘Products’ box.
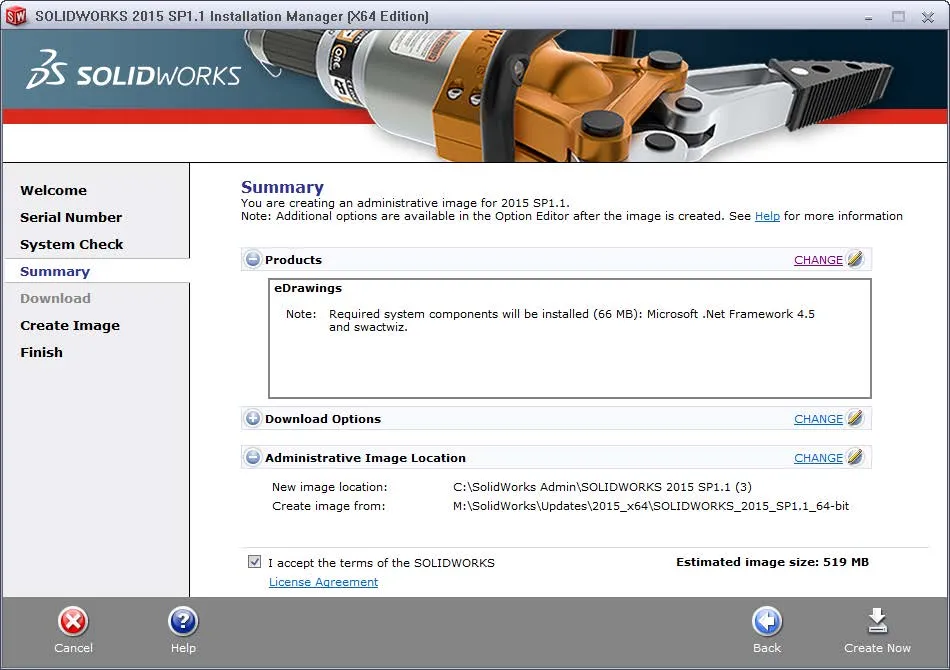
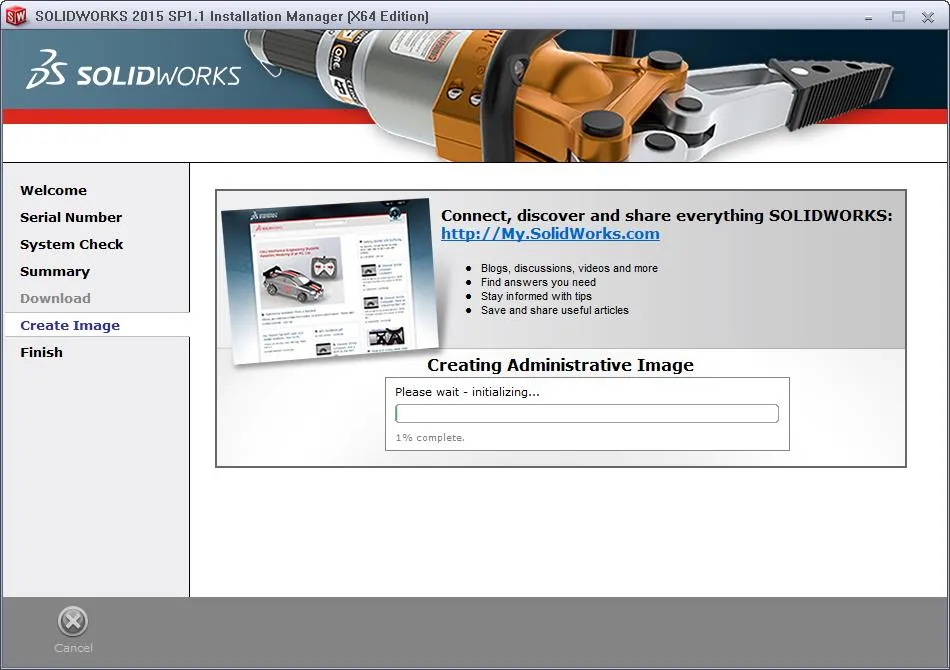
Accept the terms of the SOLIDWORKS License Agreement by clicking the checkbox and then select ‘Create Now’ to start the image creation process.
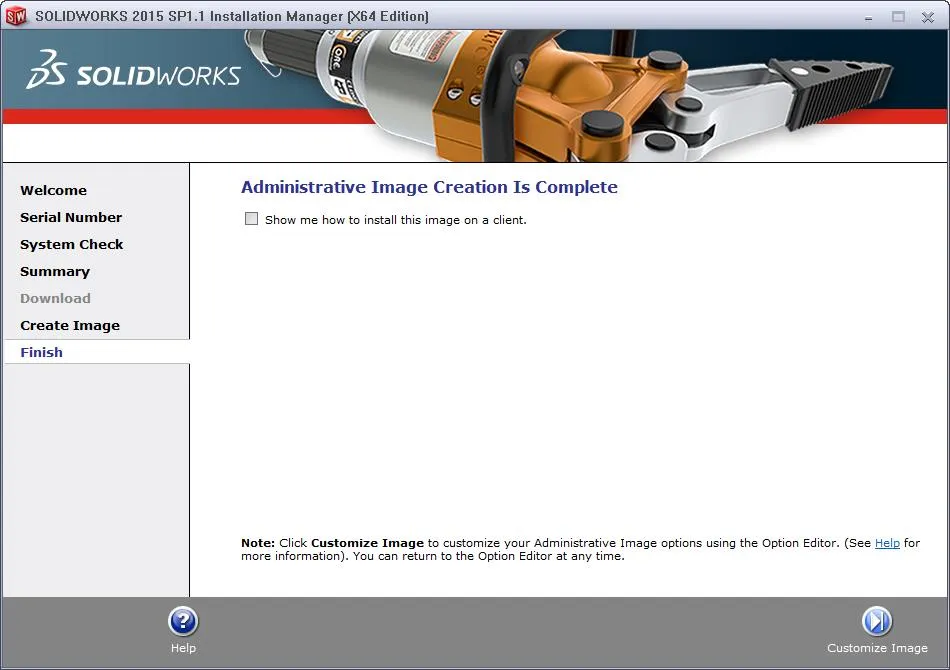
Once the image creation has completed, you will have the option to select ‘Show me how to install this image on a client’. This will take you to a document that will walk you through installing the image on the end user’s client machine.
The administrator can use the “Administrative Image Option Editor” to create SOLIDWORKS images and deploy them to specified groups or individual users at the same time. This is a time-saving resource when multiple machines require a SOLIDWORKS installation and not all the features are needed in every machine.
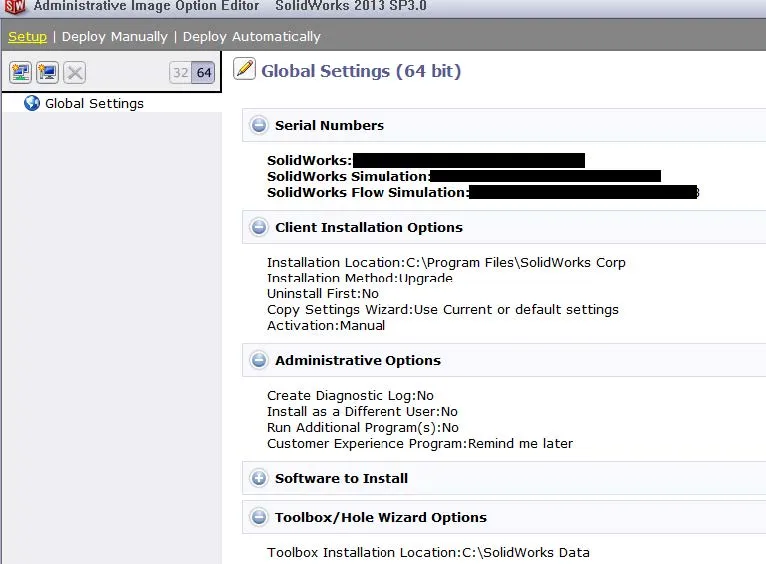
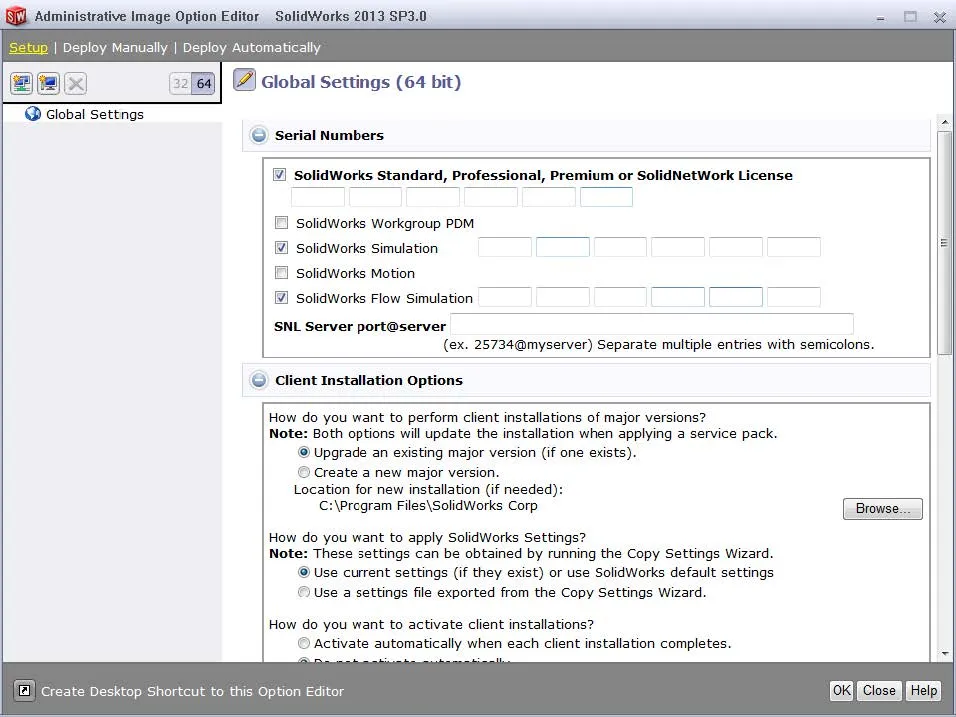
In the “Global Settings” dialogue box, parameters can be modified as desired by the administrator. The administrator has the option to modify serial numbers, Solid Network License (SNL) server information, type of installation (new/upgrade), activation options, software to install, etc.
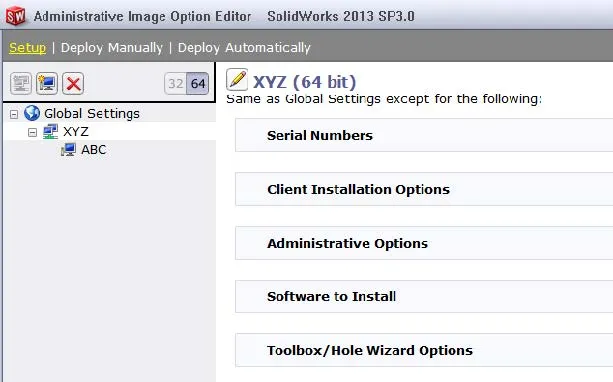
The administrator can either create a new group or add a machine. This allows the administrator to specify settings that will be applied to a specific group or machine. Multiple individual machines can also be added to the list.
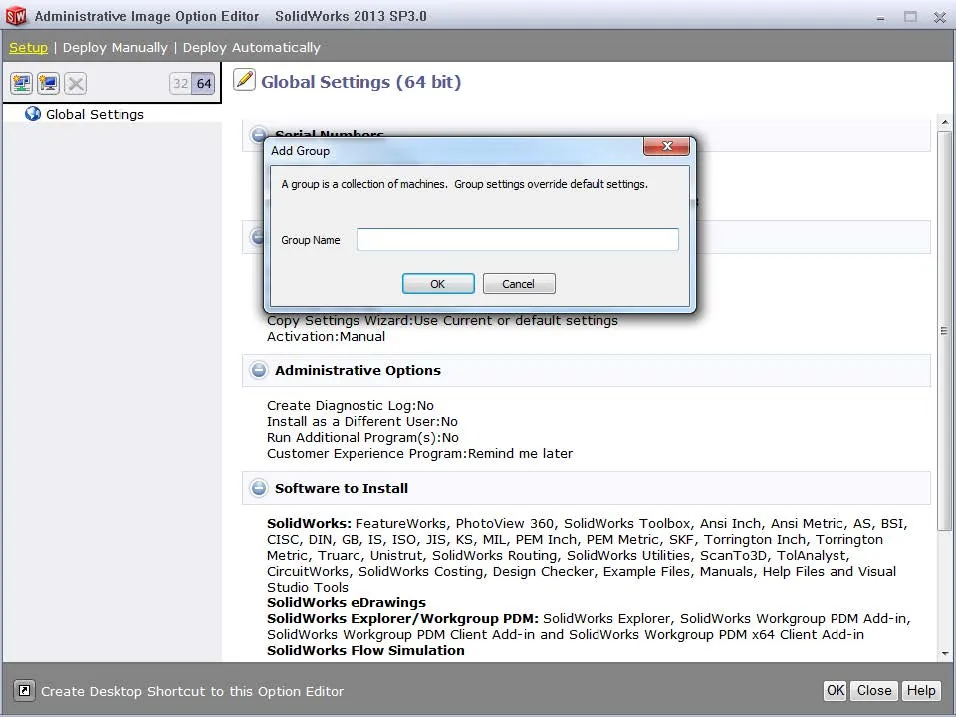
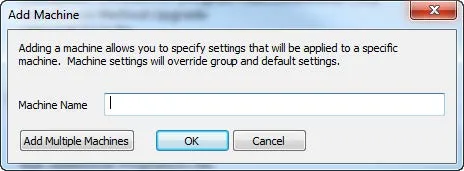
The settings for individual computers or groups can be changed in this section.
The administrator can specify the serial numbers that are required to be used by certain groups or individual computers. The administrator has the liberty to select the software that needs to be installed.
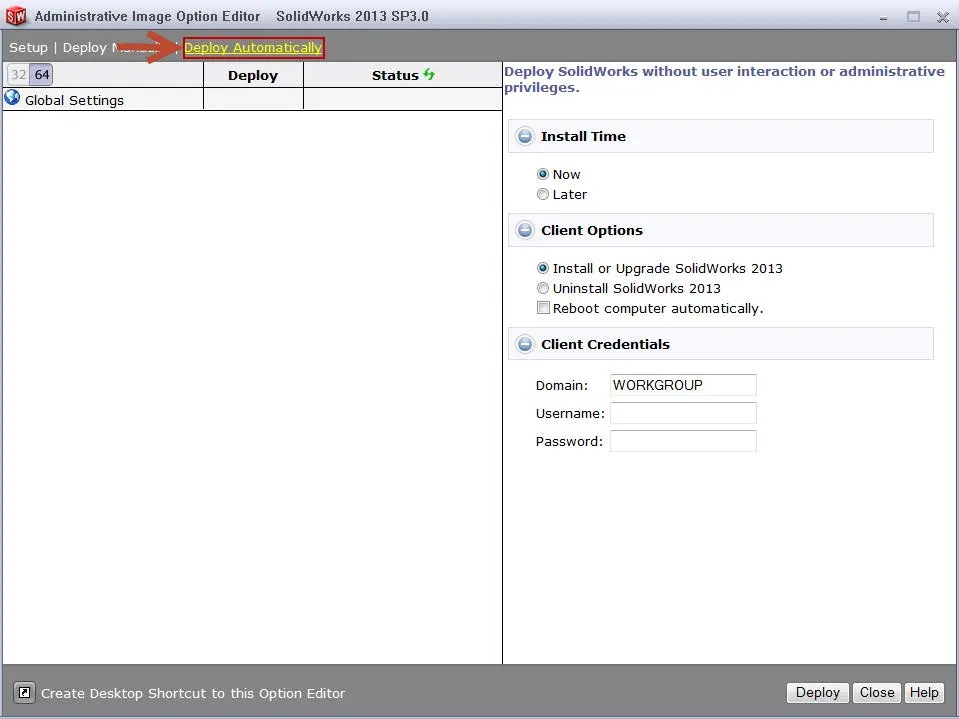
Once the settings have been selected, there are two ways to deploy the image to the client machine.
Deploy manually asks the administrator to send an email to the client.
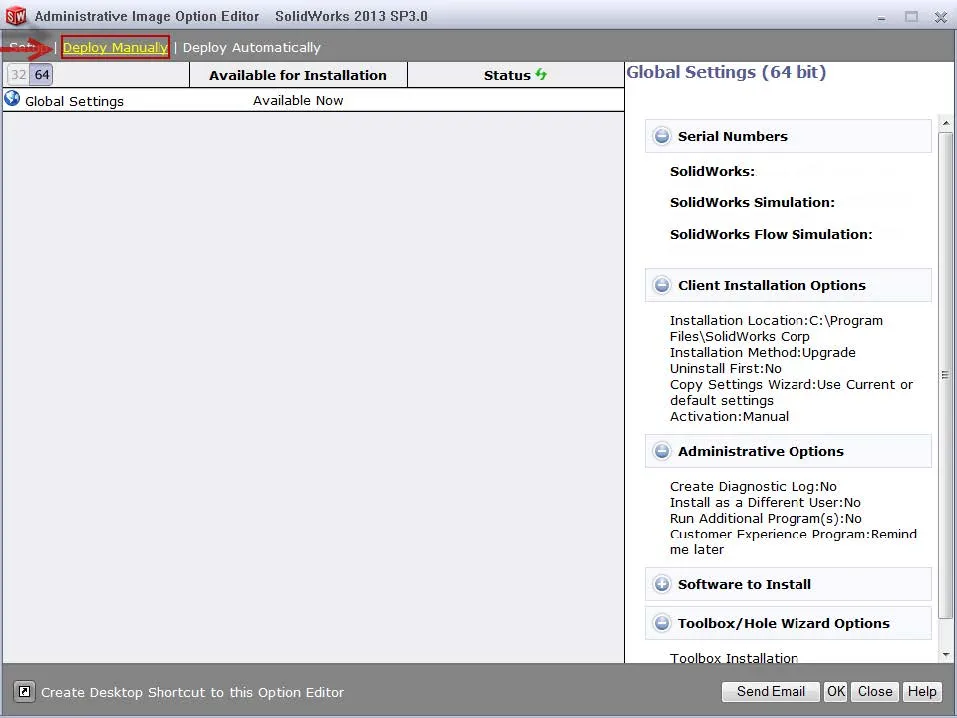
Deploy automatically gives the administrator the option to deploy SOLIDWORKS without user interaction.
Related Articles
How to Troubleshoot SOLIDWORKS Crashes
How to Deactivate SOLIDWORKS if you Cannot Launch it
Dimension Precision Settings: Leading and Trailing Zeroes
![]()
About GoEngineer
GoEngineer delivers software, technology, and expertise that enable companies to unlock design innovation and deliver better products faster. With more than 40 years of experience and tens of thousands of customers in high tech, medical, machine design, energy and other industries, GoEngineer provides best-in-class design solutions from SOLIDWORKS CAD, Stratasys 3D printing, Creaform & Artec 3D scanning, CAMWorks, PLM, and more
Get our wide array of technical resources delivered right to your inbox.
Unsubscribe at any time.