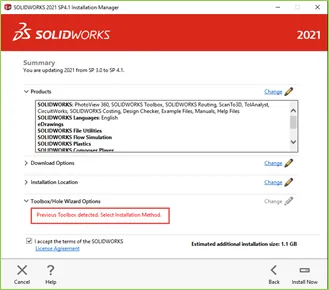
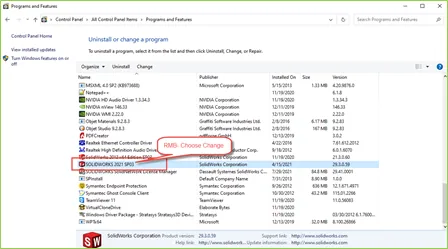
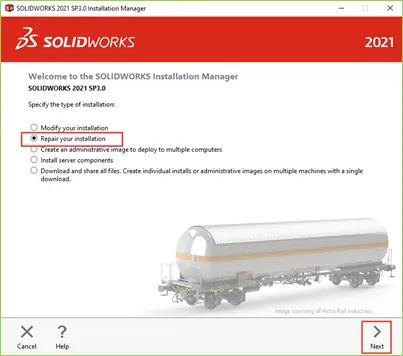
CHANGE TOOLBOX
If the toolbox is stored remotely, write permissions could be the cause of the problem. During most initial installations, SOLIDWORKS will install a local toolbox. It is possible to upgrade the installation while referencing this local toolbox.
In the Start Menu, find Copy Settings Wizard.
Start > SOLIDWORKS Tools 20xx > Copy Settings Wizard
Choose Save Settings.
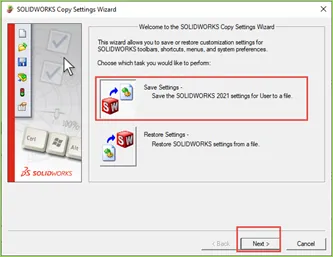
Figure 4: Copy Settings Wizard
The only setting that needs to be saved is the System Options; however other settings can be saved as well. Once the settings are configured, click Finish to create the backup file.
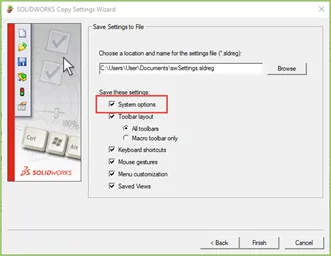
Figure 5: Save System Options
The next step is to change the toolbox being referenced. Launch SOLIDWORKS, go to Tools > Options, under system options, find HoleWizard / Toolbox.

Figure 6: Hole Wizard Location in SOLIDWORKS
Click the ellipsis (...) to change the file location. SOLIDWORKS, by default, will install a toolbox at <C:\SOLIDWORKS Data\>. Change the directory so that it matches the directory shown.

If there are multiple toolboxes, they will be numbered. Select the largest number. If you changed the toolbox installation to match the year of installation, be sure to choose that toolbox location.
Note: If you do not have a local toolbox, contact technical support. If the toolbox is supported nonlocally, check with GoEngineer and your CAD Administrator for PDM and IT if the toolbox points to a network drive.
Click OK and close SOLIDWORKS and run the upgrade again. The upgrade should be able to complete without issue, referencing the local toolbox. After upgrading, SOLIDWORKS will still reference the incorrect toolbox and needs to be directed to the network toolbox.
To fix this, launch the Copy Settings Wizard tool used earlier. Choose Restore Settings, navigate to the location the backup was stored, and choose Next.
In the following window, leave the default setting of Current user. Choosing Next will restore the location of the network toolbox to SOLIDWORKS. Test the toolbox after the upgrade to verify it’s working correctly.
If these steps don’t correct the problem, please contact our support team they would be more than happy to help get these issues.
To learn more about SOLIDWORKS CAD upgrades and updates, check our best practices video for prepping for an upgrade.
Editor's Note: This article was originally published in April 2018 and has been updated for accuracy and comprehensiveness.
Other SOLIDWORKS Errors & How to Fix Them
SOLIDWORKS Error: A Newer Version of this Application is Already Installed
Top 3 Causes of the SOLIDWORKS Journal File Warning
SOLIDWORKS Error Message: The Sheet Format Could Not Be Located
SOLIDWORKS Warning Workaround: The Specified Auto-Recover Folder Does Not Exist and Cannot Be Created
3 Ways tO Resolve SOLIDWORKS Freezing on Splash Screen
VIEW ALL SOLIDWORKS TUTORIALS
