SOLIDWORKS Designed Custom Exhibition Table
To display her pottery at an upcoming exhibition, my wife asked me to design and build custom oval tables that would be easy to assemble and transport between shows. Since I have designed tables before, I had some ideas, so I opened SOLIDWORKS and got to work.
SOLIDWORKS CAD Design
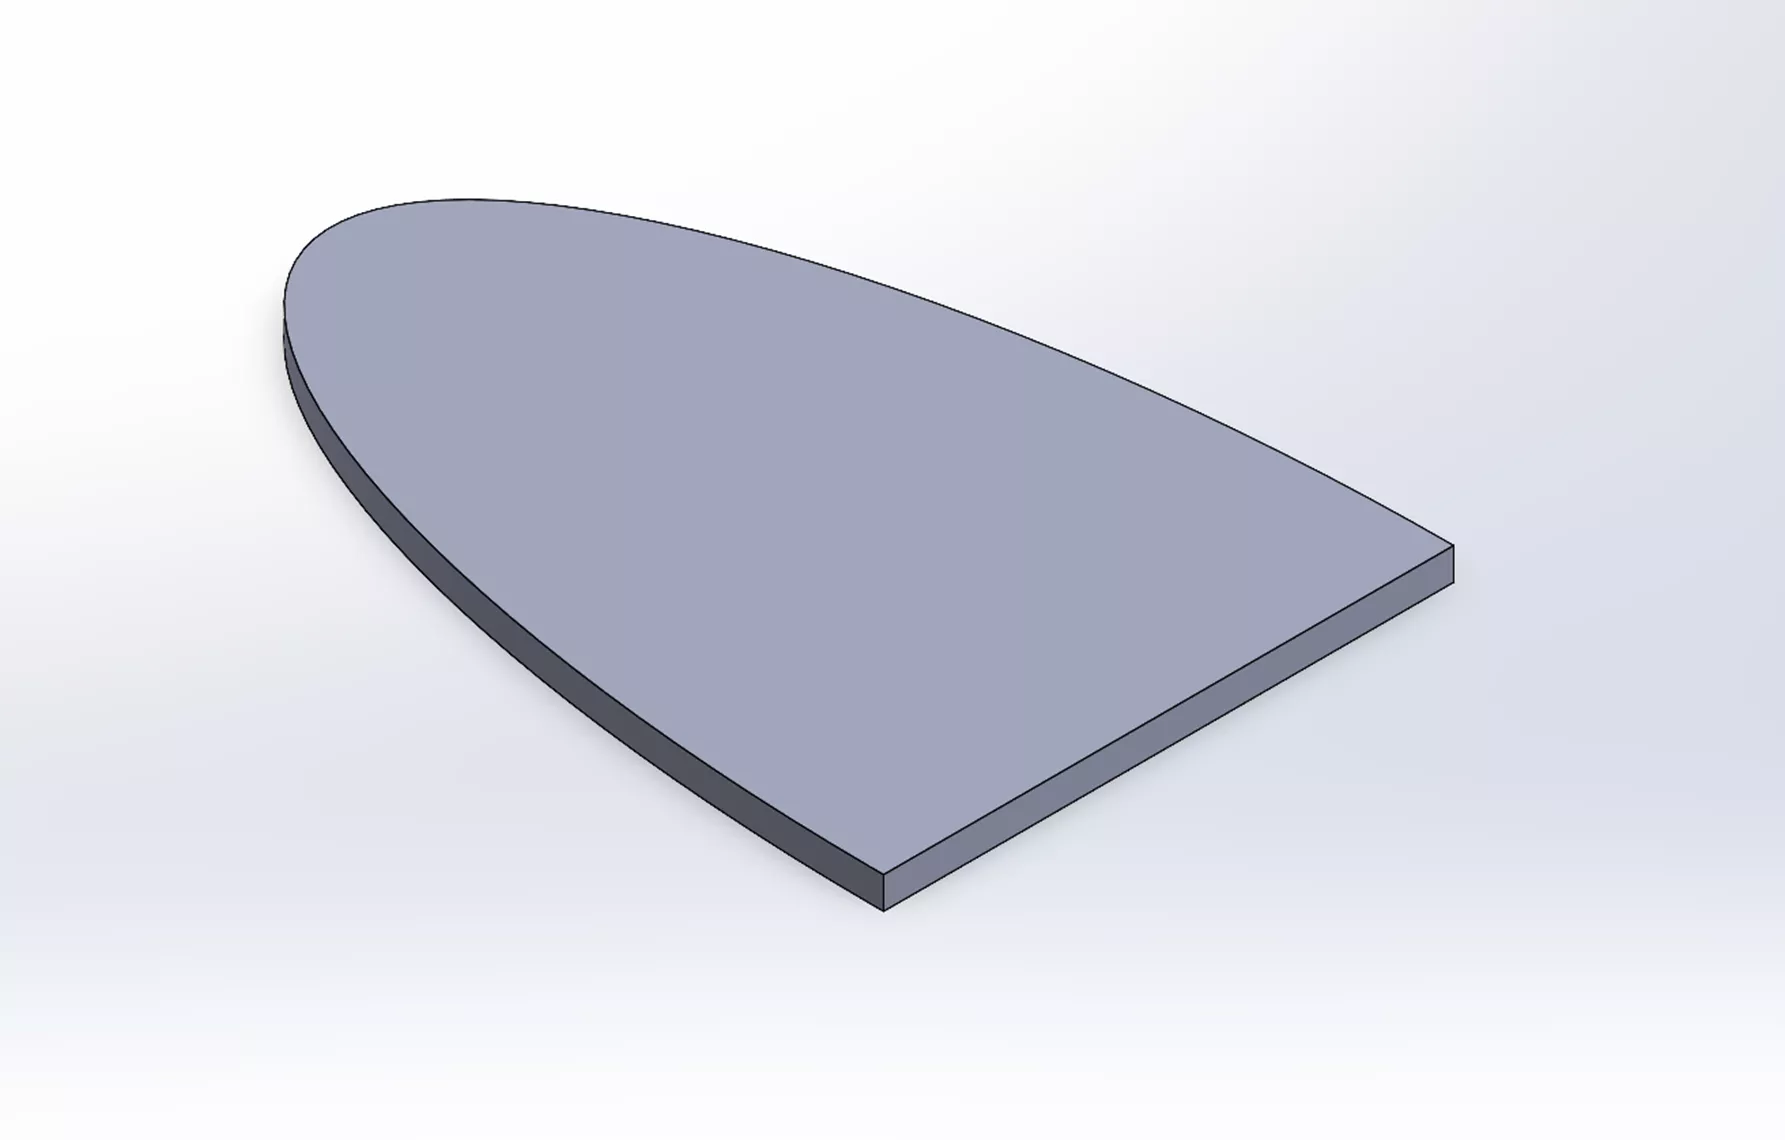
I started with the oval top.

The large top makes it challenging to store in a small area, so cutting it in half helps reduce the footprint when packing it in an SUV or van.
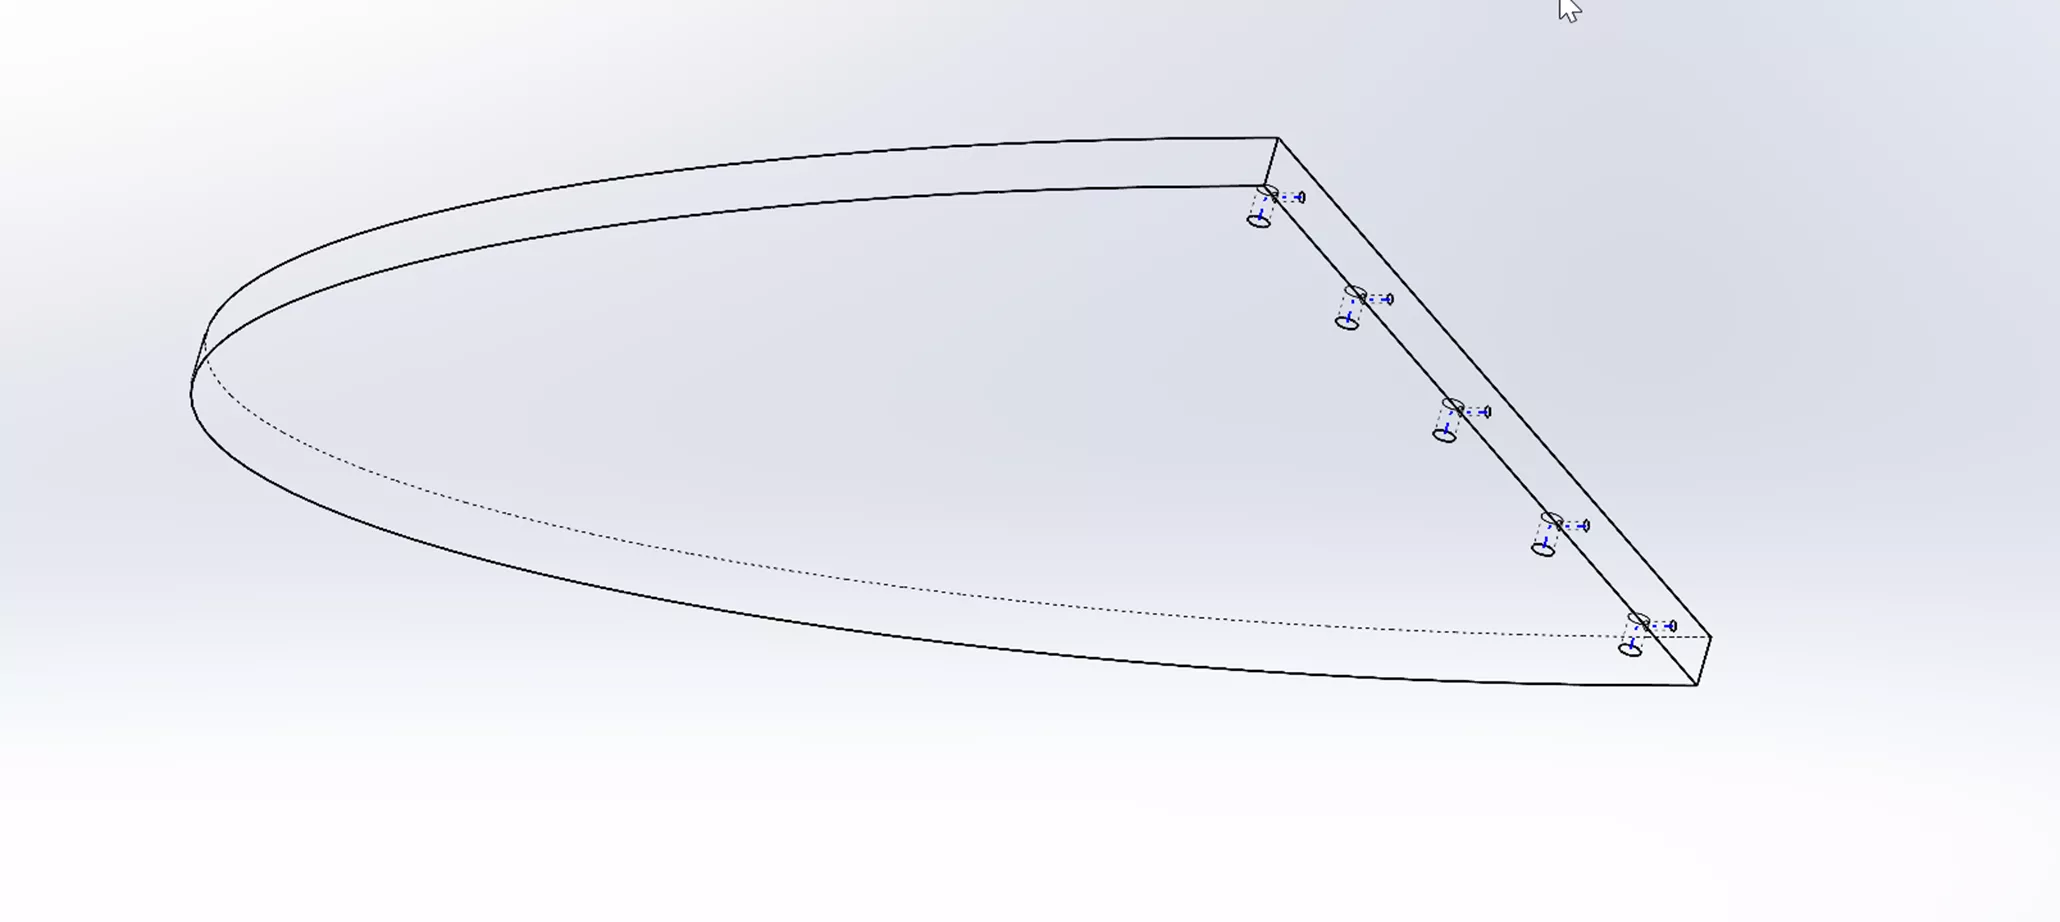
Next, I need hardware to bind the two haves together. So, I roughed out the holes for the hardware.
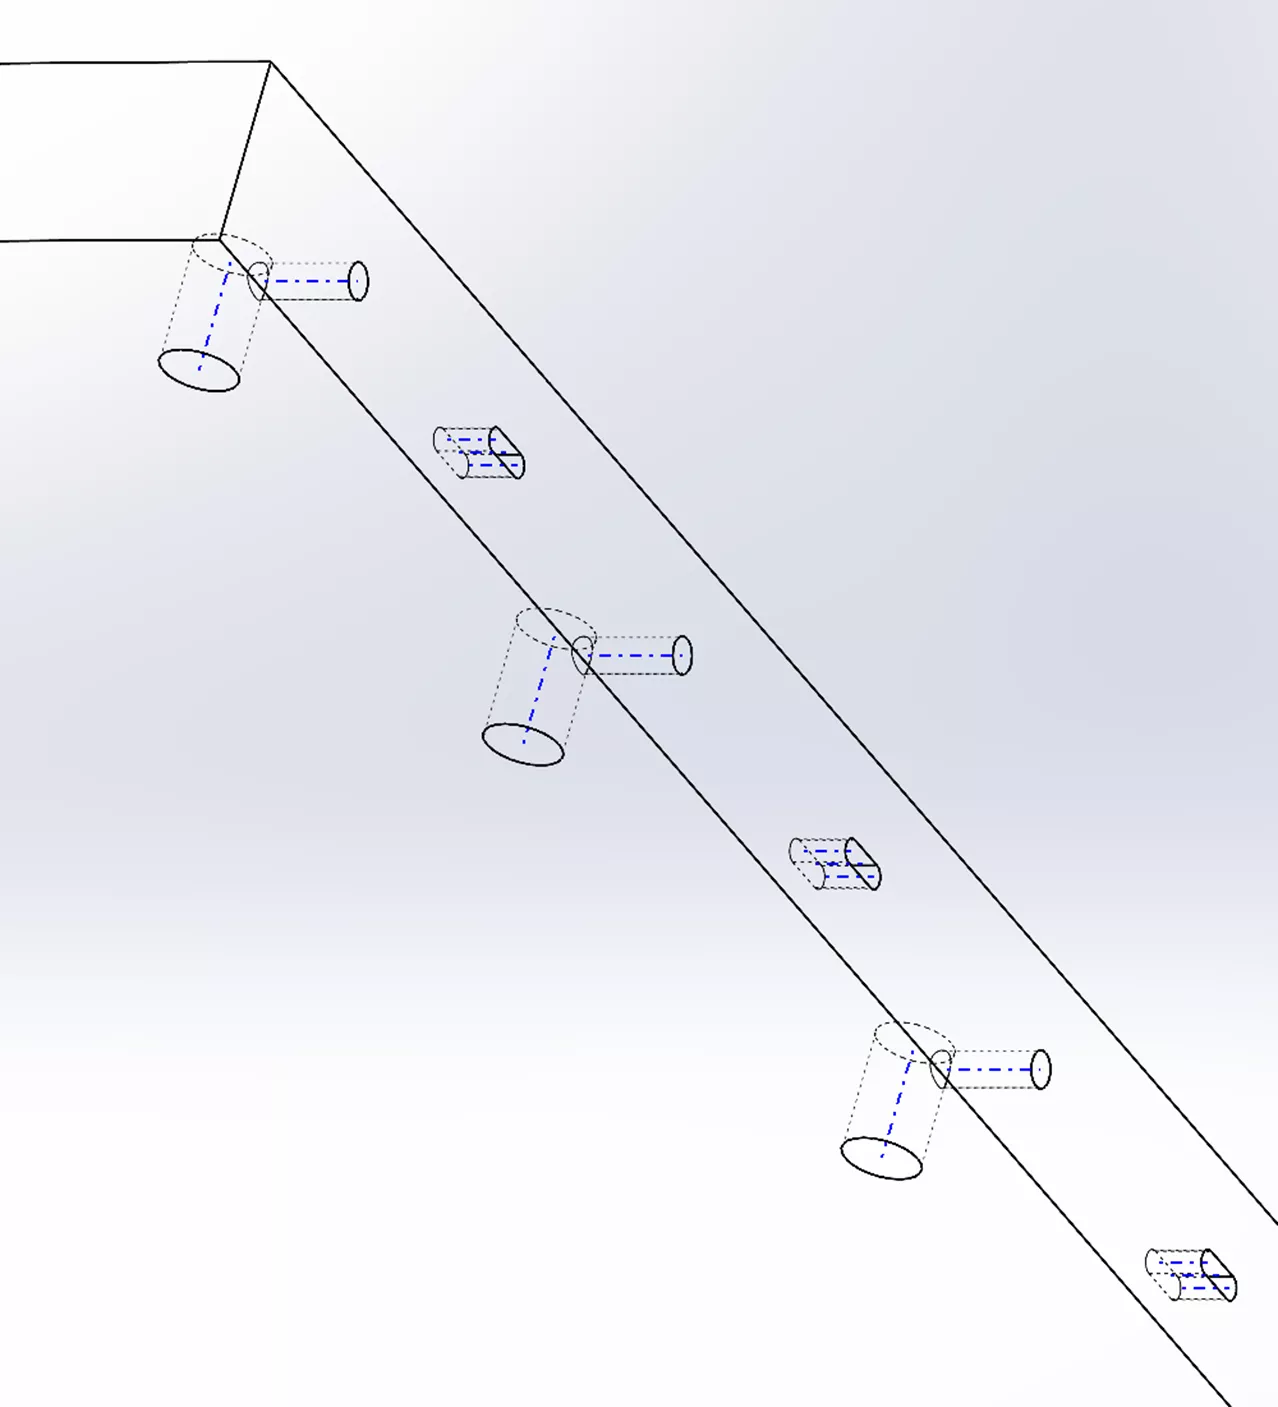
I’ll add slots for removable biscuits to ensure proper alignment.
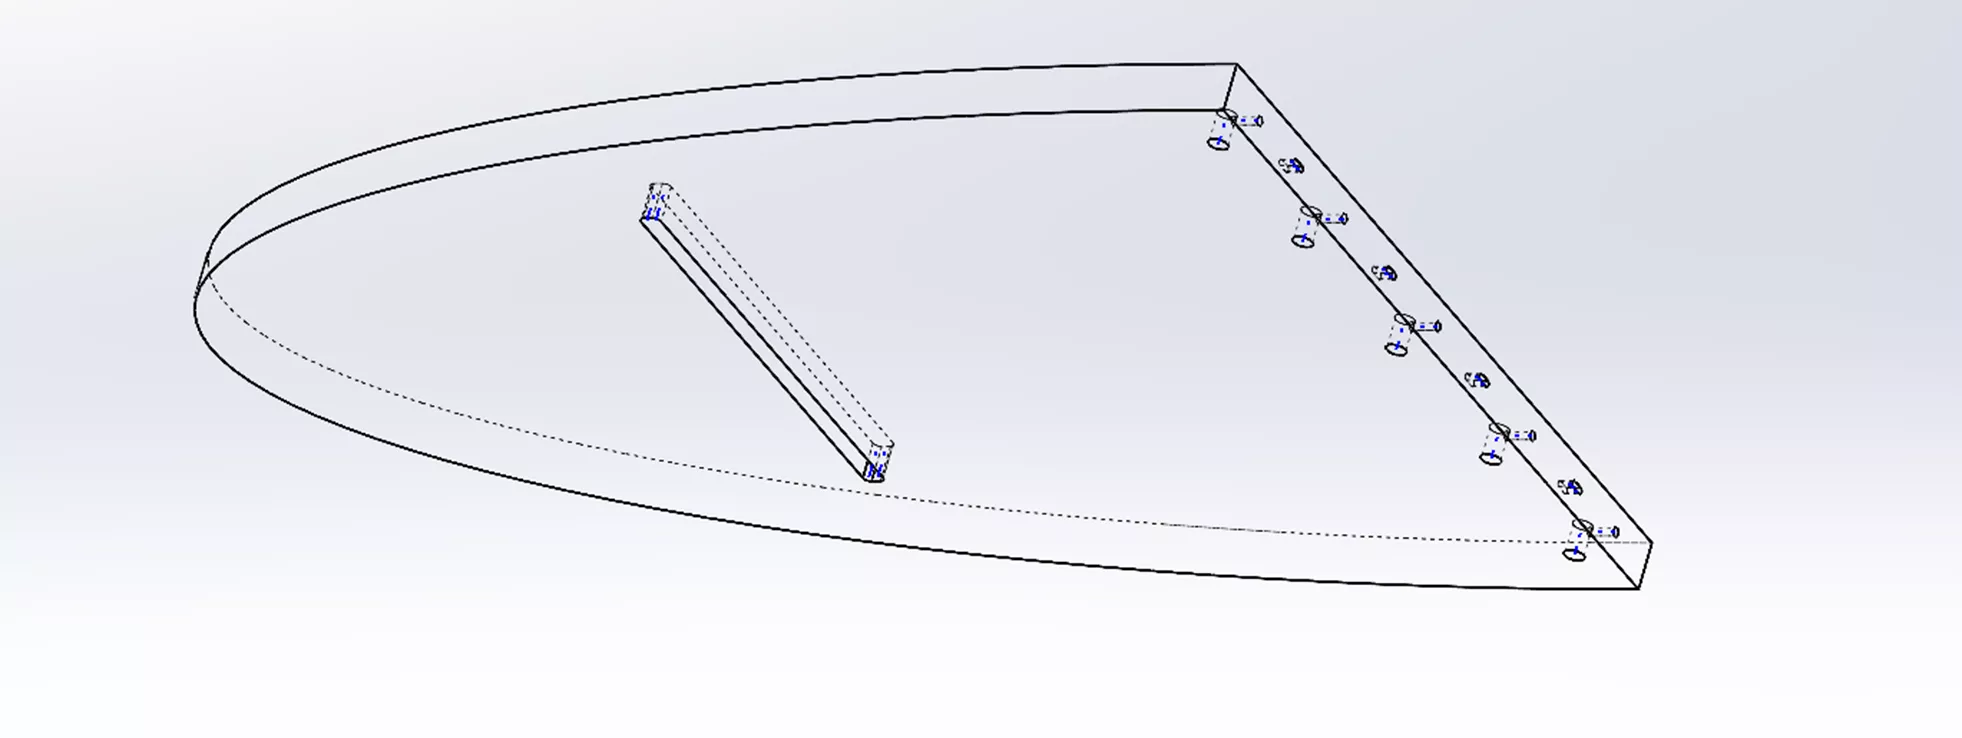
Now, I want to add a slot on the bottom of the table for the frame that will support the tabletop.
Now that the top is done, I can make the two legs. I love symmetrical designs. I can create one part that works for both sides, keeping the design simple and elegant.
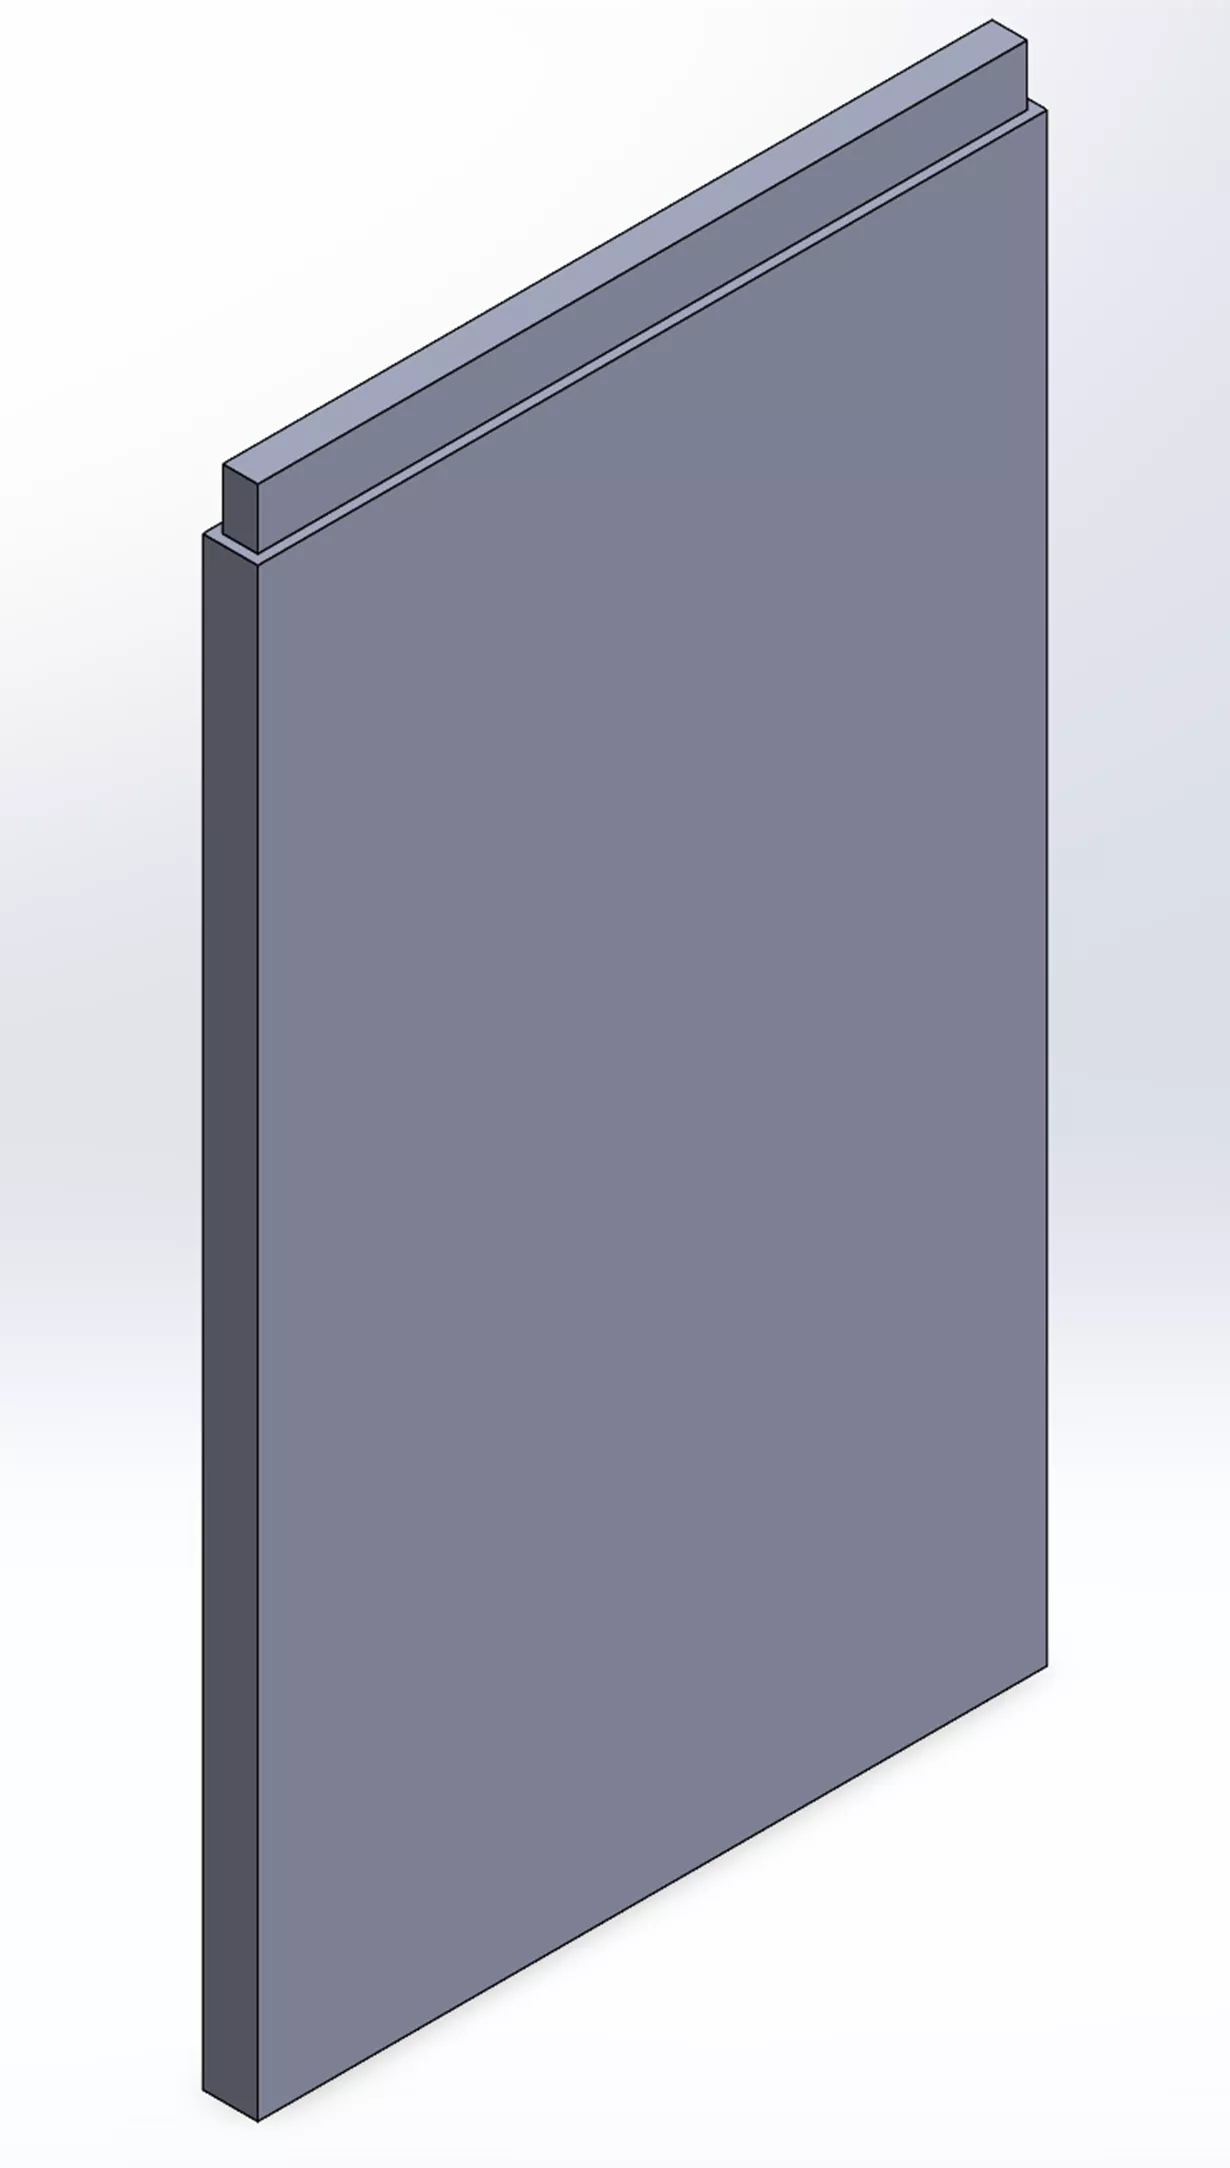
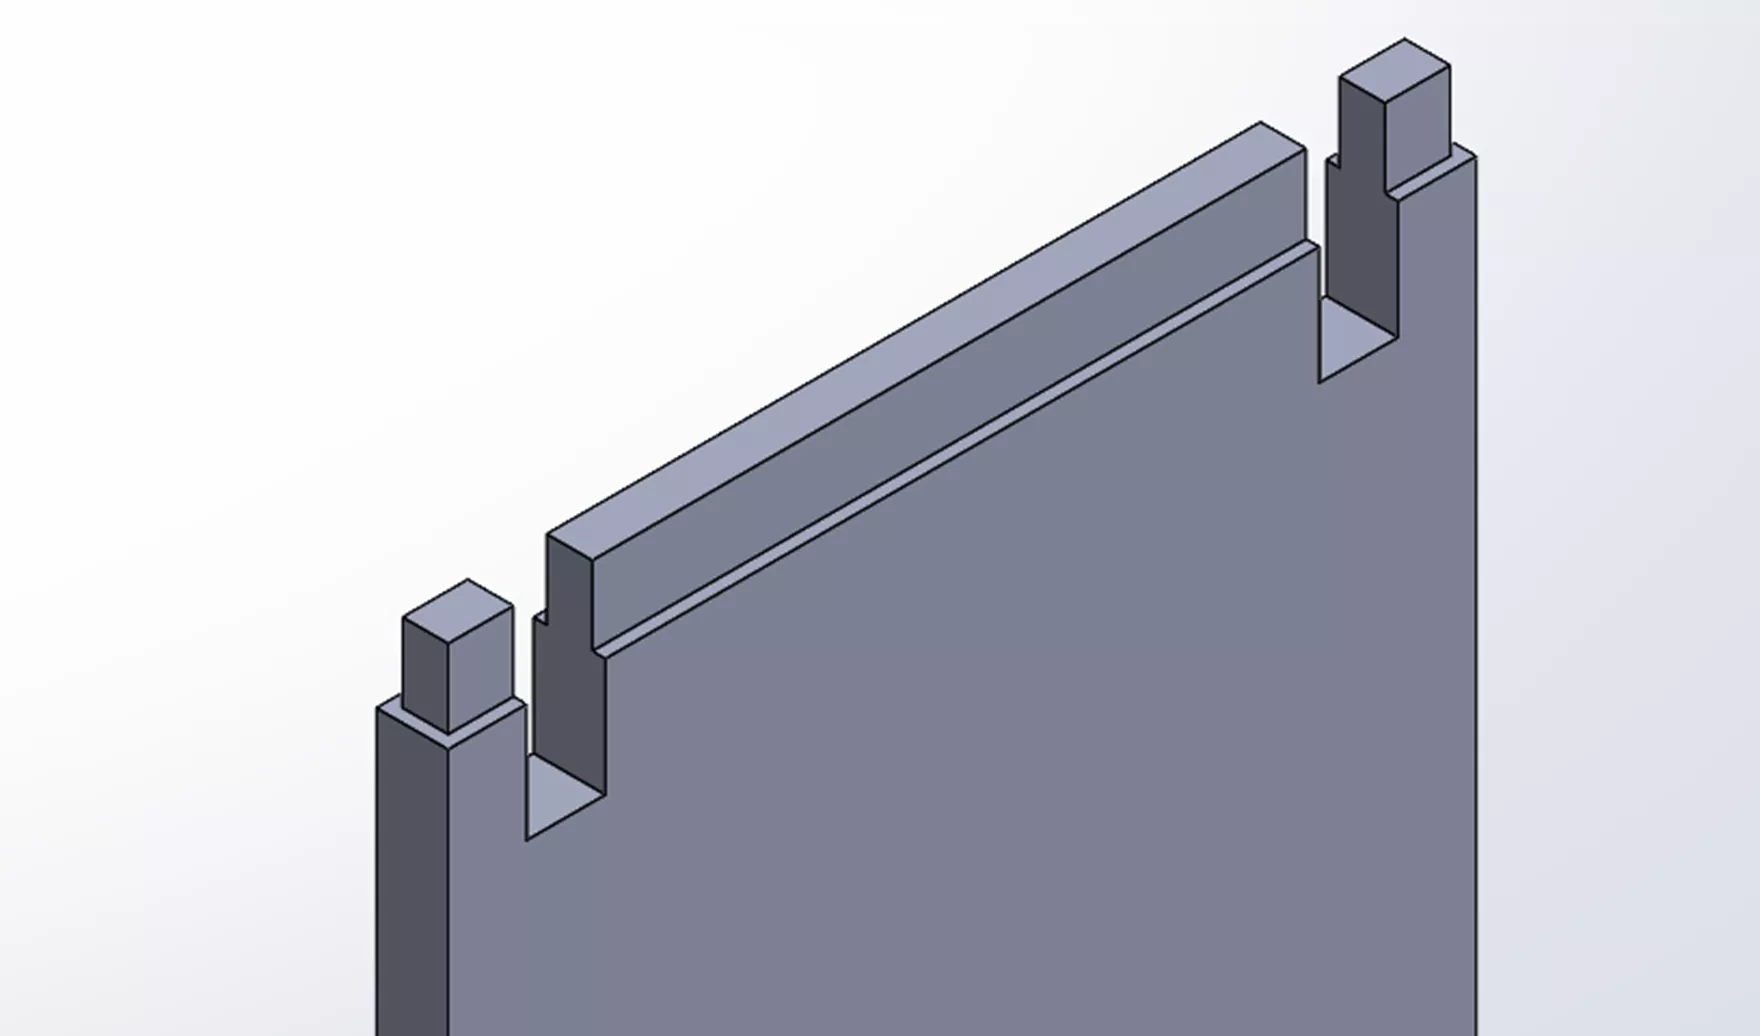
To keep the design easy to assemble, I need to make cuts for the cross members that will support the tabletop and add rigidity to the legs.
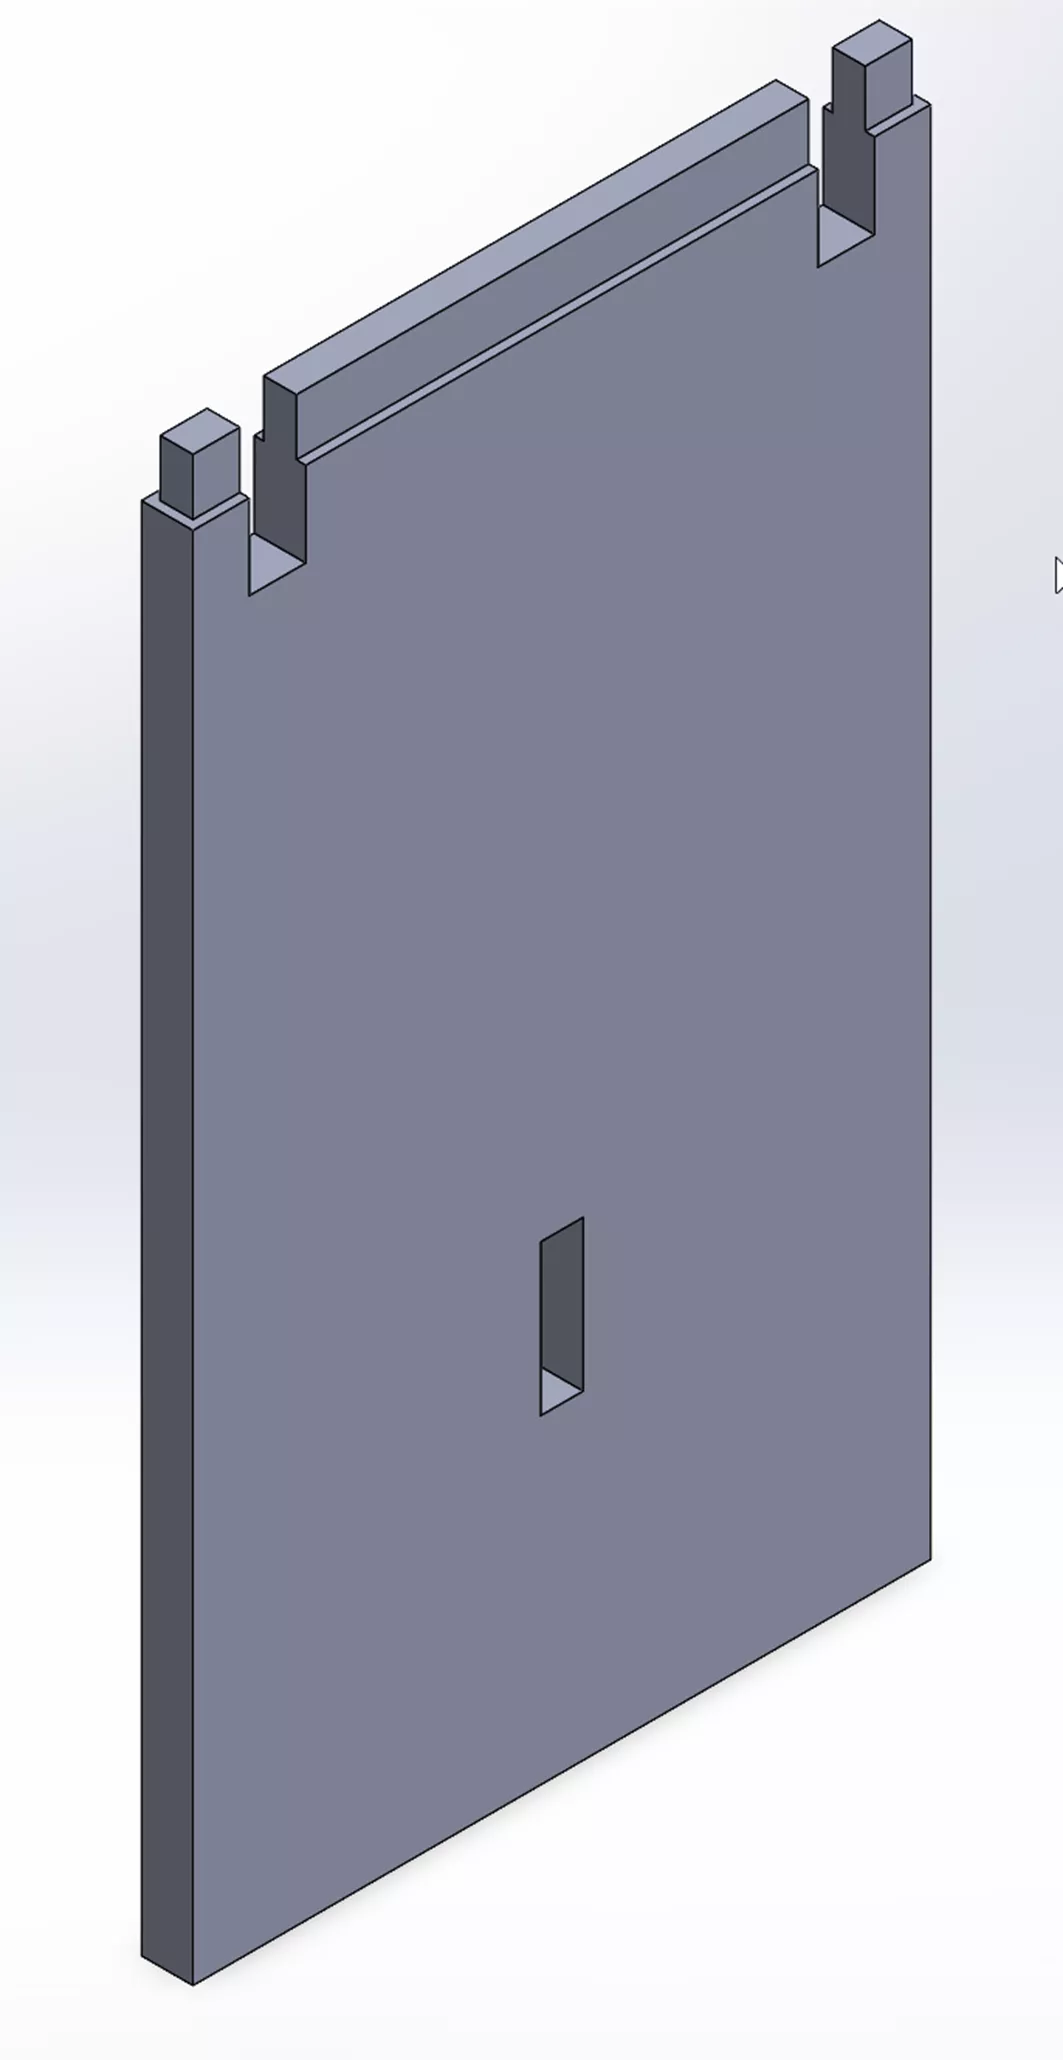
Then, I'll need one more slot that is lower, but this is for one cross-member.
Let’s put these in a SOLIDWORKS assembly and see how they look.
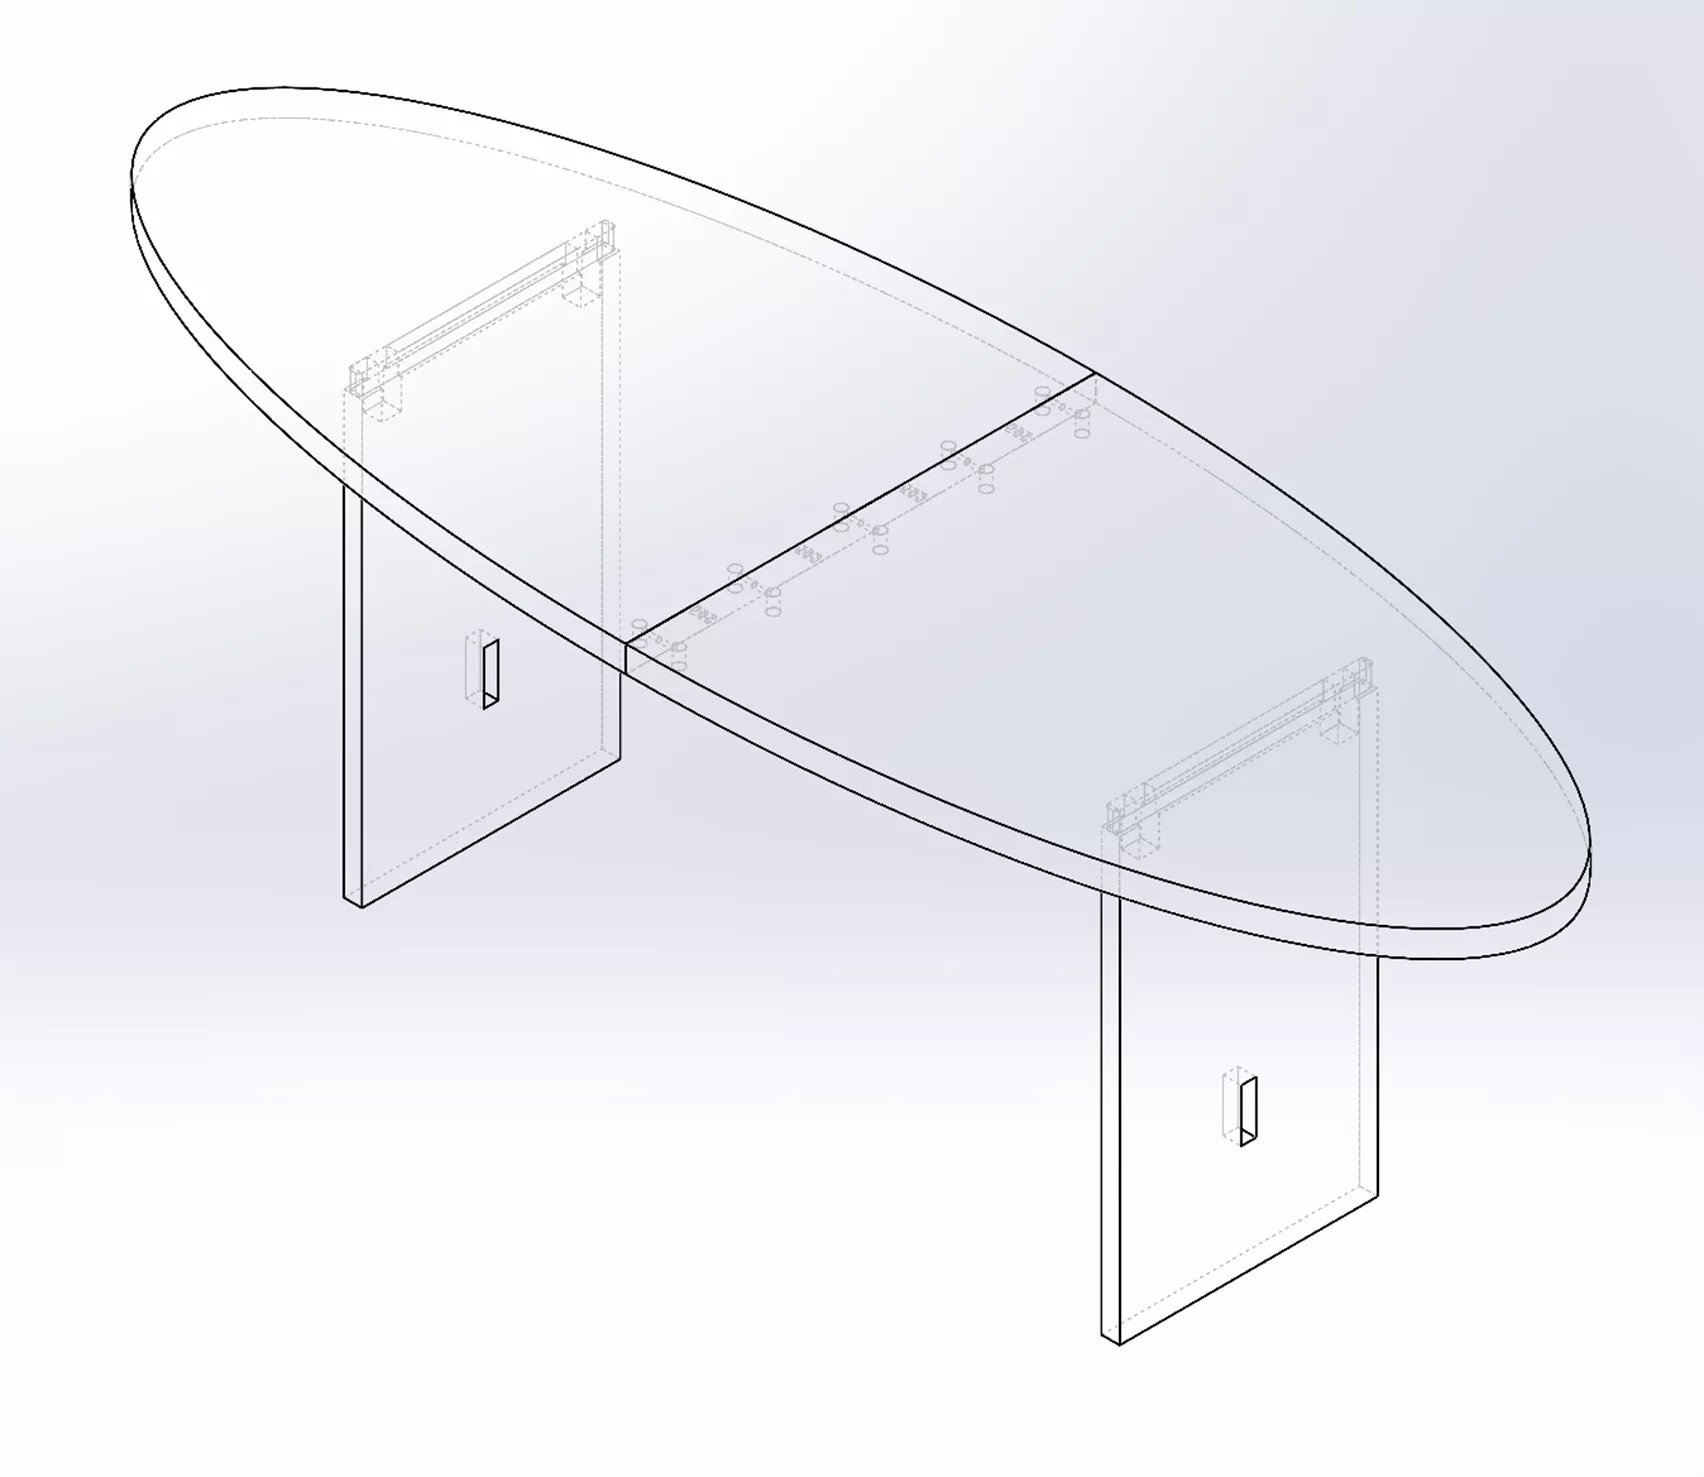
I can use the information I gather using the measure tool to determine the size of the cross supports.
First, the tabletop cross supports that go just under the top of the table.
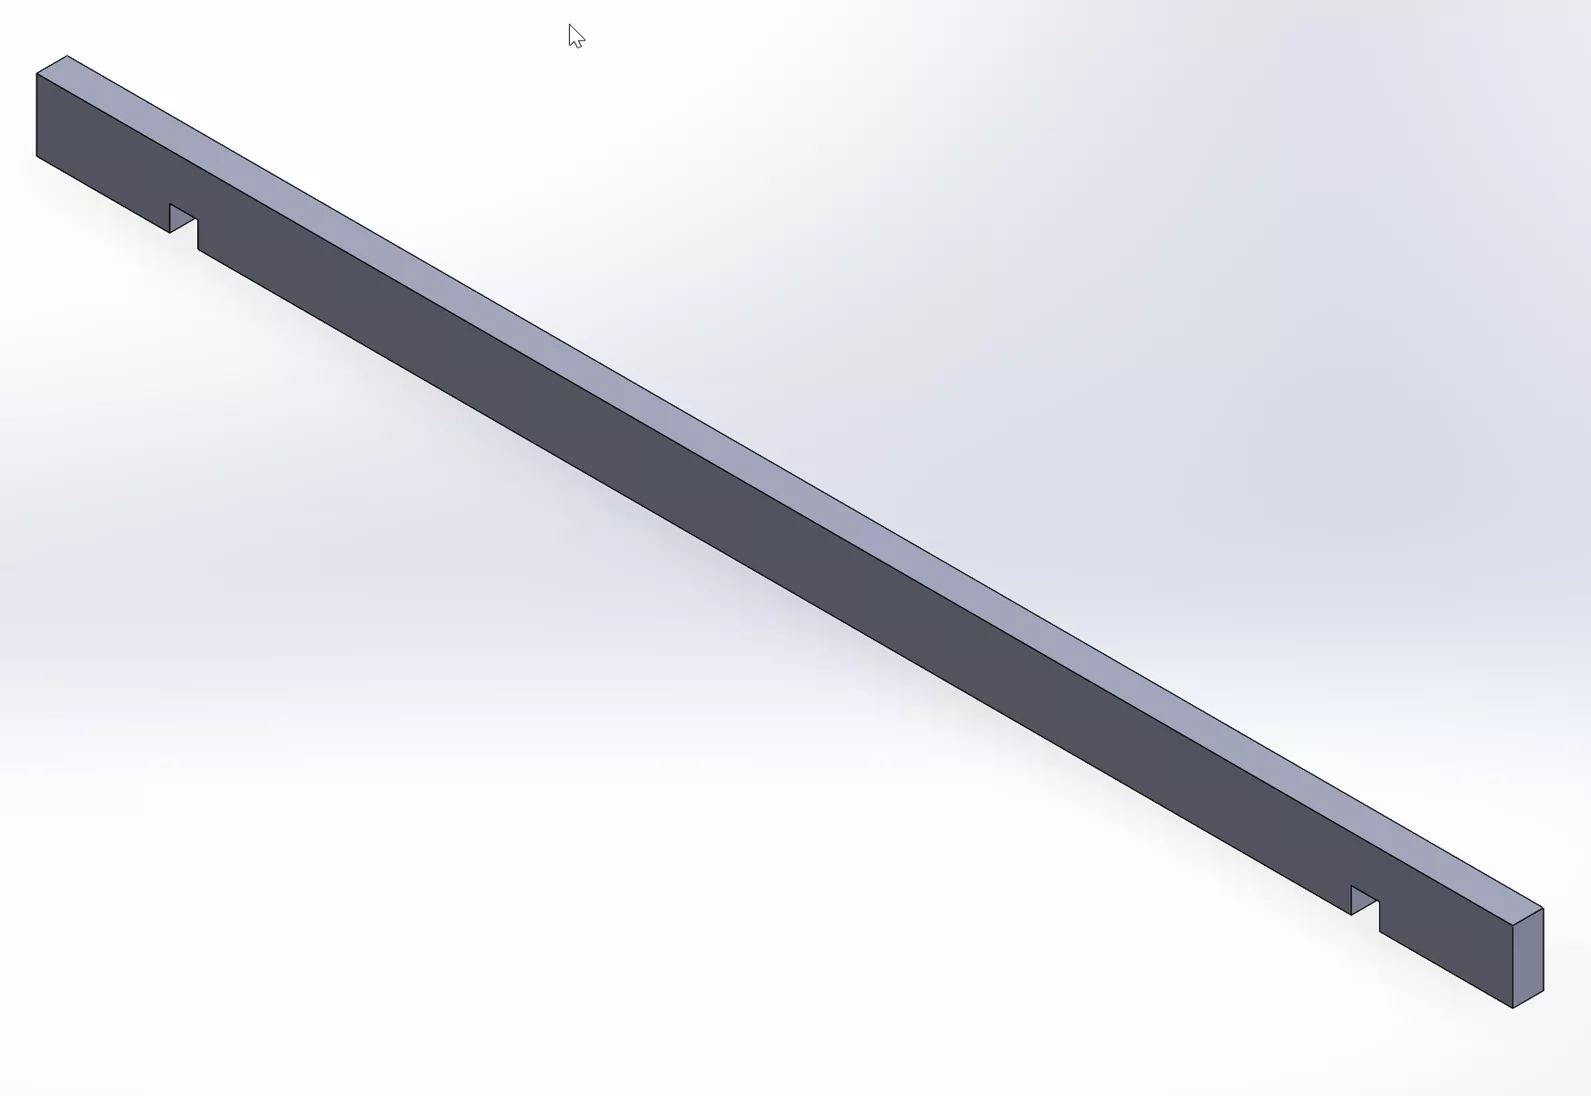
Then, I’ll design the center support for the slot I added near the bottom of the legs.
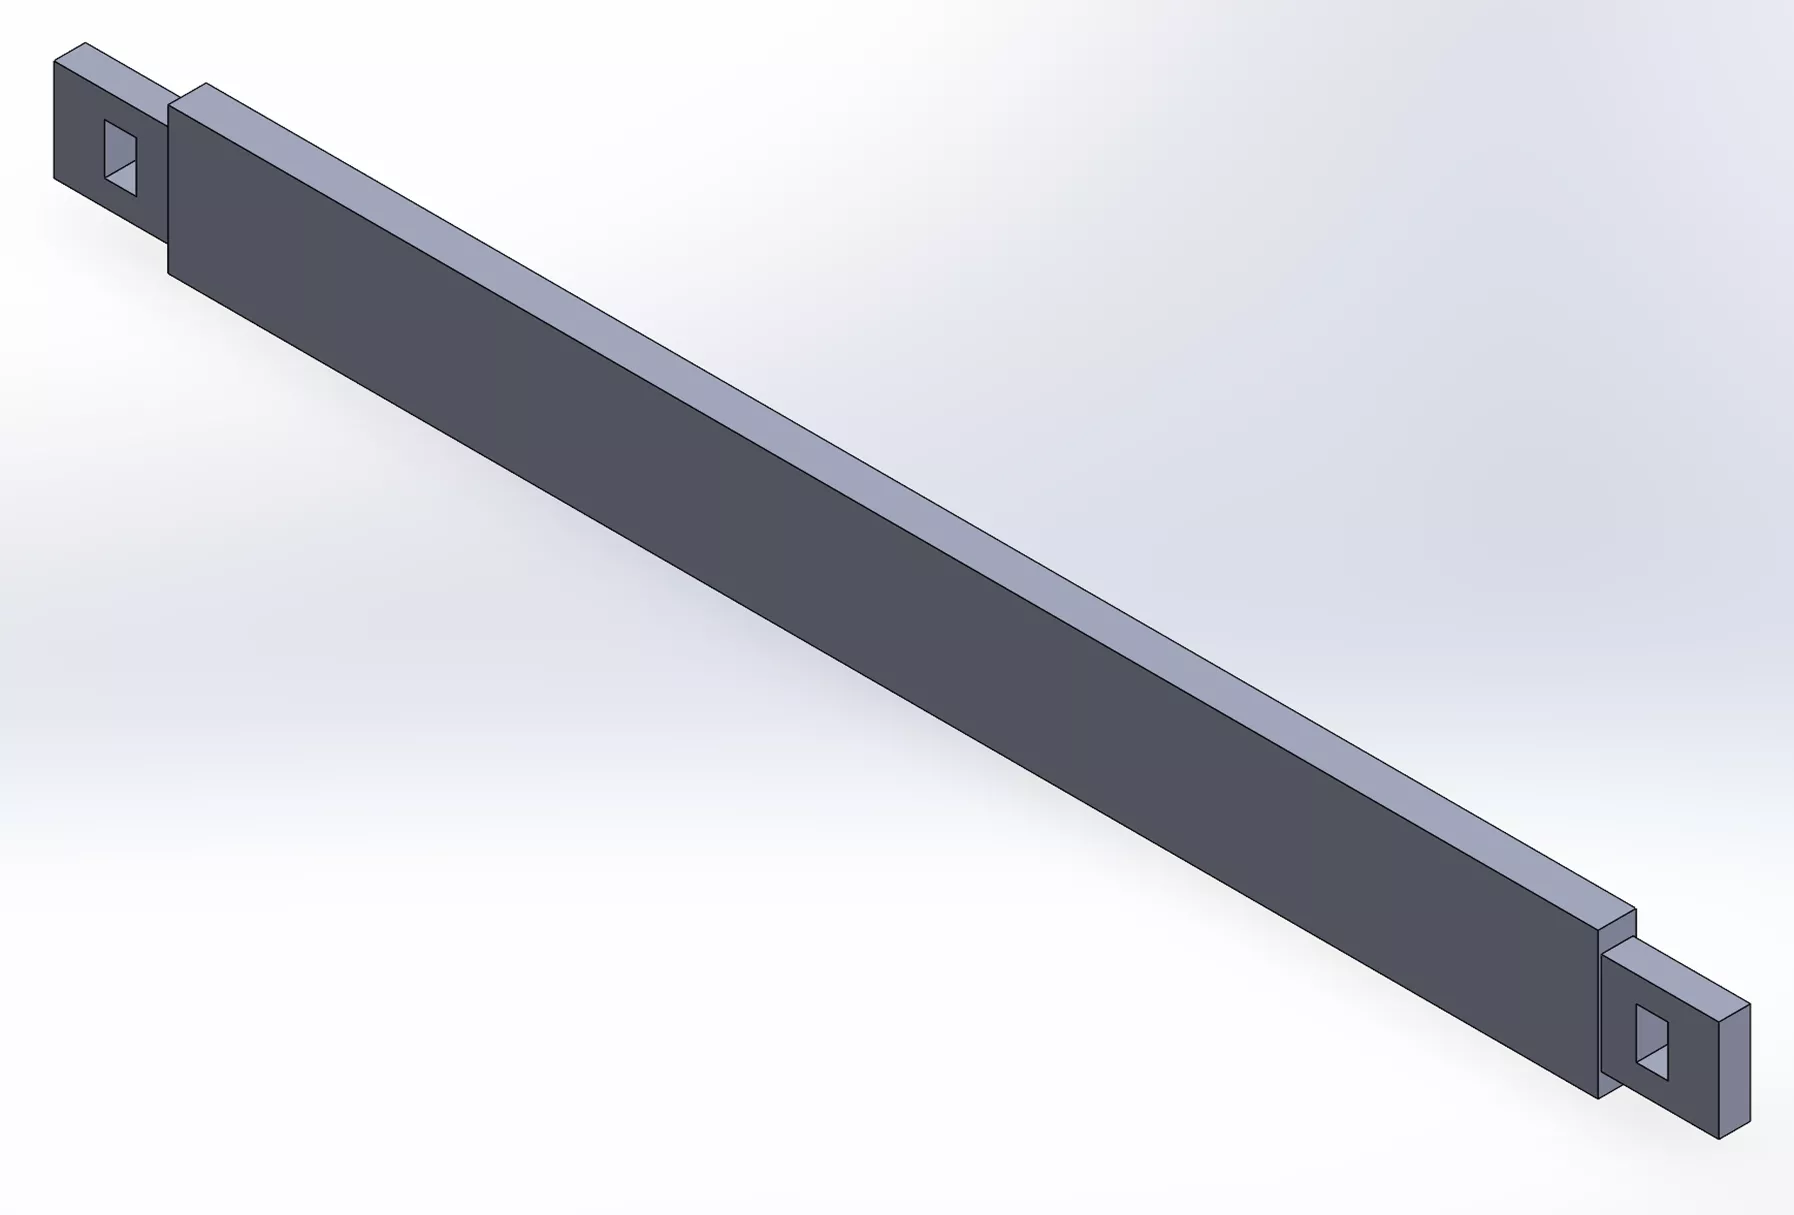
To guarantee this won’t fall apart, I added a few holes in this support for wedges to hold them in place, providing strength without additional hardware.
Now, I'll add these to the assembly, and see how things look.
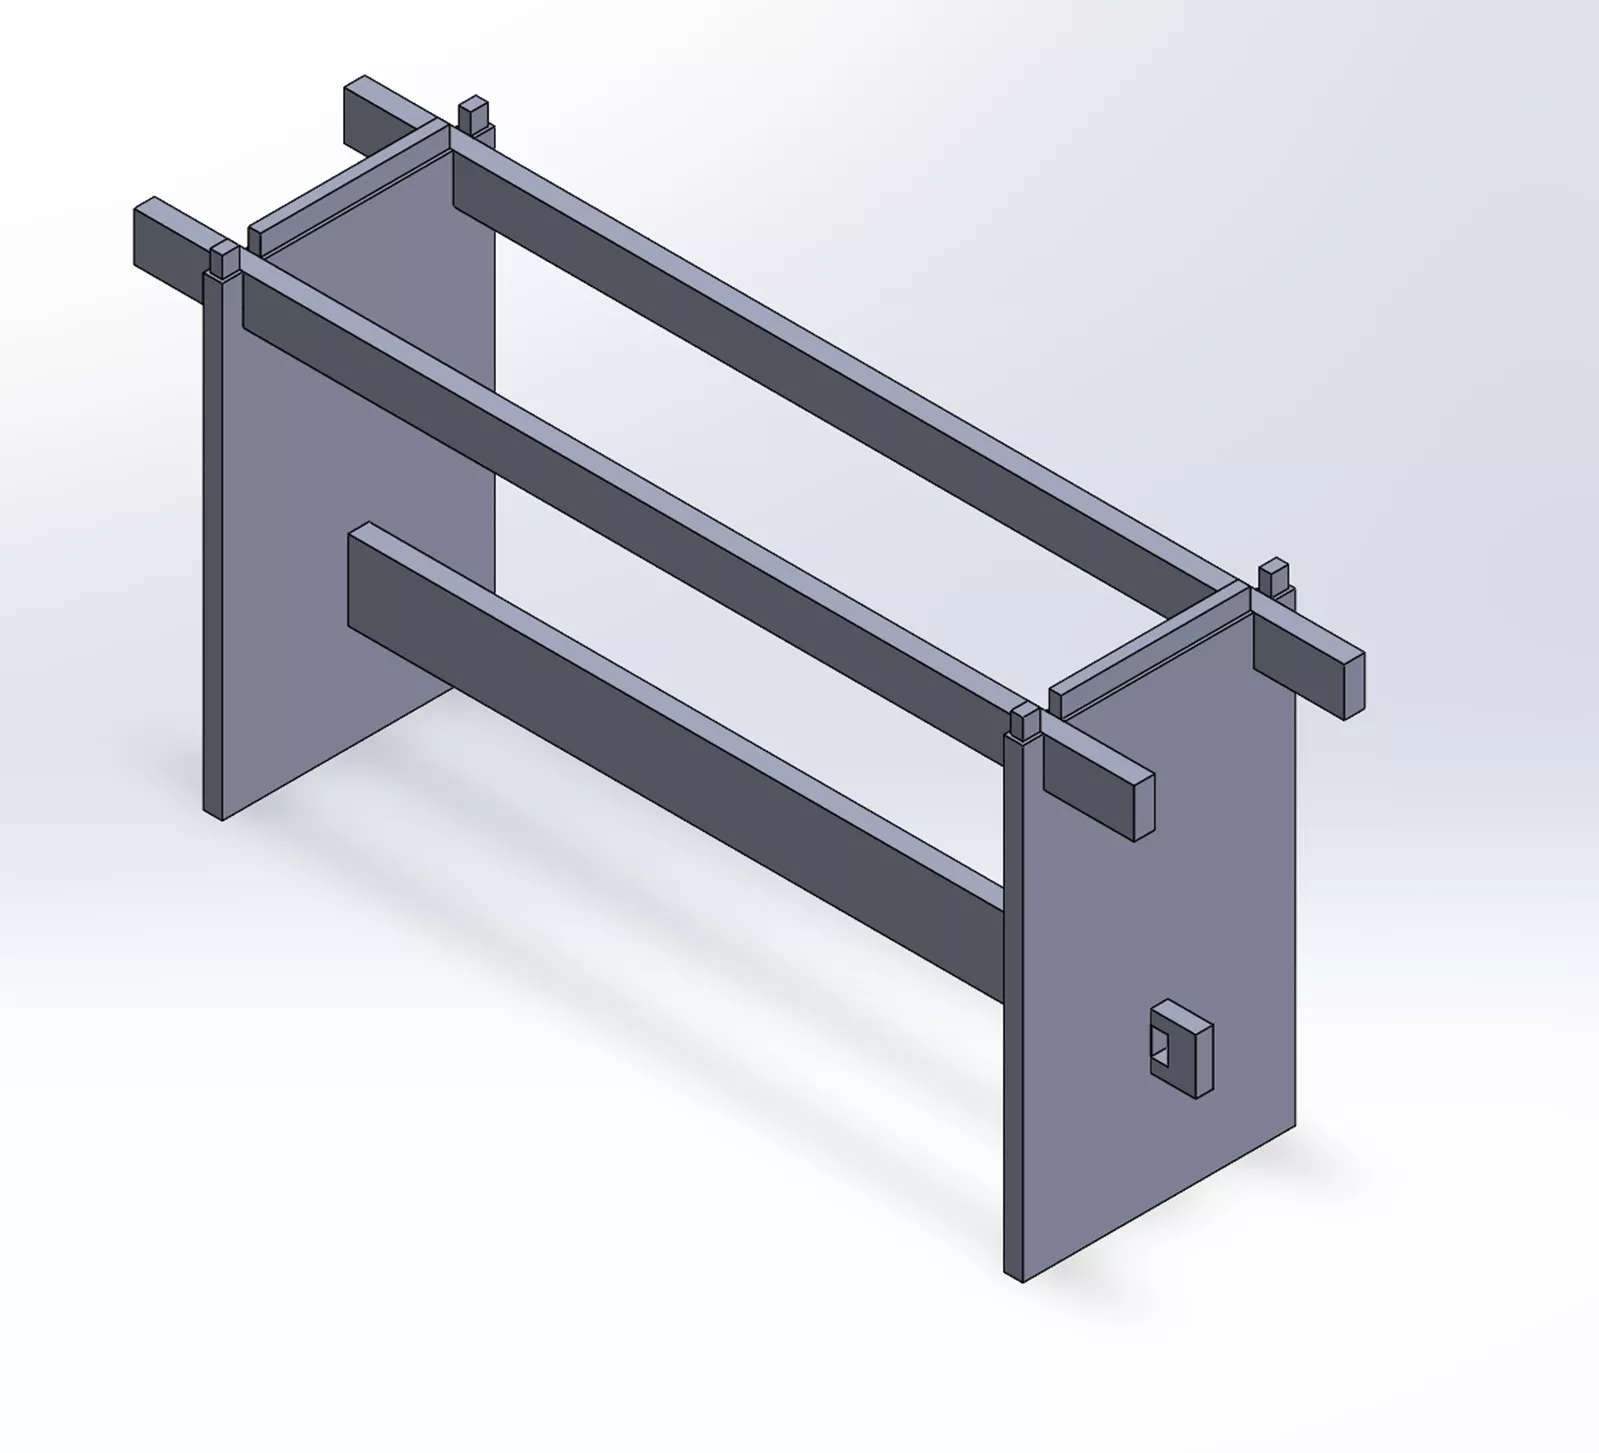
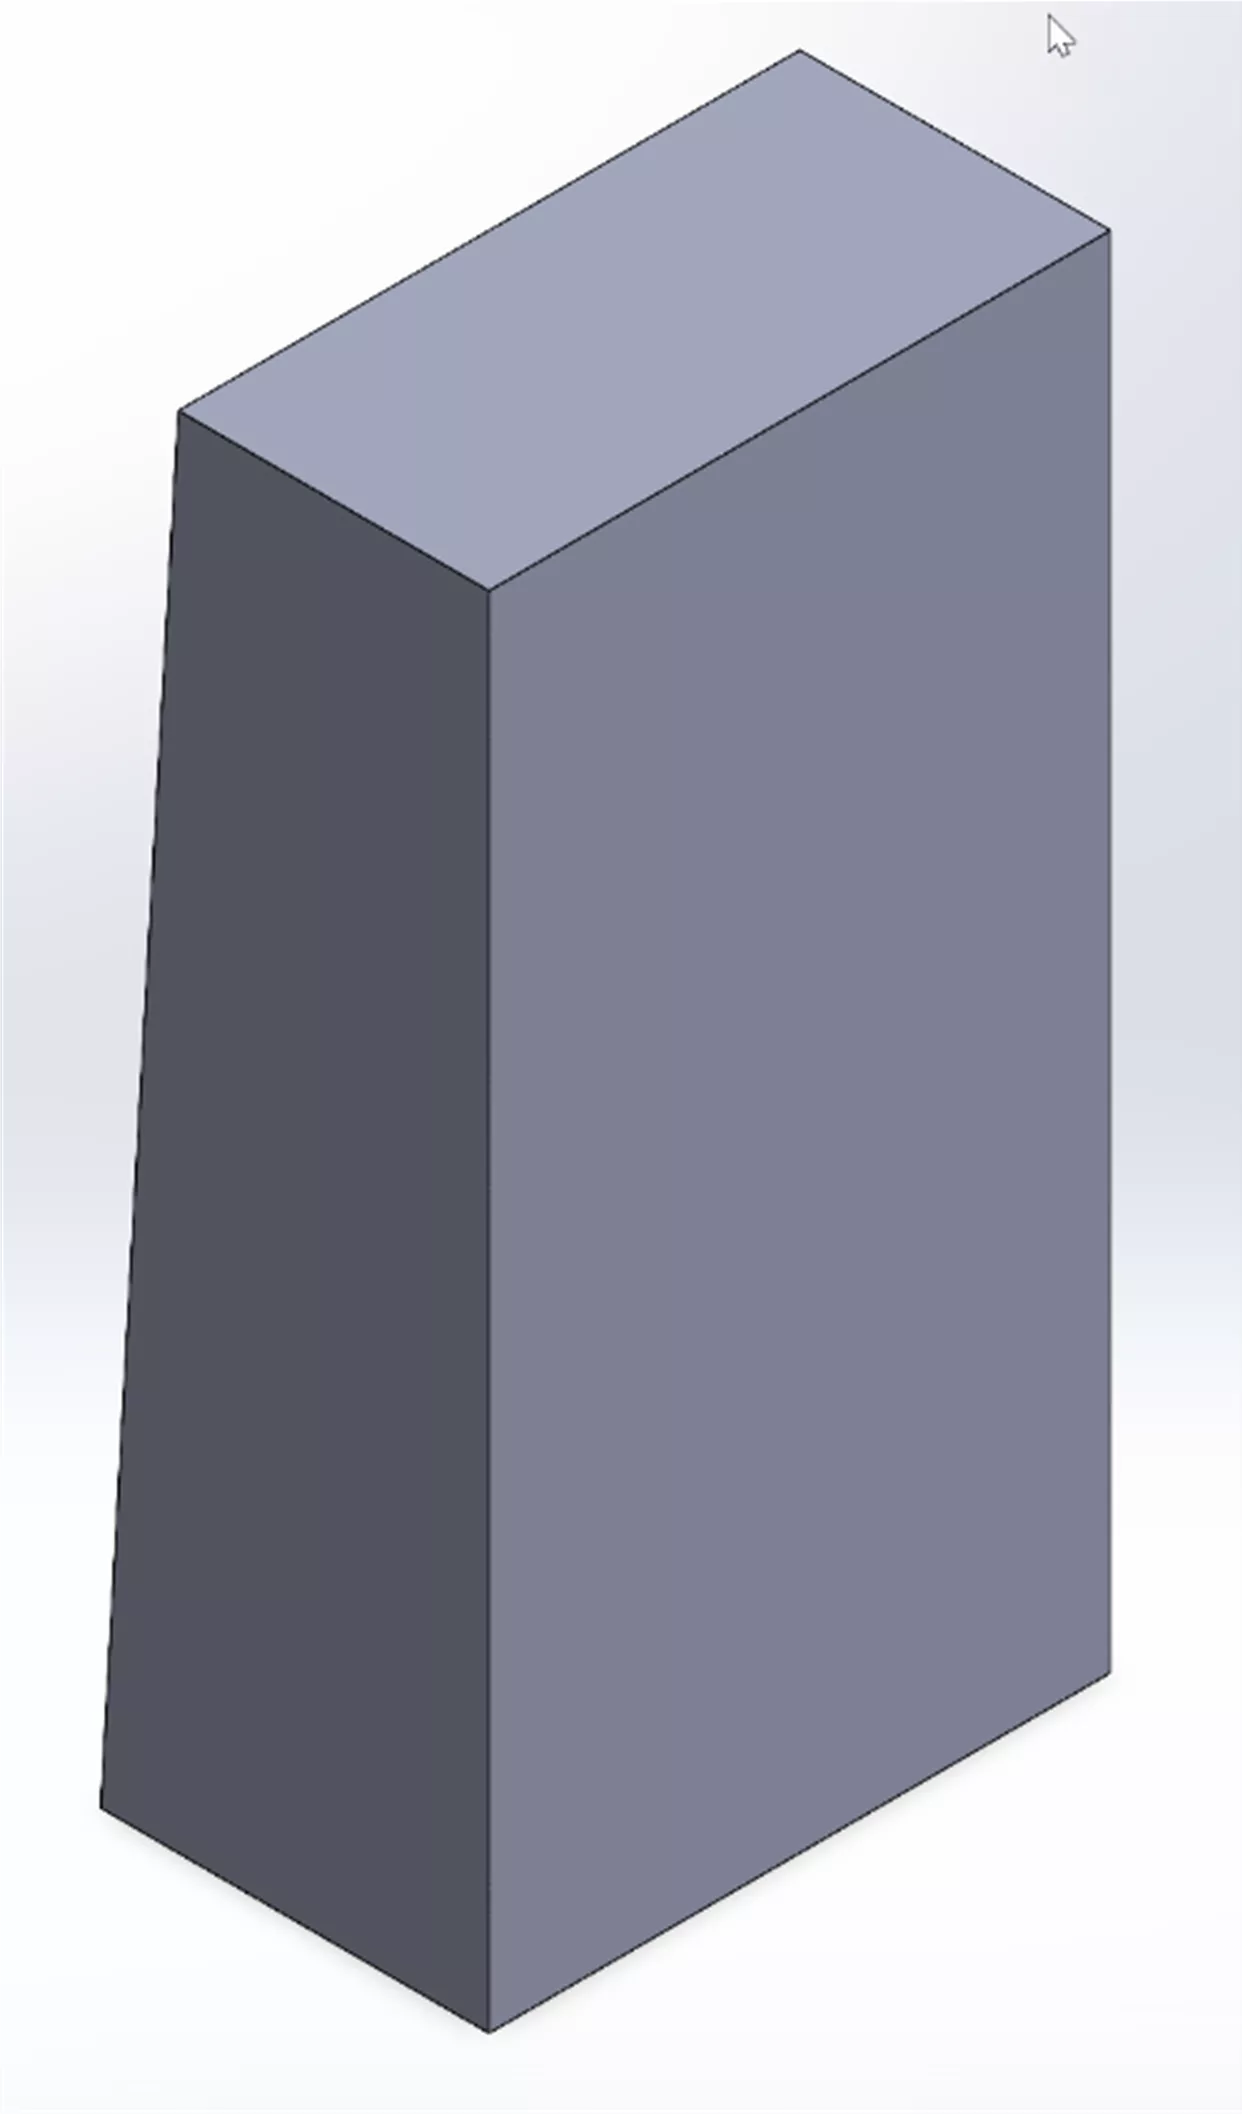
Finally, I’ll make those simple wedges for the bottom cross member.
After assembling all the files in SOLIDWORKS and making some tweaks, it is time to order the wood and fasteners.
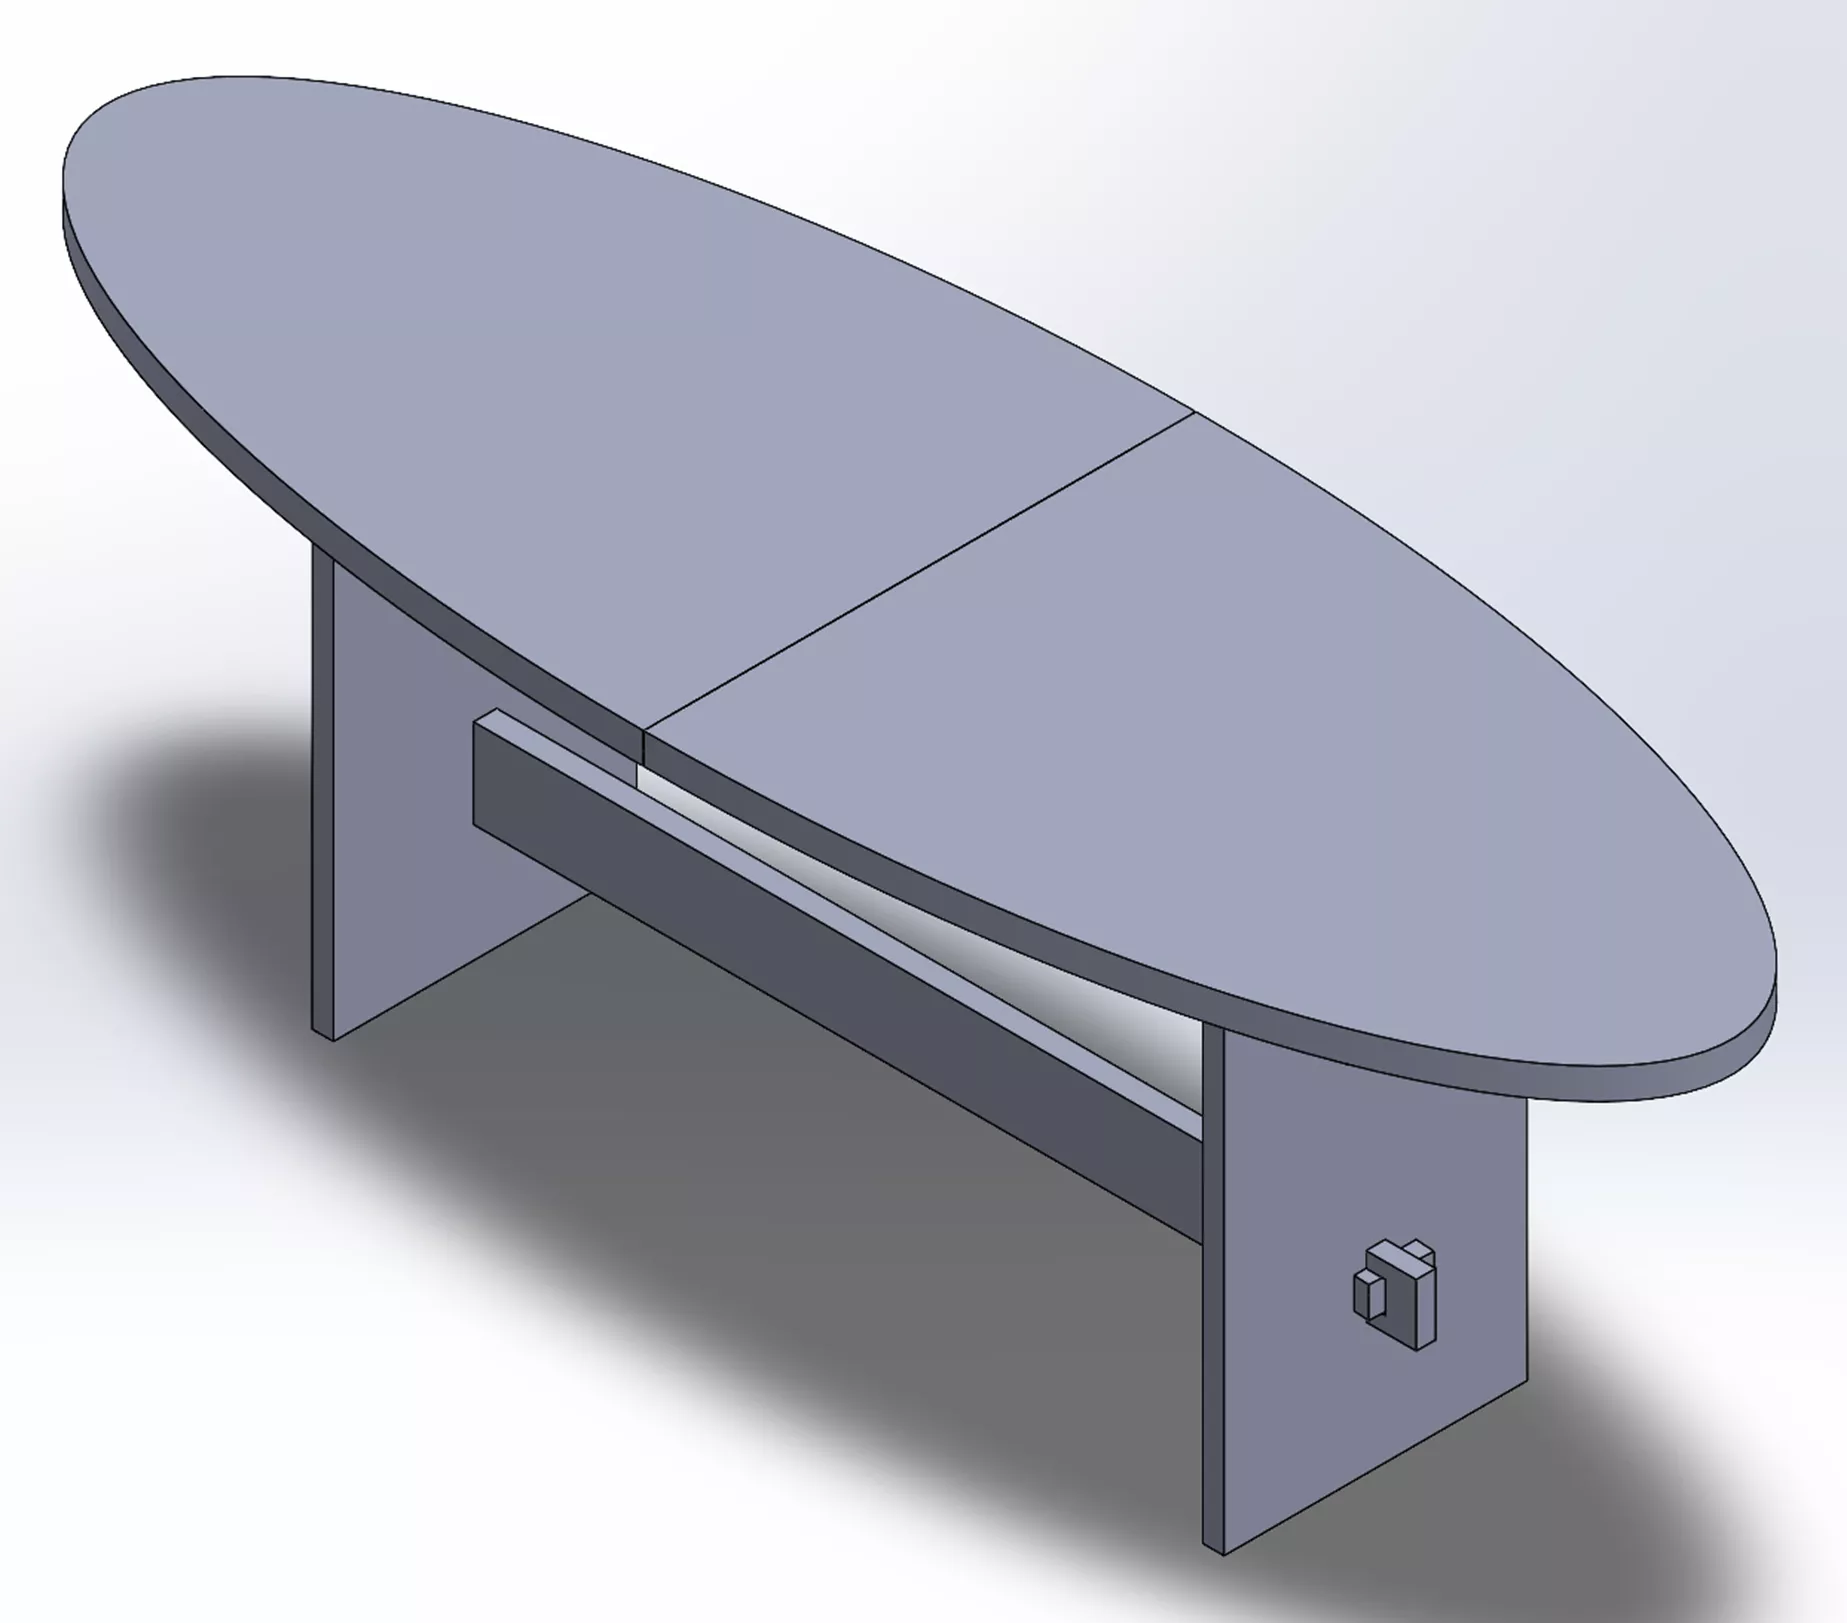
Since I'm making three different sized tables I was able to configure the features and sketches in the parts to create all the sizes.
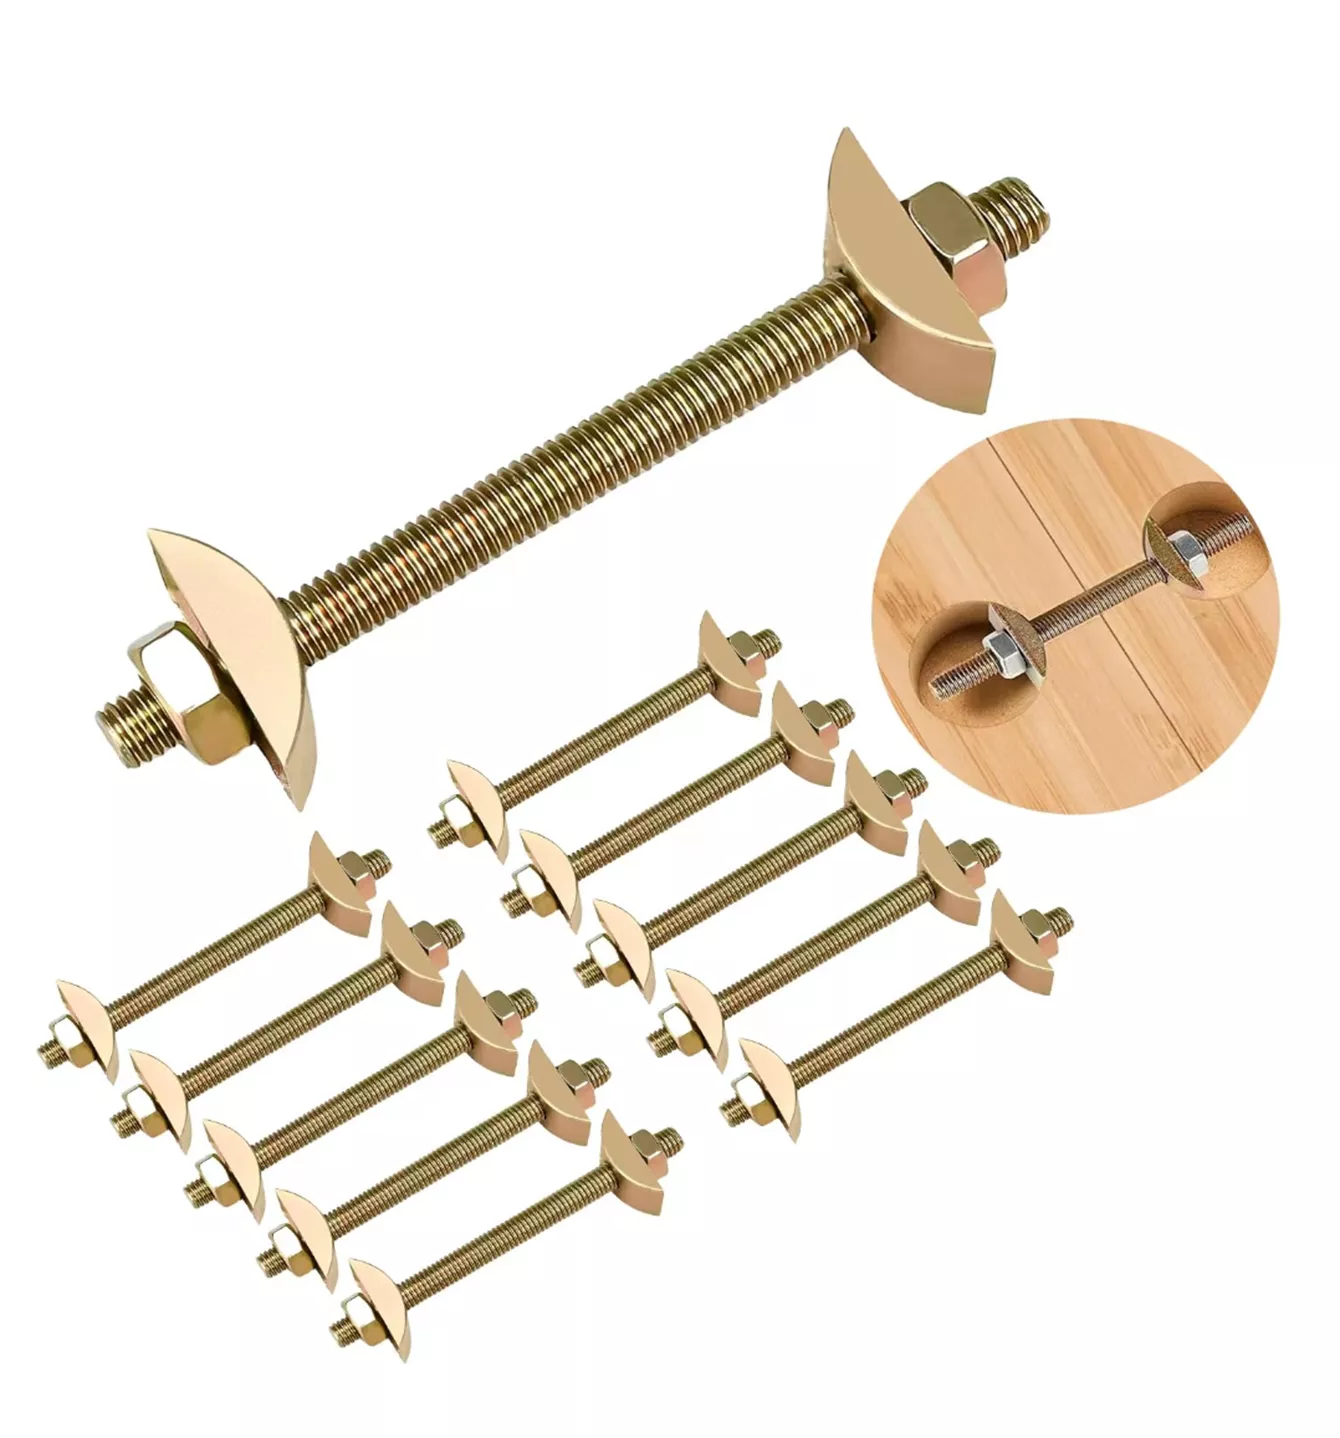
Here is the type of hardware I used to bind the two tabletop halves together.
Assembling the Tables at the Museum
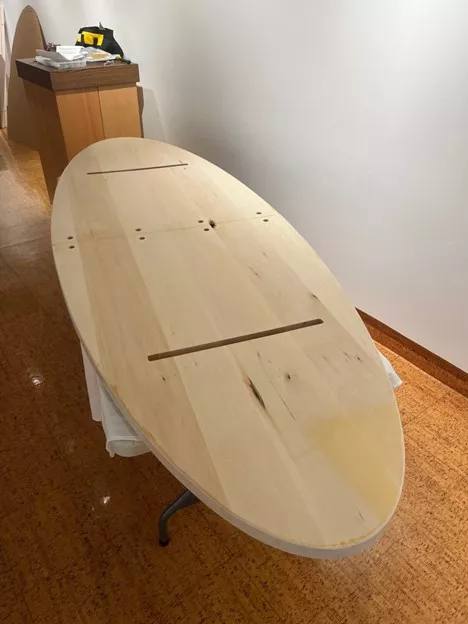
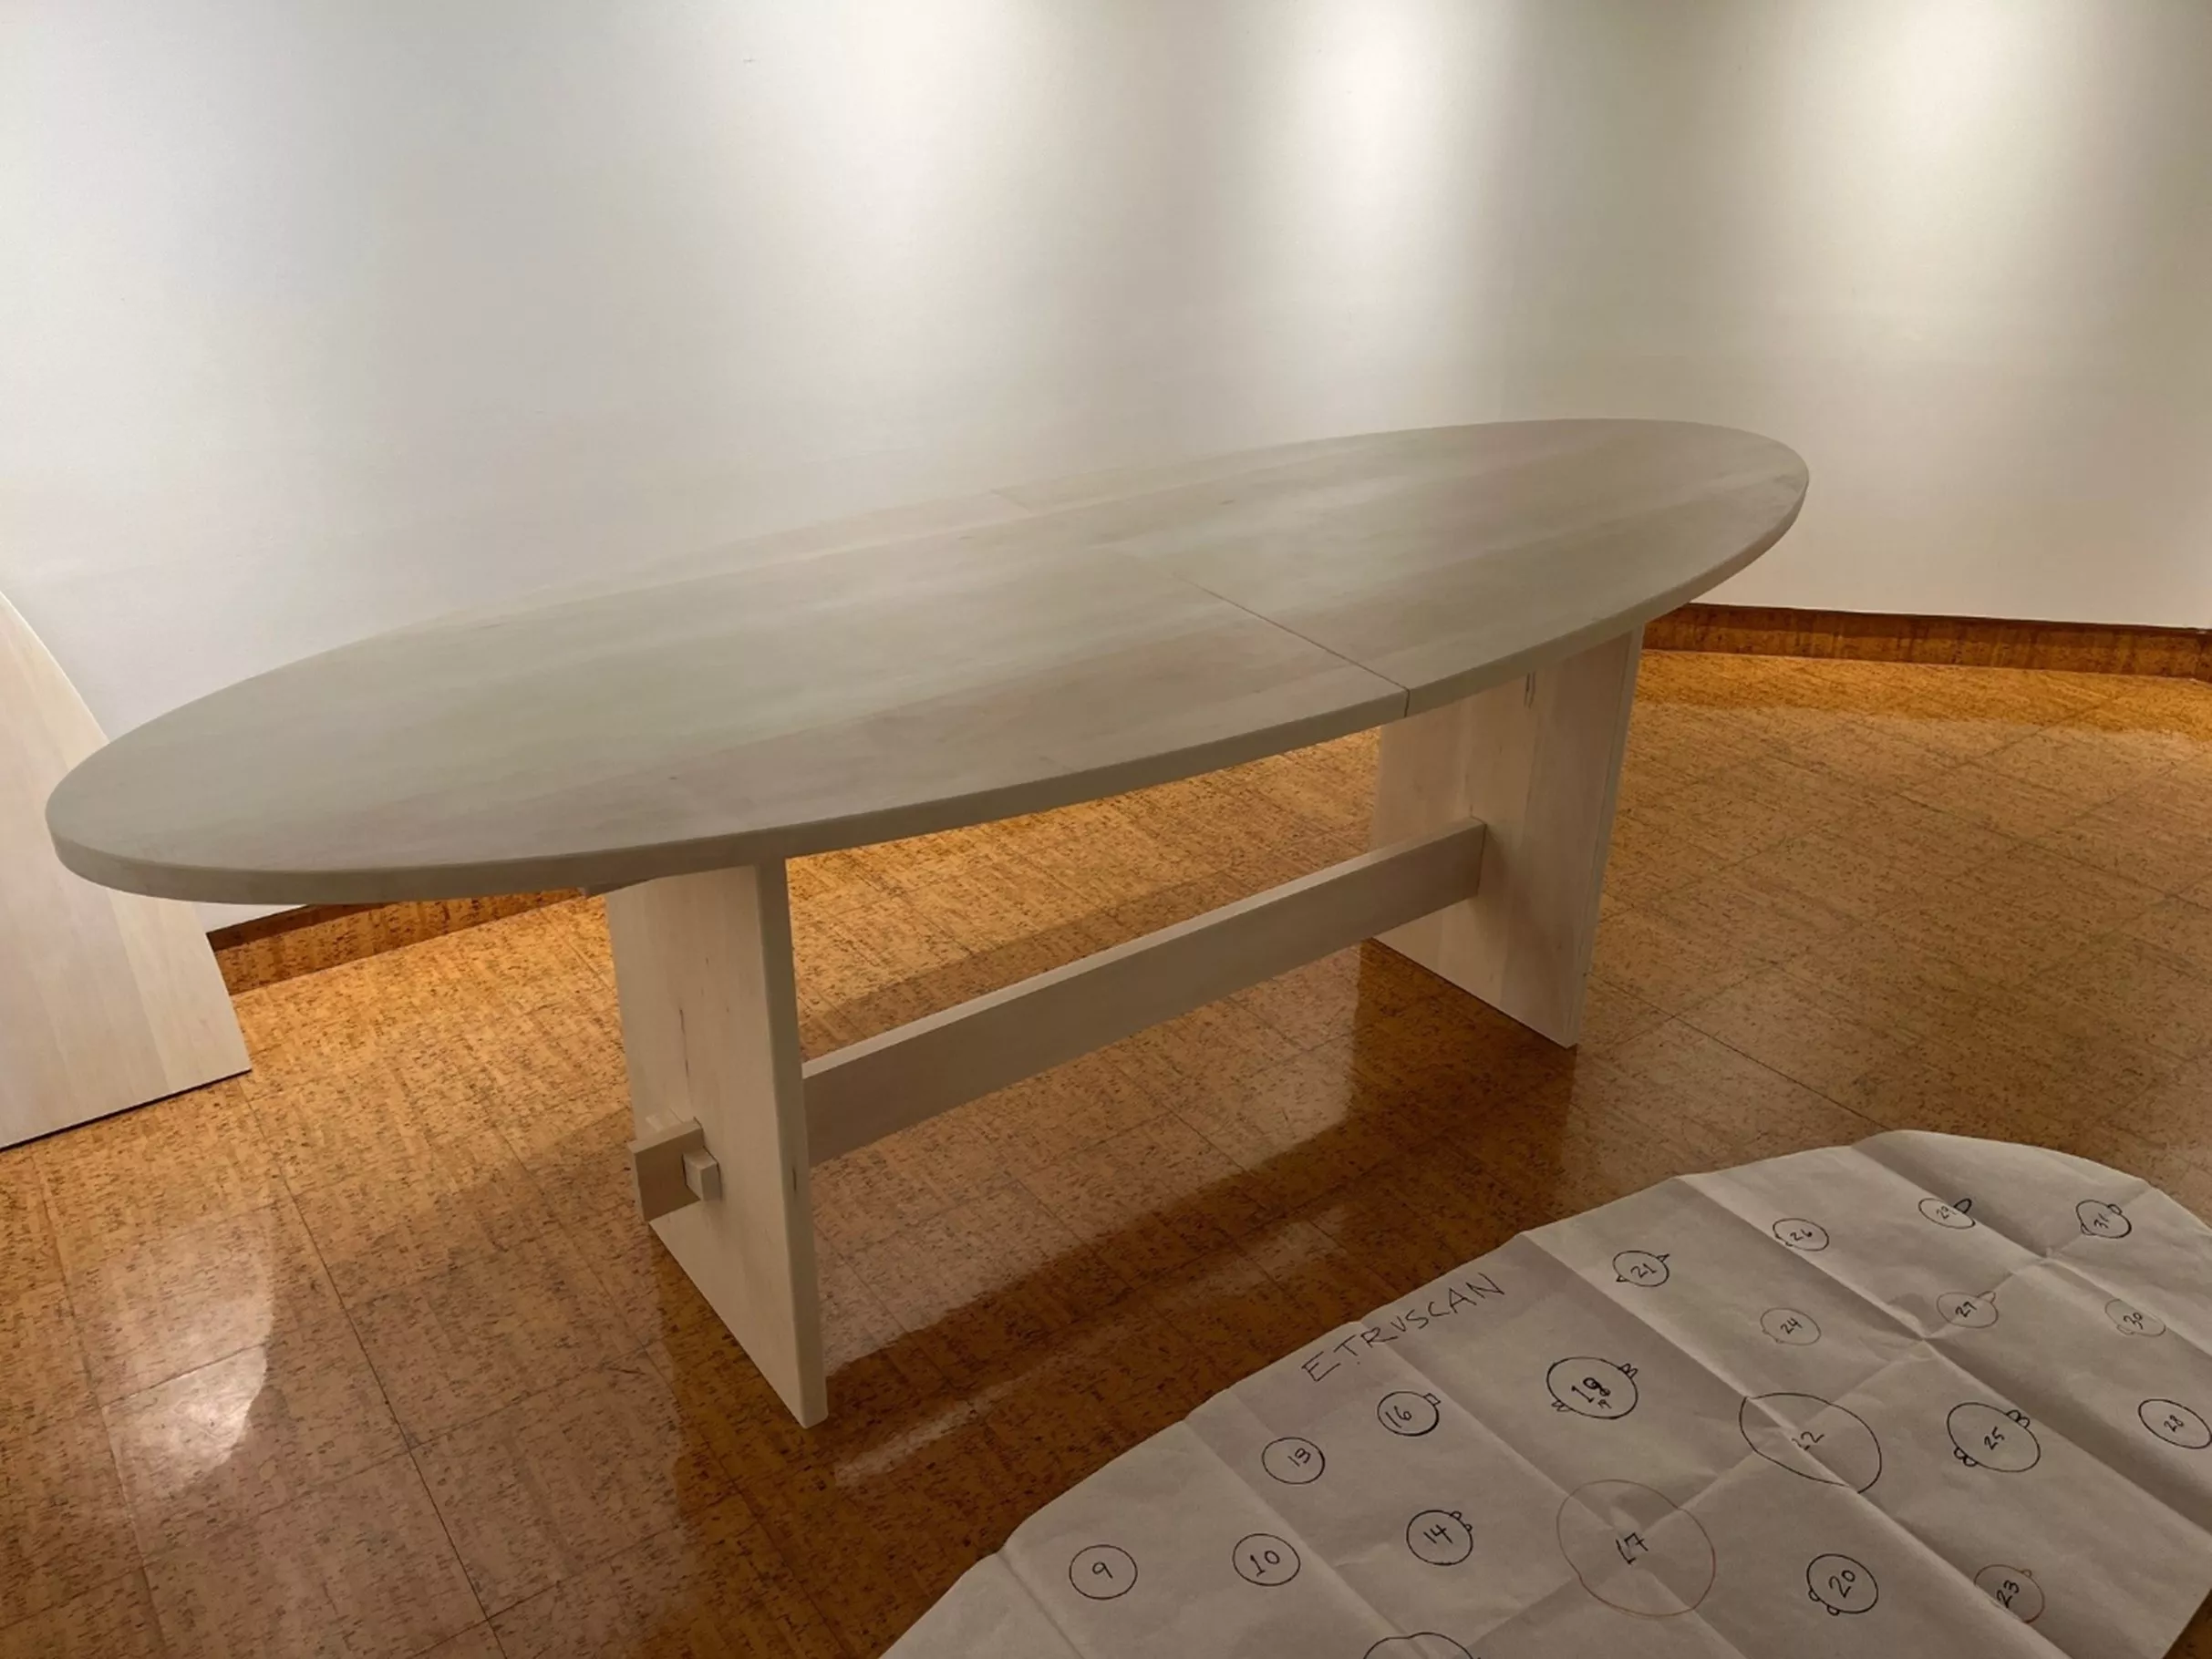
After the tables were built and finished, we arrived at the museum to set up the displays.
First the tabletop.
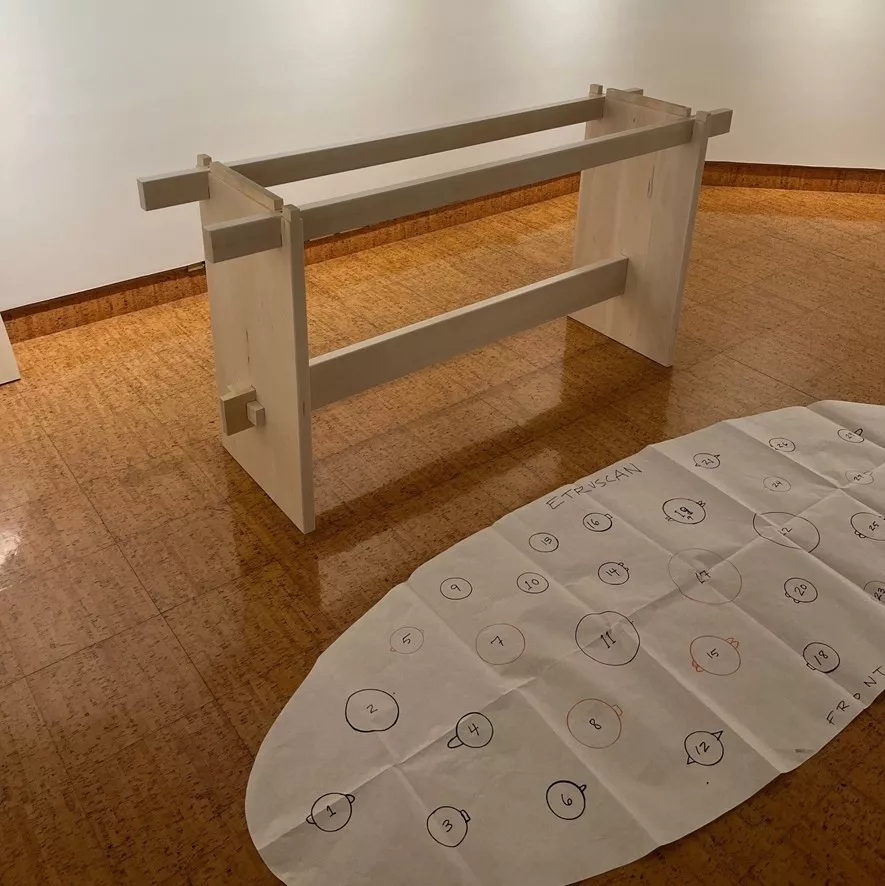
Then the legs, cross supports, and wedges,
Now, I’ll place the tabletop on the legs.
And here is the final result!
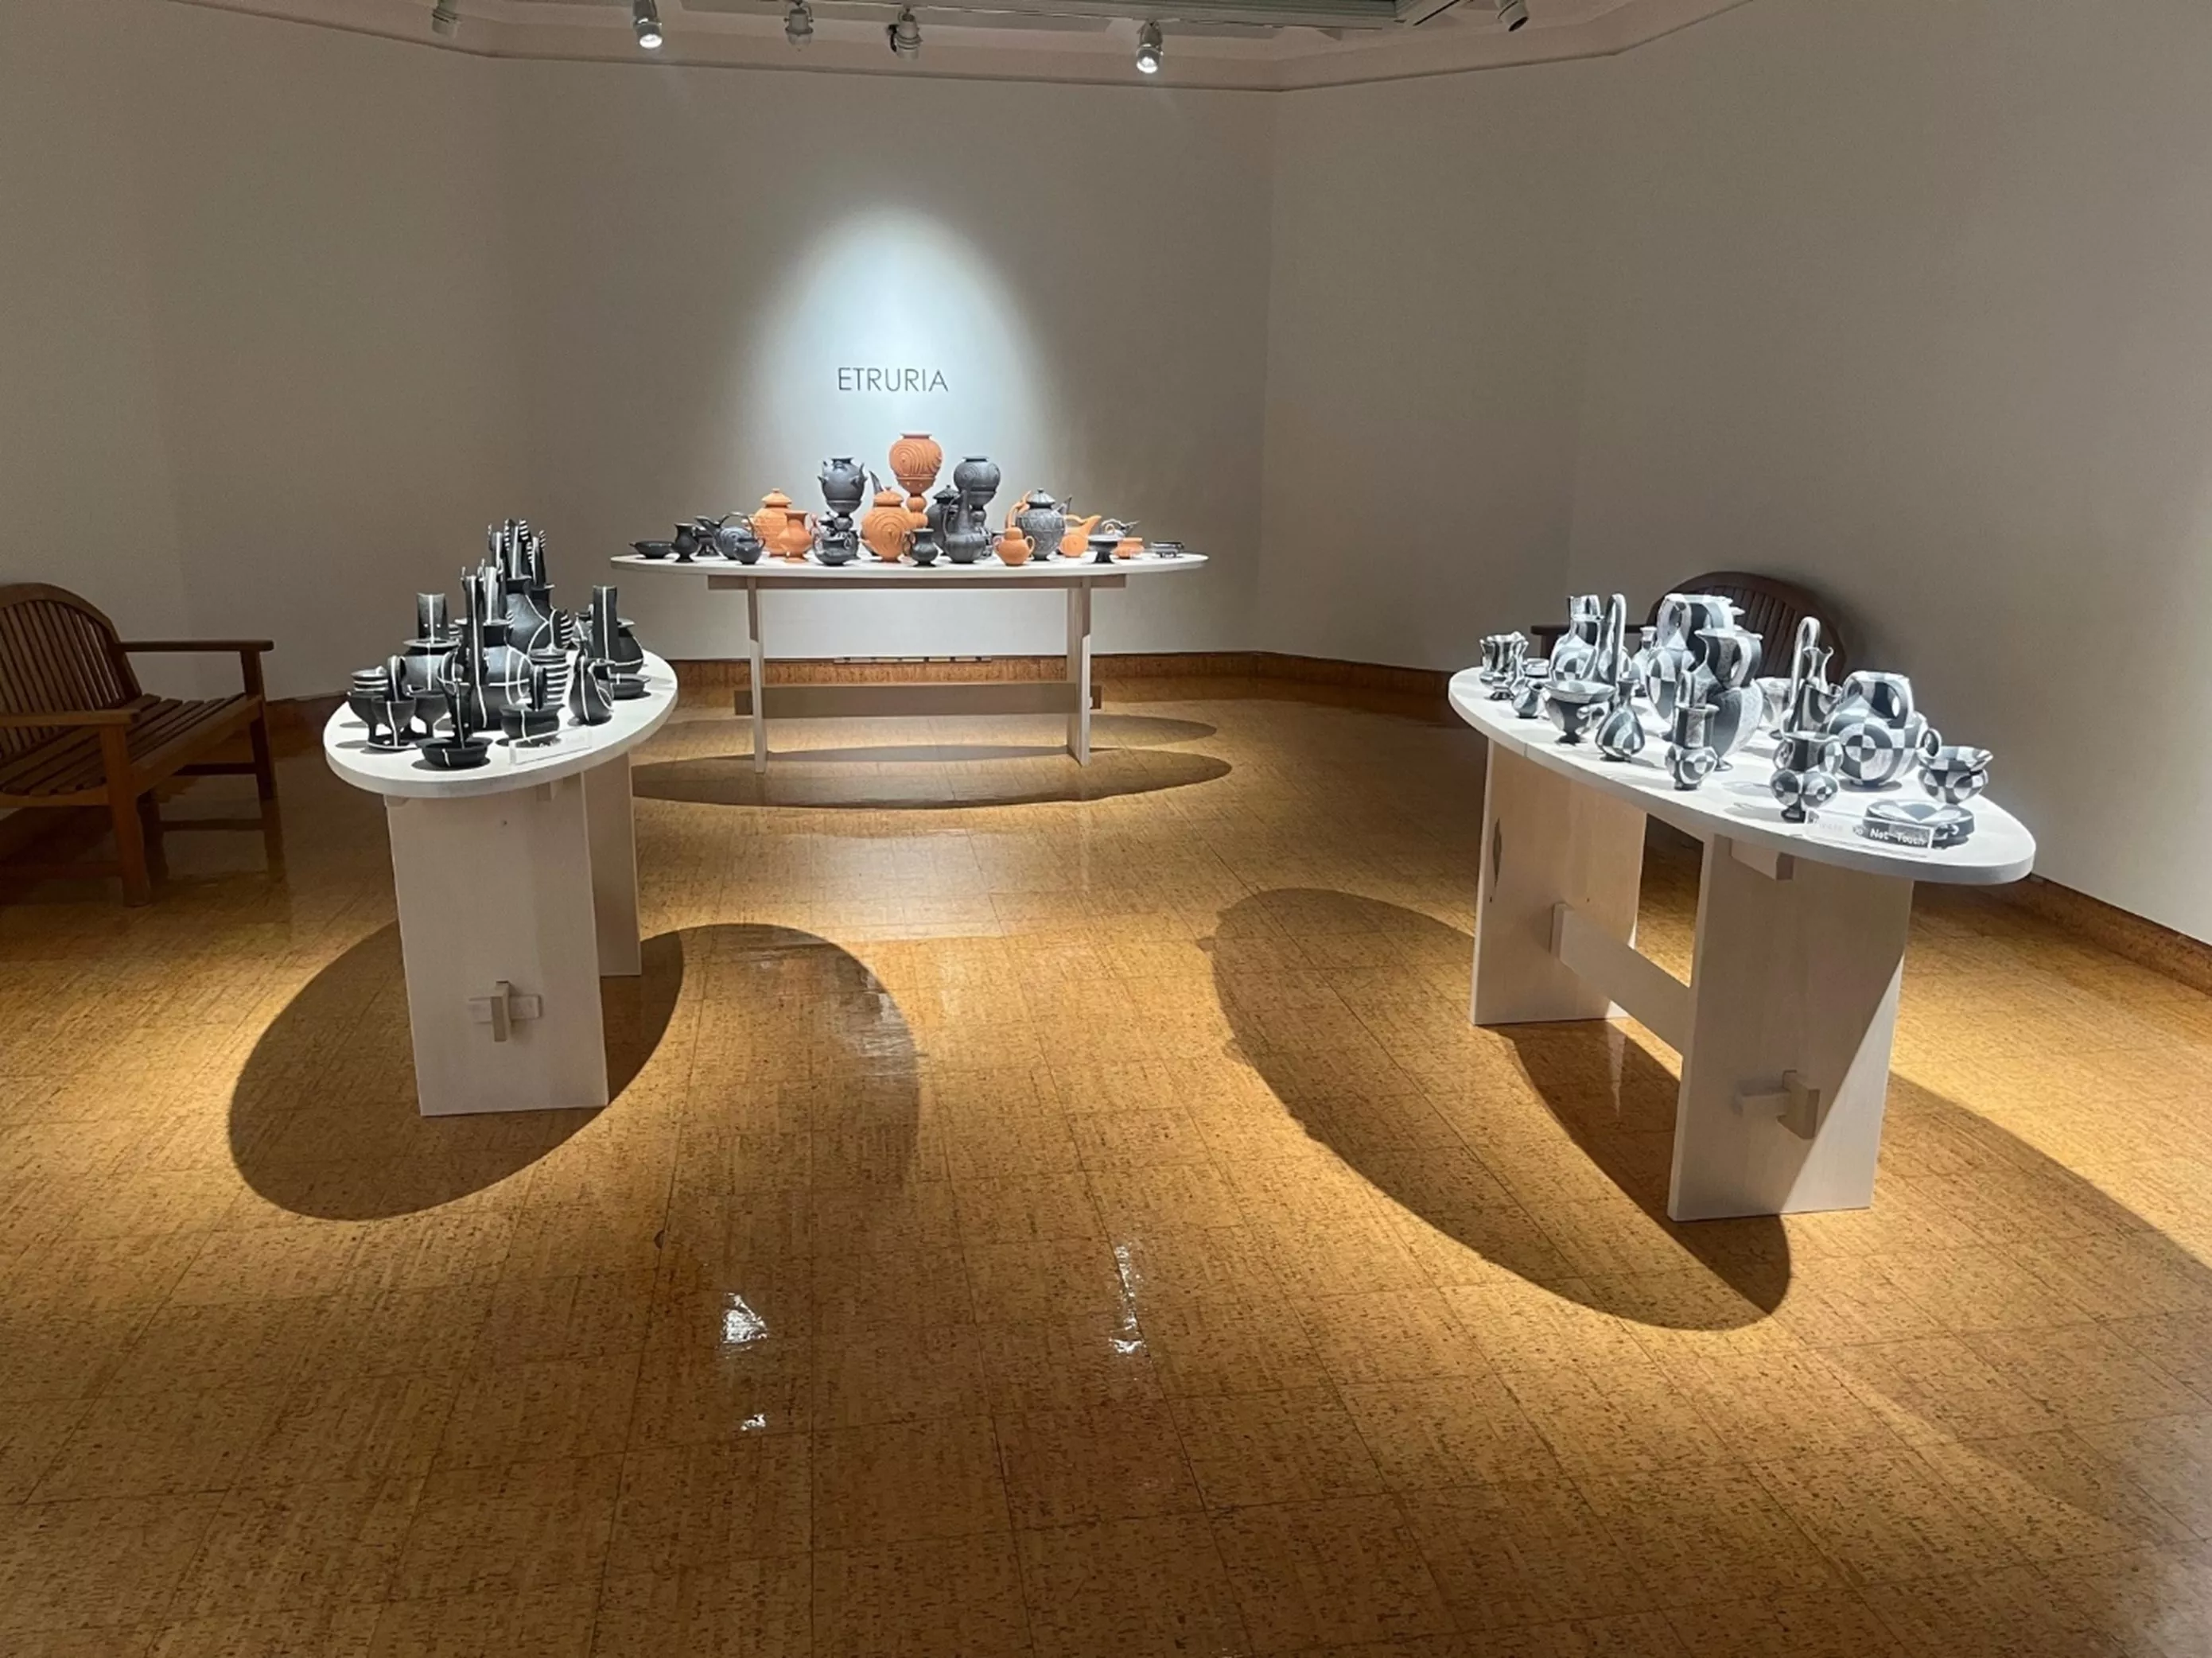
My wife calls it ‘dad’ humor when I say this how I support her work. Now, on to the next project!
Want more SOLIDWORKS DIY? Check out other projects from our talented engineering team below. Additionally, join the GoEngineer Community to participate in discussions, create forum posts, and answer questions from other SOLIDWORKS users.

SOLIDWORKS CAD Cheat Sheet
SHORTCUTS ⋅ MOUSE GESTURES ⋅ HOT KEYS
Our SOLIDWORKS CAD Cheat Sheet, featuring over 90 tips and tricks, will help speed up your process.
Related Articles
SOLIDWORKS at Home: DIY CAD Projects
Wonder Woman Costume Comes to Life with 3D Printing, 3D Scanning, and 3D Design
SOLIDWORKS Backyard Design Project

About Matthew Kusz
Matthew Kusz is a Senior Technical Support Engineer at GoEngineer. When Matthew isn’t assisting customers with their engineering challenges, he spends his free time repairing antique watches/clocks, designing furniture, tending his aquariums and learning about bee keeping.
Get our wide array of technical resources delivered right to your inbox.
Unsubscribe at any time.
