SOLIDWORKS Visualize Appearances and Hardware Utilization
Renderings are a useful tool in the modern world because they allow you to convey your ideas and products to your audience well before you’re ready to go to market. And if you’re a SOLIDWORKS user, you may not even realize that you have access to a great rendering tool called SOLIDWORKS Visualize.
SOLIDWORKS Visualize is a photo-realistic rendering tool that utilizes your CAD data to create magazine quality images or commercial quality animations. Creating these renders can be done in parallel with the design process.
SOLIDWORKS Visualize is offered in few different tiers:
- SOLIDWORKS Visualize Standard
- SOLIDWORKS Visualize Professional
- SOLIDWORKS Visualize Connected
Note: SOLIDWORKS Visualize Standard is available for free if your SOLIDWORKS 3D CAD is on an active subscription.
With how advanced rendering engines are these days, it can be difficult to determine what is rendered and what is real in images and animations.
One of the easiest ways to improve the overall quality of your renderings is to apply materials we see in our everyday lives to our models.
Figure 1. Various appearances applied in SOLIDWORKS Visualize
SOLIDWORKS Visualize Appearances
Materials in SOLIDWORKS Visualize are known as appearances. There are several free scientifically accurate appearances available to use right away in SOLIDWORKS Visualize. These can be found in the File Libraries ![]() tab of the palette and selecting the Appearances drop down.
tab of the palette and selecting the Appearances drop down.

You can also create custom appearances using Physically Based Rendering (PBR) materials.
PBR materials use texture maps that control certain properties to mimic real-life materials and how they react to light.
When you create (or modify) a material, you’ll have access to a textures tab. The textures tab allows you to control the following parameters:

Color maps any color and pattern of an image as the default color of the appearance.
Specular/Metallic/Roughness maps how reflective (shiny/dull) a surface is.
Specular maps are used for reflections on nonmetallic appearances. Metallic maps are used for reflections on bare metal. Both Specular and Metallic maps are usually black and white images where the black diffuses the color across the appearance. Roughness maps are usually grayscale images and can make your appearance look dull.
Alpha maps transparency. These are black and white images, where the black represents the transparent region and white will show the pattern that will remain.
Bump maps the details of materials. Bump maps will create an illusion of surface imperfections without having to physically model surface imperfections. Here you can use normal maps and displacement maps. Normal maps are light purple images and displacement maps are grayscale images.
NVIDIA vMaterials
If creating custom appearances seems a little daunting, don’t worry, you can find appearances to use in SOLIDWORKS Visualize on the internet.
NVIDIA has curated a collection of Material Definition Language (MDL) materials, known as NVIDIA vMaterials, that can be imported into SOLIDWORKS Visualize without having to meticulously add texture maps to get the right PBR material you want to apply.
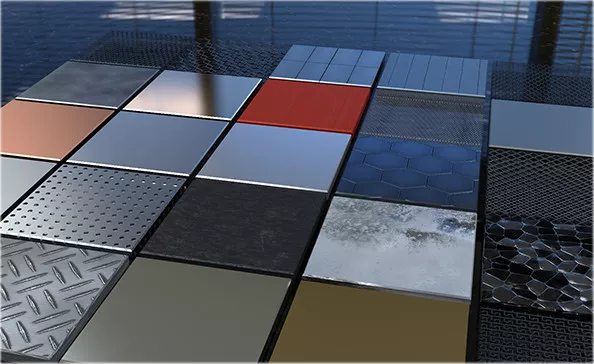

Figure 2. Examples of NVIDIA’s MDL materials, also known as vMaterials
After you’ve downloaded and installed the NVIDIA vMaterials, you will find them in a Windows directory . In each folder you will notice you have an MDL file along with images of each color that is in the MDL file.
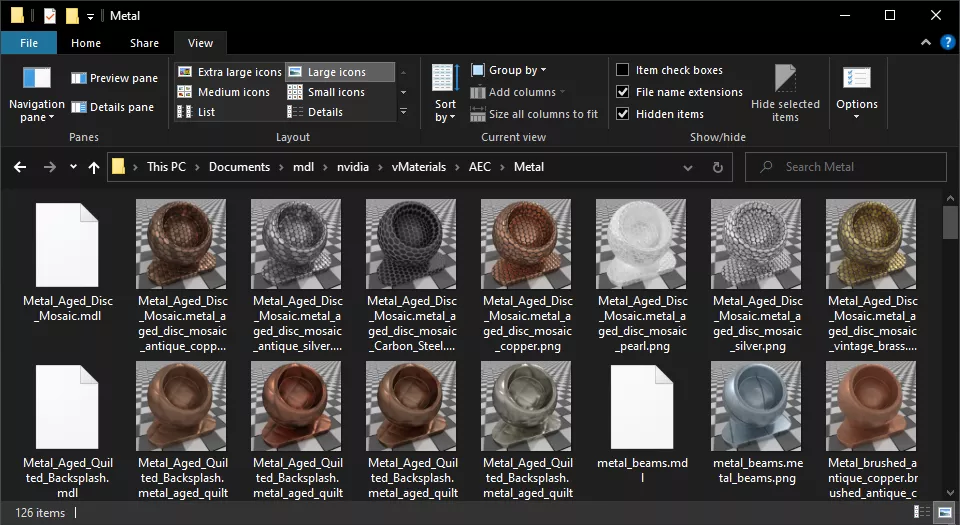
Figure 3. MDL files in Windows Explorer
To apply an MDL vMaterial to your SOLIDWORKS Visualize project, drag and drop the MDL file, from your Windows Explorer, onto an object in your project.
I find it much easier to do this by putting your Windows explorer and SOLIDWORKS Visualize side by side. An appearance is created for each color inside of the MDL file. If you want to use a different color, you can drag that onto the model like any other appearance inside of SOLIDWORKS Visualize.
Figure 4. How to apply vMaterials to your SOLIDWORKS Visualize project
Note: SOLIDWORKS Visualize only supports NVIDIA vMaterials in Visualize 2020 or newer and currently supports NVIDIA vMaterials v1.5 to v1.7. You can download the NVIDIA vMaterials here. Look for the previous version section to download vMaterials 1.7
Multiple GPUs
As you’re applying more detail with custom appearances and the NVIDIA vMaterials, you will start to notice an increse in rendering time.
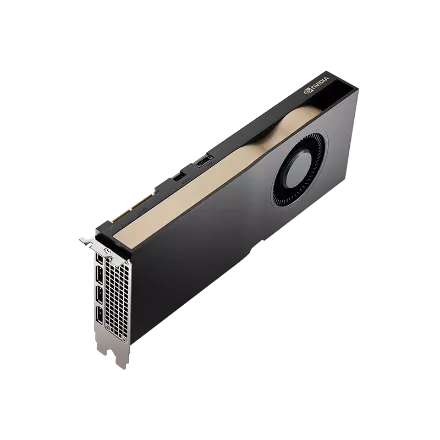
SOLIDWORKS Visualize can utilize your computer’s CPU and GPU. Since a GPU has significantly more processing cores than a CPU, the greatest reduction in your rendering time will be gained by using your GPU. With a NVIDIA Workstation GPU, SOLIDWORKS Visualize’s built in NVIDIA®IRAY® render engine can utilize the NVIDIA CUDA Core, NVIDIA RT Core, and NVIDIA Tensor Core technologies to accelerate Ray Tracing and rendering. Three notable options are from the new NVIDIA Ampere architecture NVIDIA RTX™ A6000, NVIDIA RTX™ A5500, and NVIDIA RTX™ A4500.
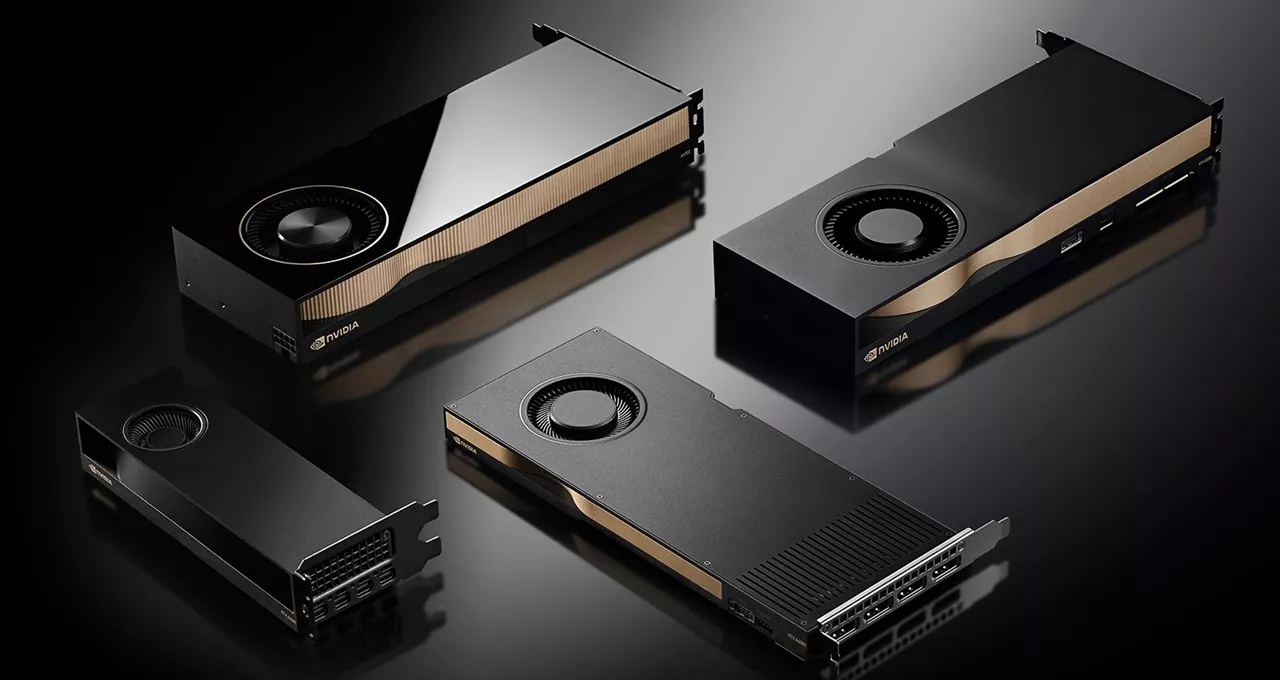
Figure 5. NVIDIA RTX Ampere GPU Series
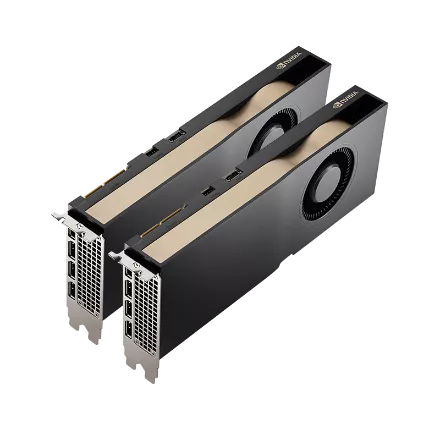
If your computer can have multiple GPUs, you can greatly reduce your rendering time. SOLIDWORKS Visualize can take advantage of multiple NVIDIA GPUs in a workstation to accelerate rendering performance.
|
1X NVIDIA RTX™ A4500 = 7168 CUDA CORES, 56 RT CORES, 224 Tensor CORES |
|
2X NVIDIA RTX™ A4500 = 14336 CUDA CORES, 112 RT CORES, 448 Tensor CORES |
This image was rendered at a resolution of 3840x2160, 300 Pixels/in, with 5000 render passes using Accurate Mode 
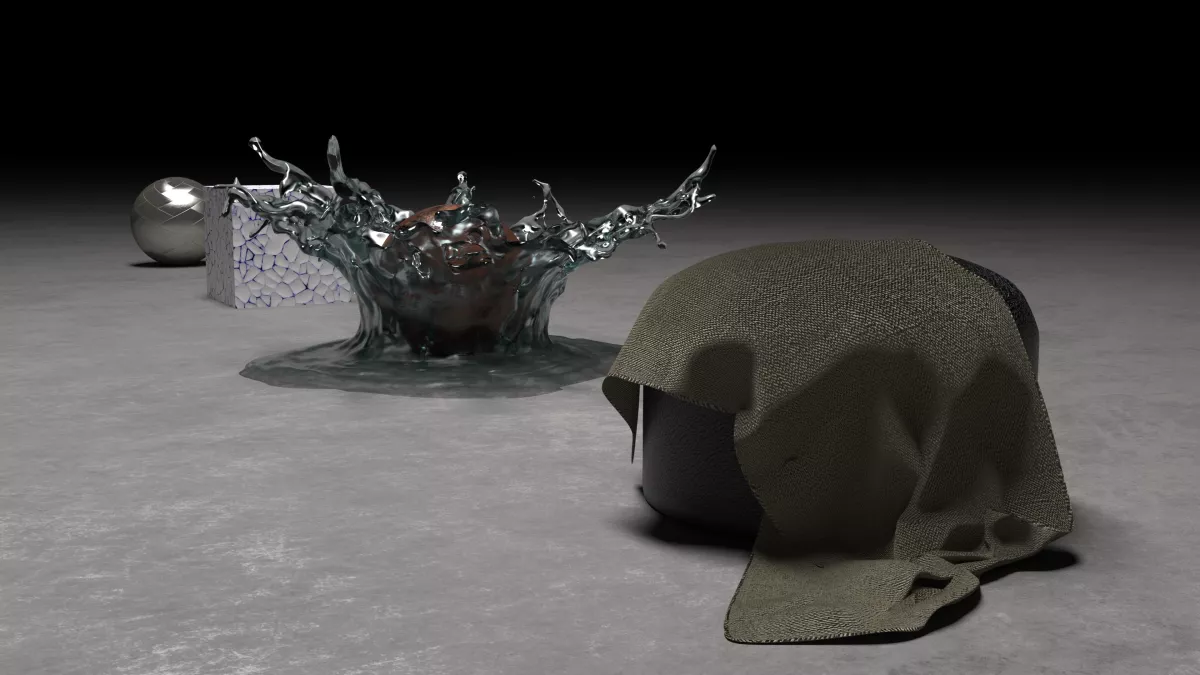
Figure 6. Sample project file showcasing various NVIDIA vMaterial appearances applied to objects in a SOLIDWORKS Visualize project
|
Render Device |
Render Time |
Time Reduction (%) |
| Intel®Core™i7-10850H | 8 hrs 23 min 16 sec | - |
| NVIDIA QUADRO RTX 5000 | 30 min 52 sec | ~93.9% |
| NVIDIA RTX™ A4500 |
14 min 9 sec |
~97.2% |
| DUAL NVIDIA RTX™ A4500 |
7 min 1 sec |
~98.6% |
A single RTX A4500 reduced the rendering time by a massive 97%.
Even the previous generation RTX 5000 shows the huge saving in rendering time on GPU vs CPU. And this is one image. Imagine the time saving you will see when it comes to animations where it’s hundreds of images that represent a frame per second.
NVIDIA RTX Dassault Systèmes SOLIDWORKS Solution Brief
Visualize Boost in SOLIDWORKS Visualize Professional
If you have SOLIDWORKS Visualize Professional, you can utilize hardware from other computers by using SOLIDWORKS Visualize Boost and PowerBoost to decrease the amount of time it takes to render your images and animations. This is particularly helpful to users of mobile workstations, which only come with one GPU.
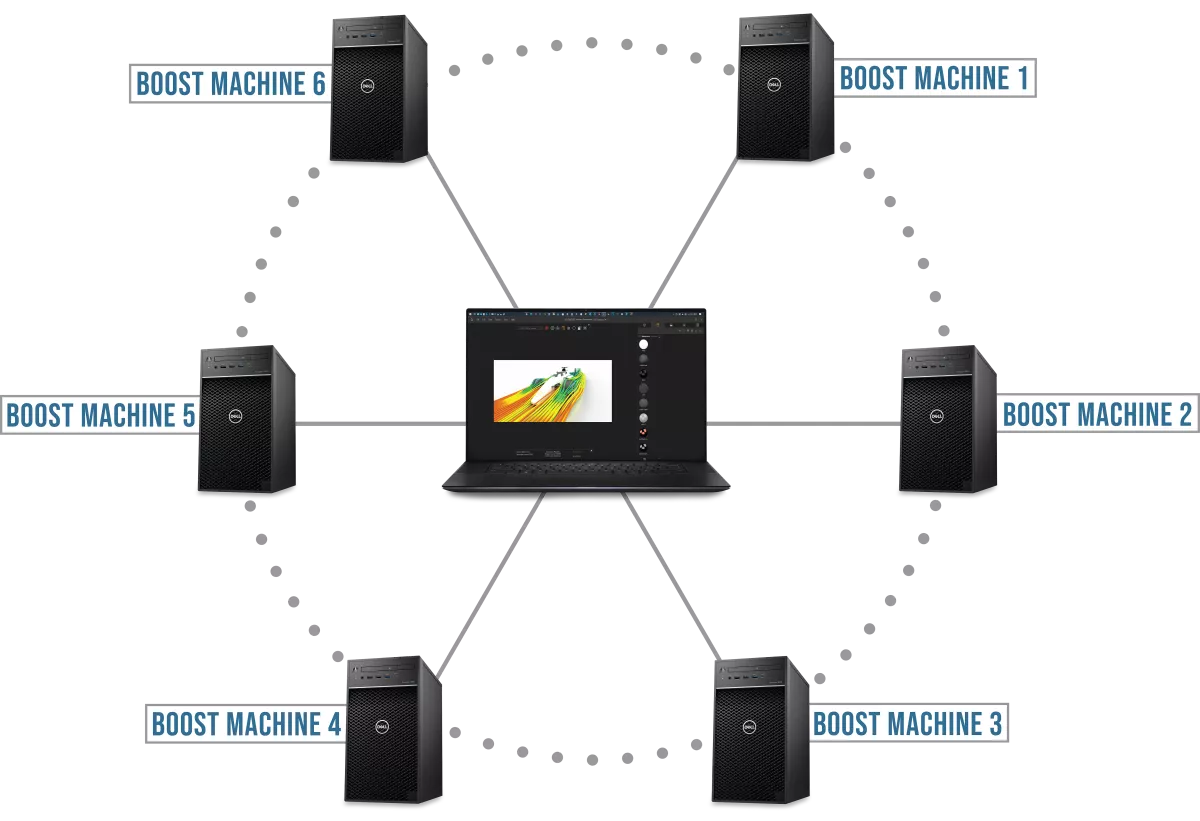
Figure 7. Connecting to other computers via SOLIDWORKS Visualize Boost
SOLIDWORKS Visualize Boost allows you to offload the final rendering output to one or more machines on a network. This will free up your hardware to continue using Visualize or doing other tasks.
SOLIDWORKS Visualize PowerBoost allows you to utilize the resources on one or more machines on a network in your viewport during the live render mode. This allows you to set-up and make changes to your project much faster.
Note: Both are incorporated in a license of Visualize Boost.
Each seat of SOLIDWORKS Visualize Professional comes with one seat of Visualize Boost. You can also purchase additional seats of SOLIDWORKS Visualize Boost separately. You will need to have one additional seat per computer you want to add to your Boost cluster.
Recommend Workstations for SOLIDWORKS Visualize
If you’re looking to upgrade your hardware, GoEngineer, Dell, and NVIDIA have come together to eliminate the guesswork and help you get the right hardware configuration for the SOLIDWORKS products you use regularly, fine-tuned to your needs at discounted rates. With this collaboration you’ll receive:
- Guaranteed best pricing from Dell with an additional 5% off coupon, and 3% off on future purchases
- Optimized memory, CPU, GPU configurations for key SOLIDWORKS roles
- A dedicated Dell account rep to assist you
- Quarterly webinars with performance and technical tips
- ...and more.
You can learn more about this promotion here.
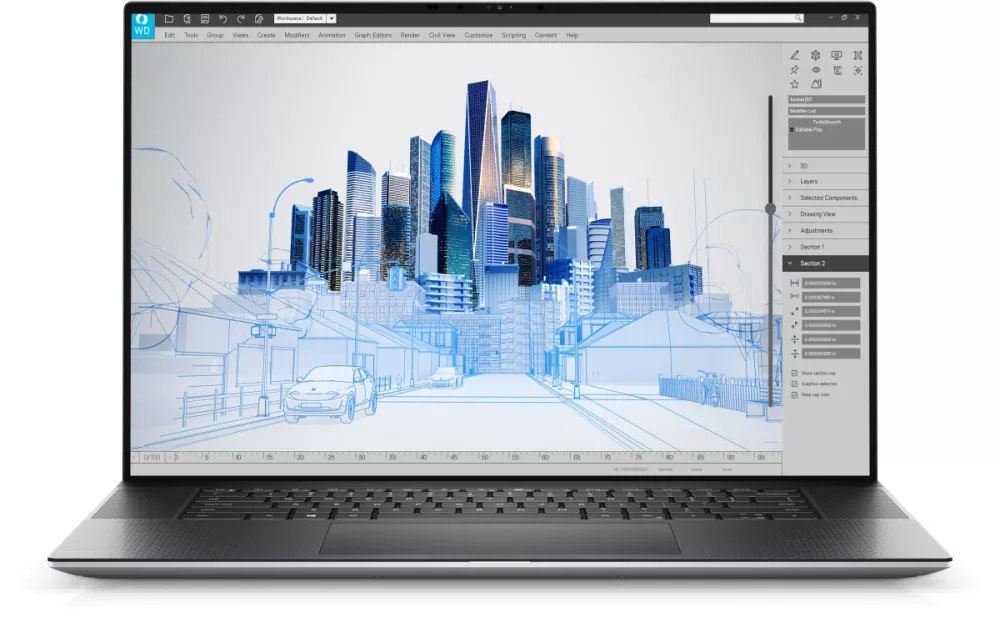
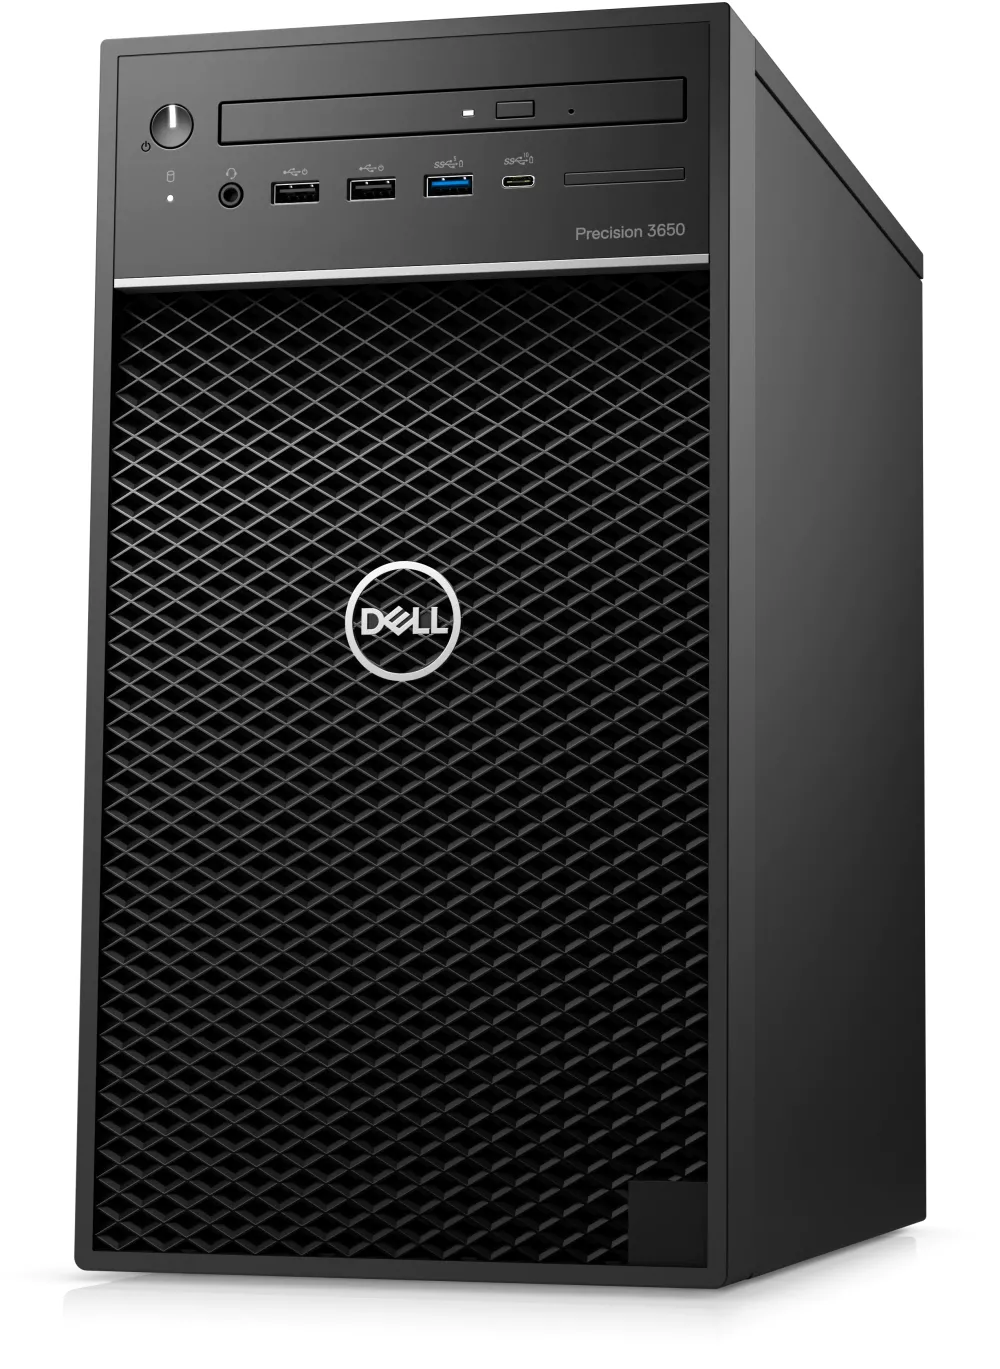
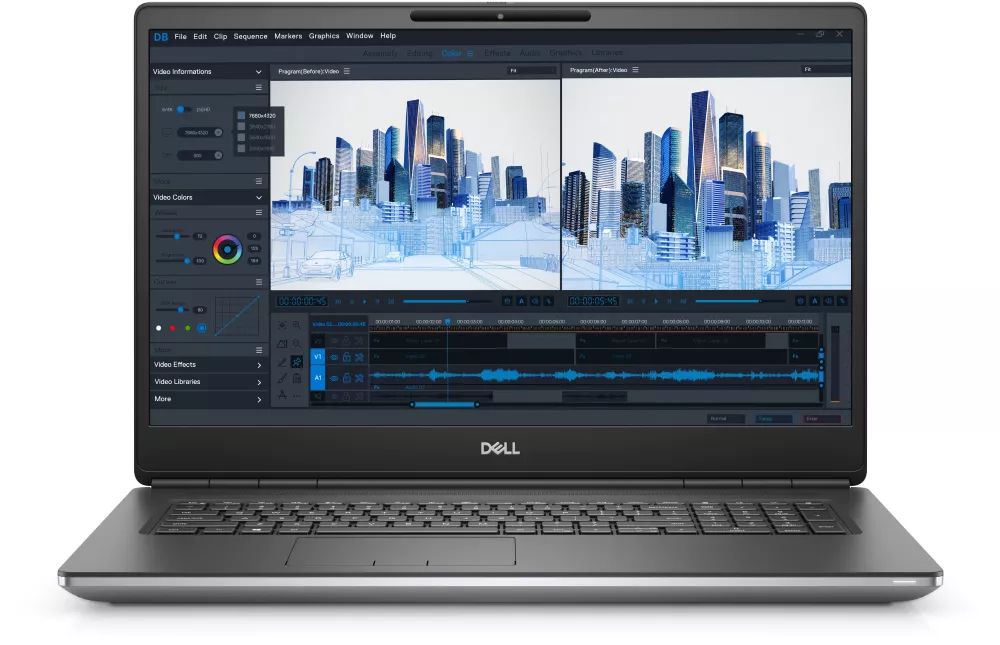
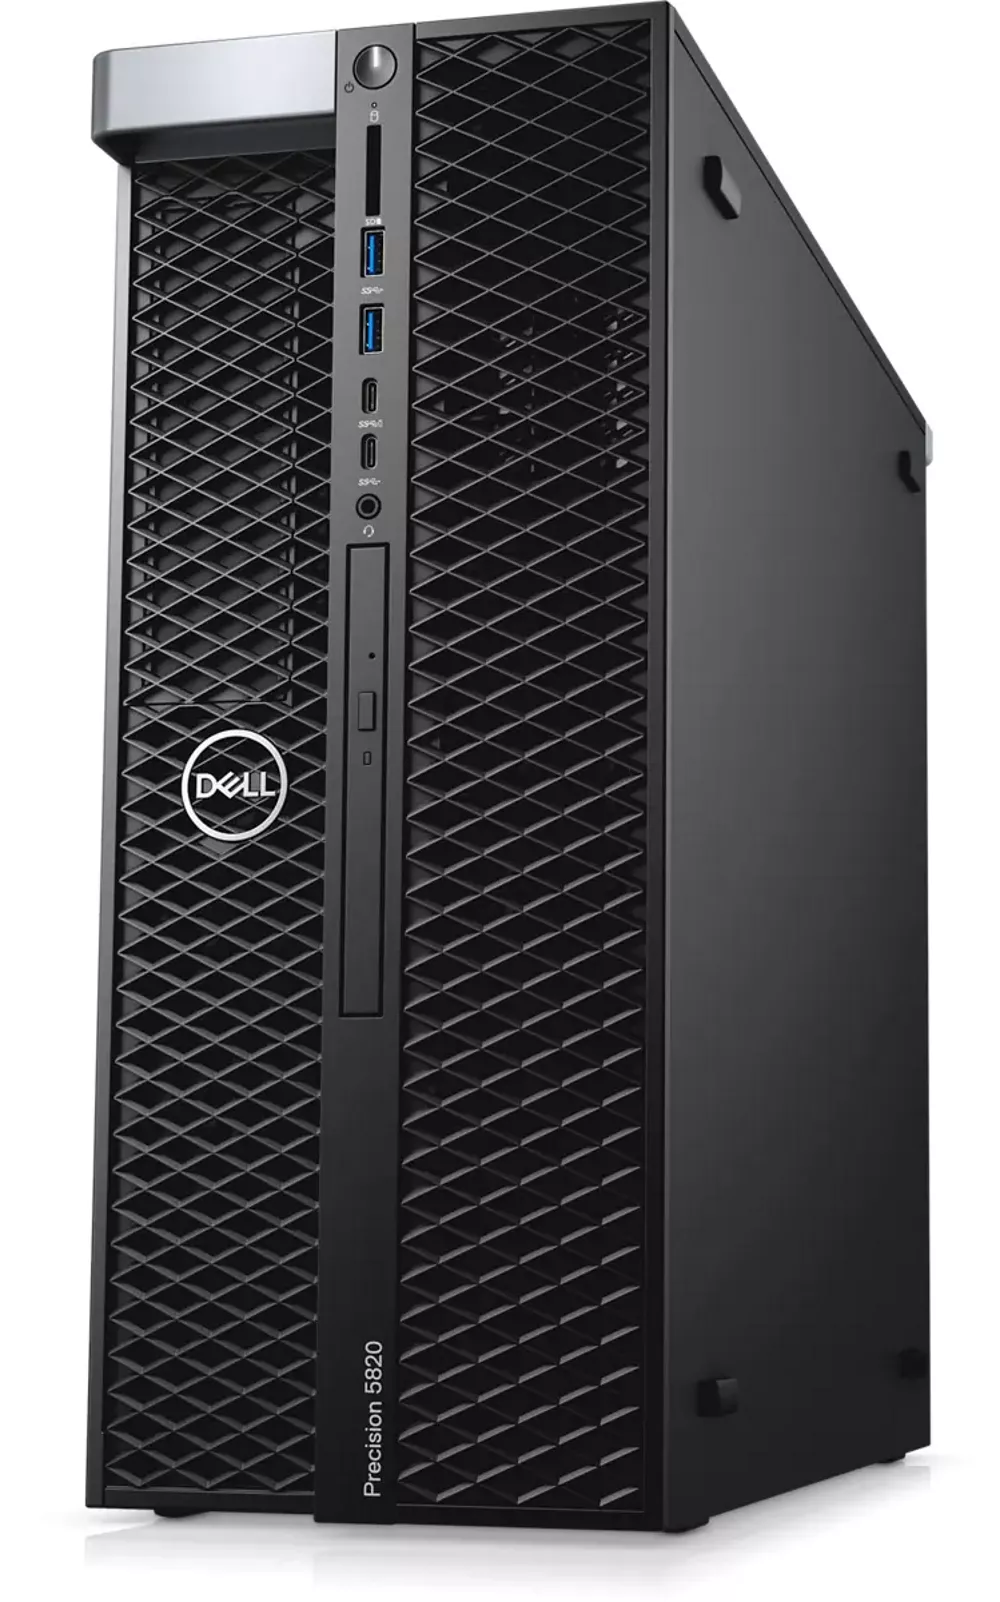
Here are our recommendations for those of you who will be working with SOLIDWORKS Visualize.
| VISUALIZE BEGINNER | VISUALIZE INTERMEDIATE | VISUALIZE ADVANCED | VISUALIZE ADVANCED |
 |
 |
 |
 |
|
|
|
|
|
|
|
|
And, when you’re going to utilize Visualize Boost and PowerBoost, you can consider the Precision 3650 or 5820 Tower Workstation. A desktop tower will allow you to add additional graphics cards as long as your motherboard supports multiple PCI-e lanes.
Related Articles
SOLIDWORKS Visualize 2022: New Shadow Catcher, Camera Views, Animations, & More
GoEngineer Launches Customer Portal: Manage Assets, Maintain Users, and More

About Charn Jivaphaiboonskdi
Charn Jivaphaiboonskdi has over 10 years’ experience as an Applications Engineer since earning his Bachelor of Science in Mechanical Engineering degree from the University of California - Riverside. His passion for photography, DIY projects, and improving existing designs is what brought him into the world of Engineering. Charn joined the GoEngineer family in 2014 and is based out of Los Angeles, California. He holds several SOLIDWORKS Certifications including CSWA, CSWP, CSWP-S, CSWE, and CSWE-S.
Get our wide array of technical resources delivered right to your inbox.
Unsubscribe at any time.