SOLIDWORKS - Accessing and Deleting Long File Names and Paths
If you have ever run into an issue accessing, deleting, or installing a file where the path is over 255 characters, then this is the article for you.
This error typically presents itself as either File is too long or Inaccessible. (Figures #1 & #2)
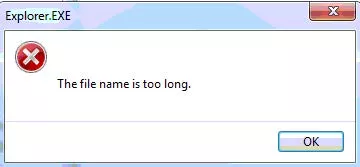
Figure 1. File Name Too Long Error Message
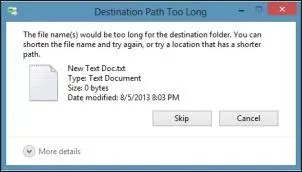
Figure 2. Destination Path Too Long Error Message
Windows uses a convention called Long Filenames (LFN).
Now that Windows 10 has added the ability to remove that limit, you just need to make a quick change to the Registry or Group Policy to make it happen.
There are a few options to fix this issue.
- Shorten folder and file names to get under the 255 character limit.
- Use the DOS 8.3 Filename System:
- DOS 8.3 means 8 characters for the file name and 3 character extension.
- Open a CMD prompt in a parent folder.
- Enter DIR /X
- This command will show both the 8.3 and long filename. Now you can use the 8.3 file name to delete the file and then also potentially the folders.
- Use the Subst command to create a mapped drive to a specific path.
- Navigate to the path in Windows Explorer and, in the address bar, type "subst x: ." then press Enter. This will open a command window briefly and then close and create a new mapped drive letter (x in this case). This new mapped drive letter will be pointing at the previous path but now will allow you to access the files.
- Once you are done, open a command window and enter the command “subst /d x:”. This will remove the mapping. Close Windows Explorer and re-open and the mapped drive will be gone.
- Edit the registry or use group policy to enable support for LFN in Windows 10.
- Windows 10 Home
- Open the Registry Editor (regedit.exe)
- Navigate to the key “HKEY_LOCAL_MACHINE\SYSTEM\CurrentControlSet\Control\FileSystem”
- On the right, find a value named LongPathsEnabled and double-click it. If you don’t see the value listed, you’ll need to create it by right-clicking the FileSystem key, choosing New > DWORD (32-bit) Value, and then naming the new value LongPathsEnabled.
- In the value’s properties window, change the value from 0 to 1 in the Value data box and then click OK.
- Windows 10 Pro & Enterprise
- Hit Start, type gpedit.msc, and press Enter.
- In the Local Group Policy Editor, in the left-hand pane, drill down to Computer Configuration > Administrative Templates > System > Filesystem. On the right, find the Enable win32 long paths item and double-click it.
- In the Properties window that opens, select the Enabled option and then click OK.
- You can now exit the Local Group Policy Editor and restart your computer (or sign out and back in) to allow the changes to finish. If at any time you want to reverse the changes, just follow the same procedure and set that option back to Disabled or Not Configured.
More SOLIDWORKS Tutorials
How to Create Design Library Features in SOLIDWORKS
Restore SOLIDWORKS Thumbnails in Windows
SOLIDWORKS Explorer in Windows Explorer
Understanding Hierarchy of SOLIDWORKS Appearances
![]()
About GoEngineer
GoEngineer delivers software, technology, and expertise that enable companies to unlock design innovation and deliver better products faster. With more than 40 years of experience and tens of thousands of customers in high tech, medical, machine design, energy and other industries, GoEngineer provides best-in-class design solutions from SOLIDWORKS CAD, Stratasys 3D printing, Creaform & Artec 3D scanning, CAMWorks, PLM, and more
Get our wide array of technical resources delivered right to your inbox.
Unsubscribe at any time.